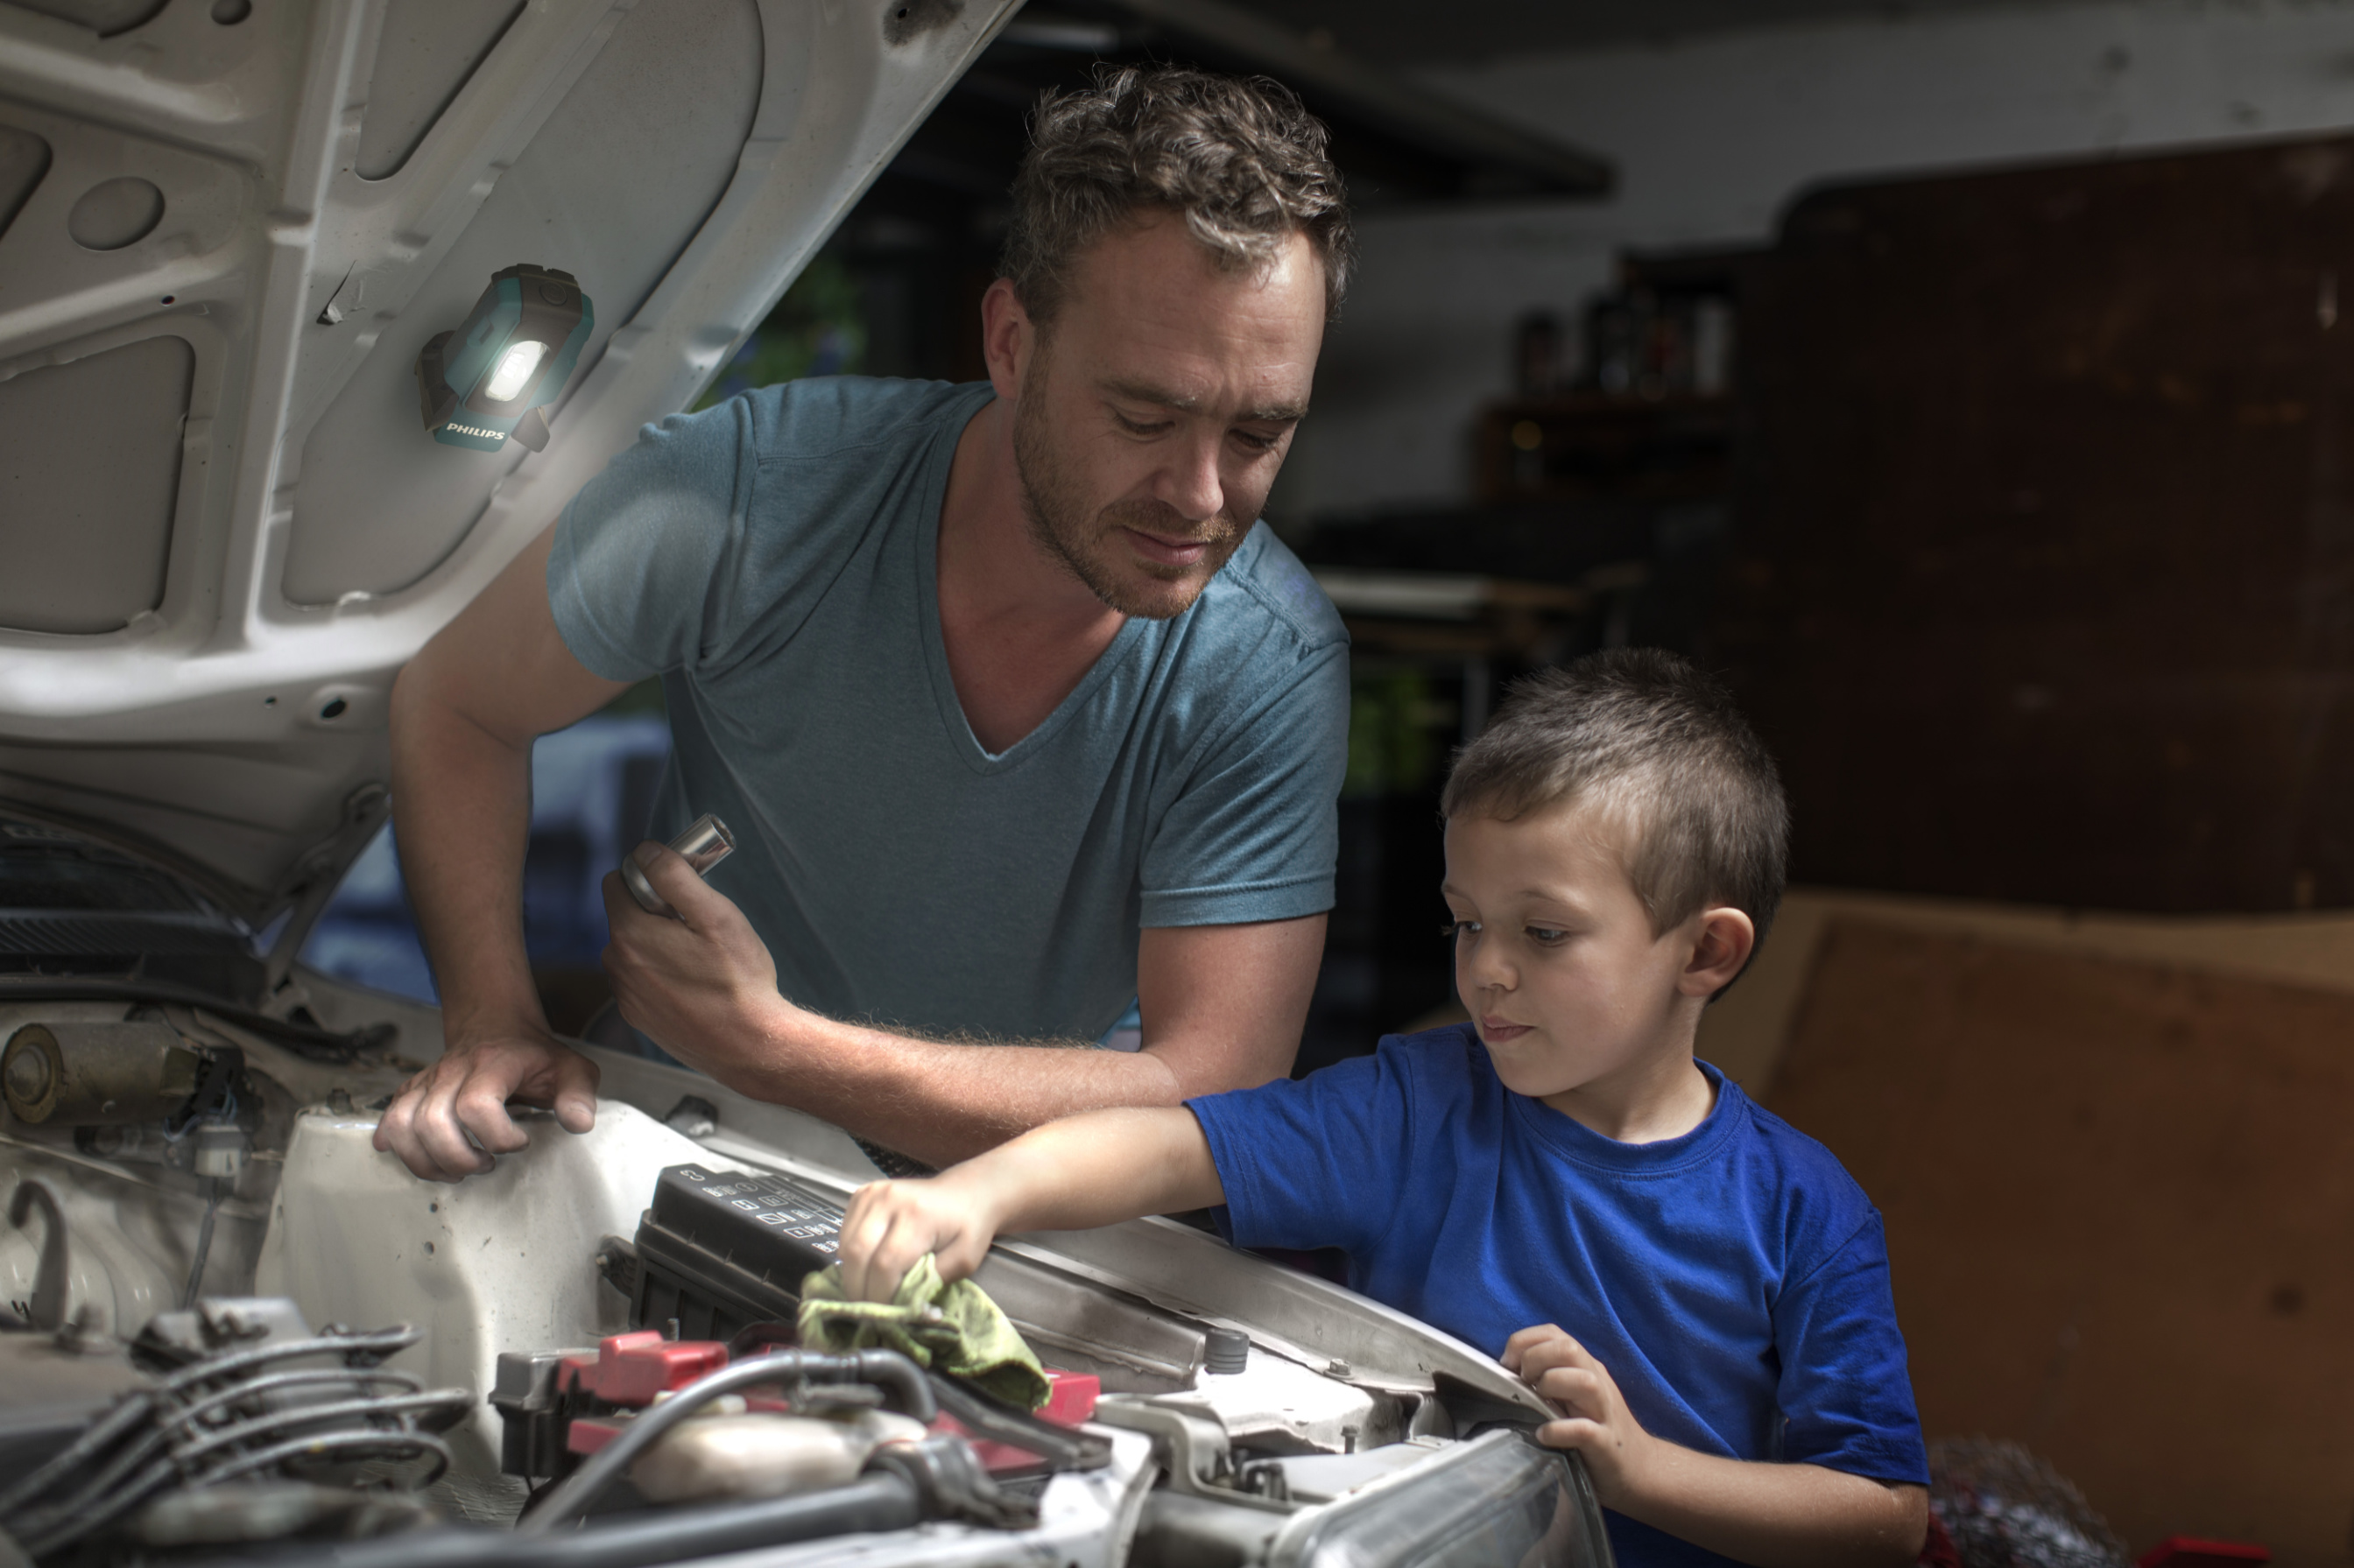
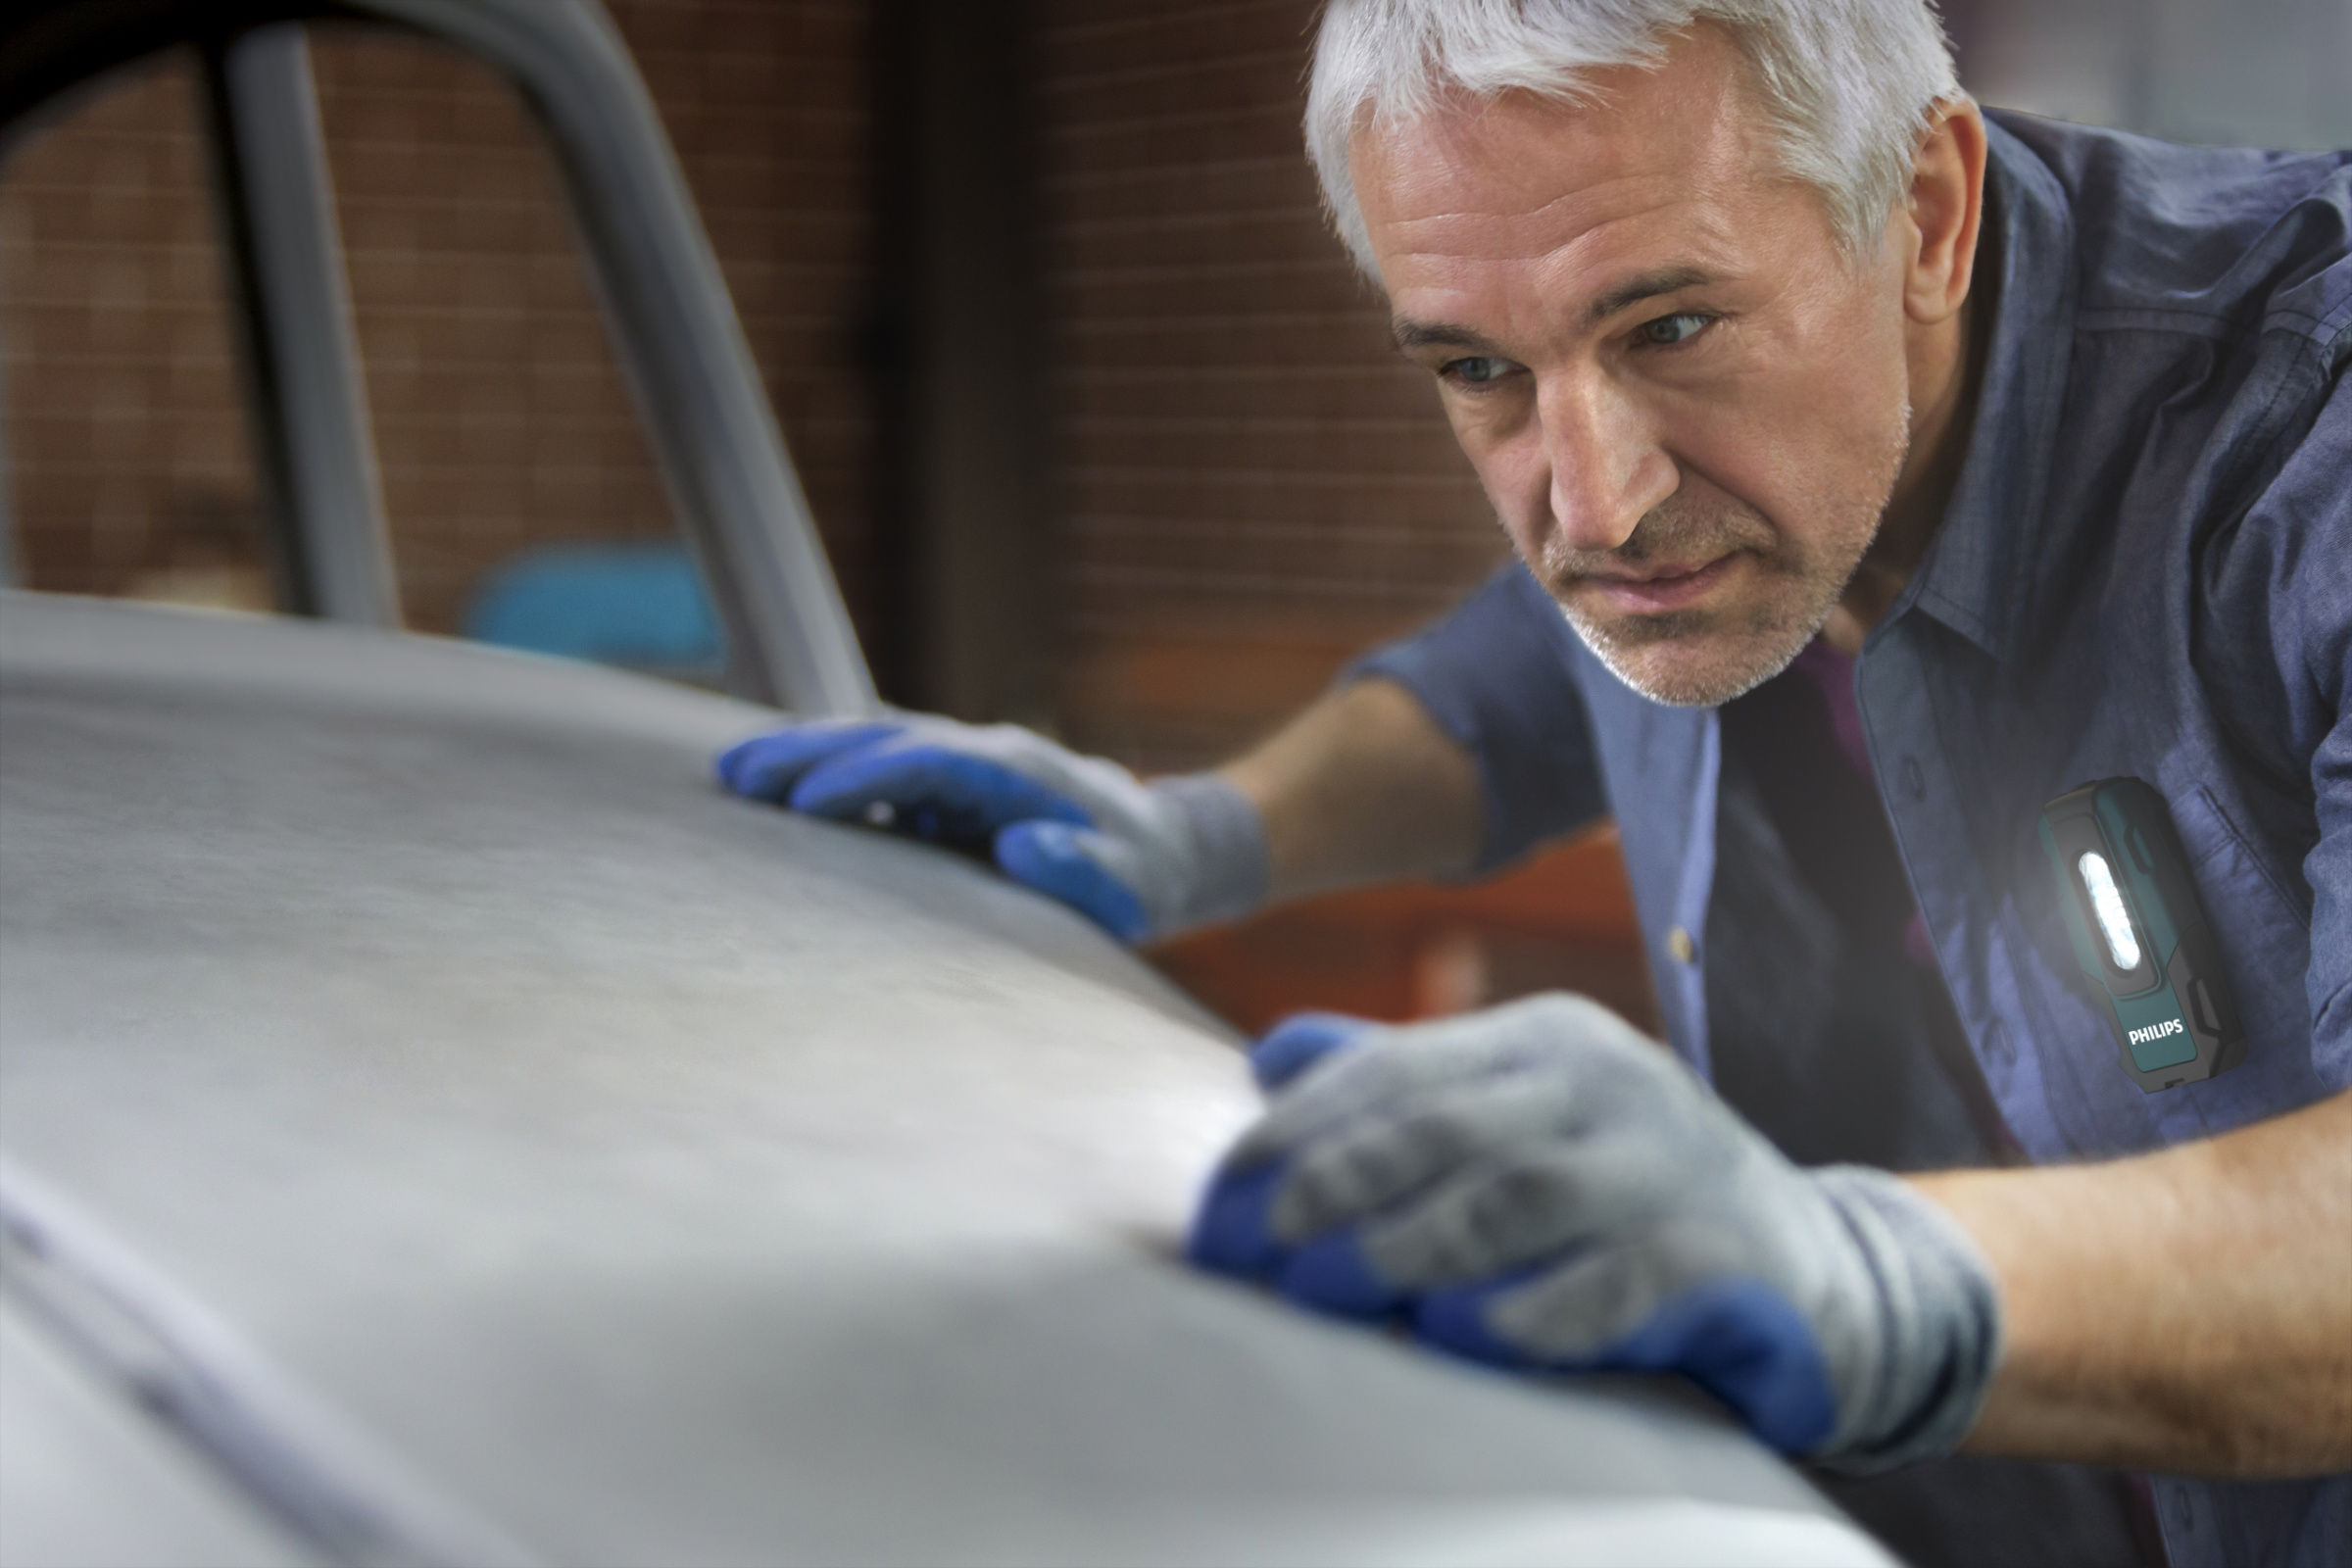
CAD models provided by the client were prepared and optimised in MoI3D for export to high-poly meshes. That process involved rebuilding parts of the models which came through with broken surfaces, unrecognised features or messed up surface trims - a somewhat common problem with 3D CAD data exchange formats between applications.
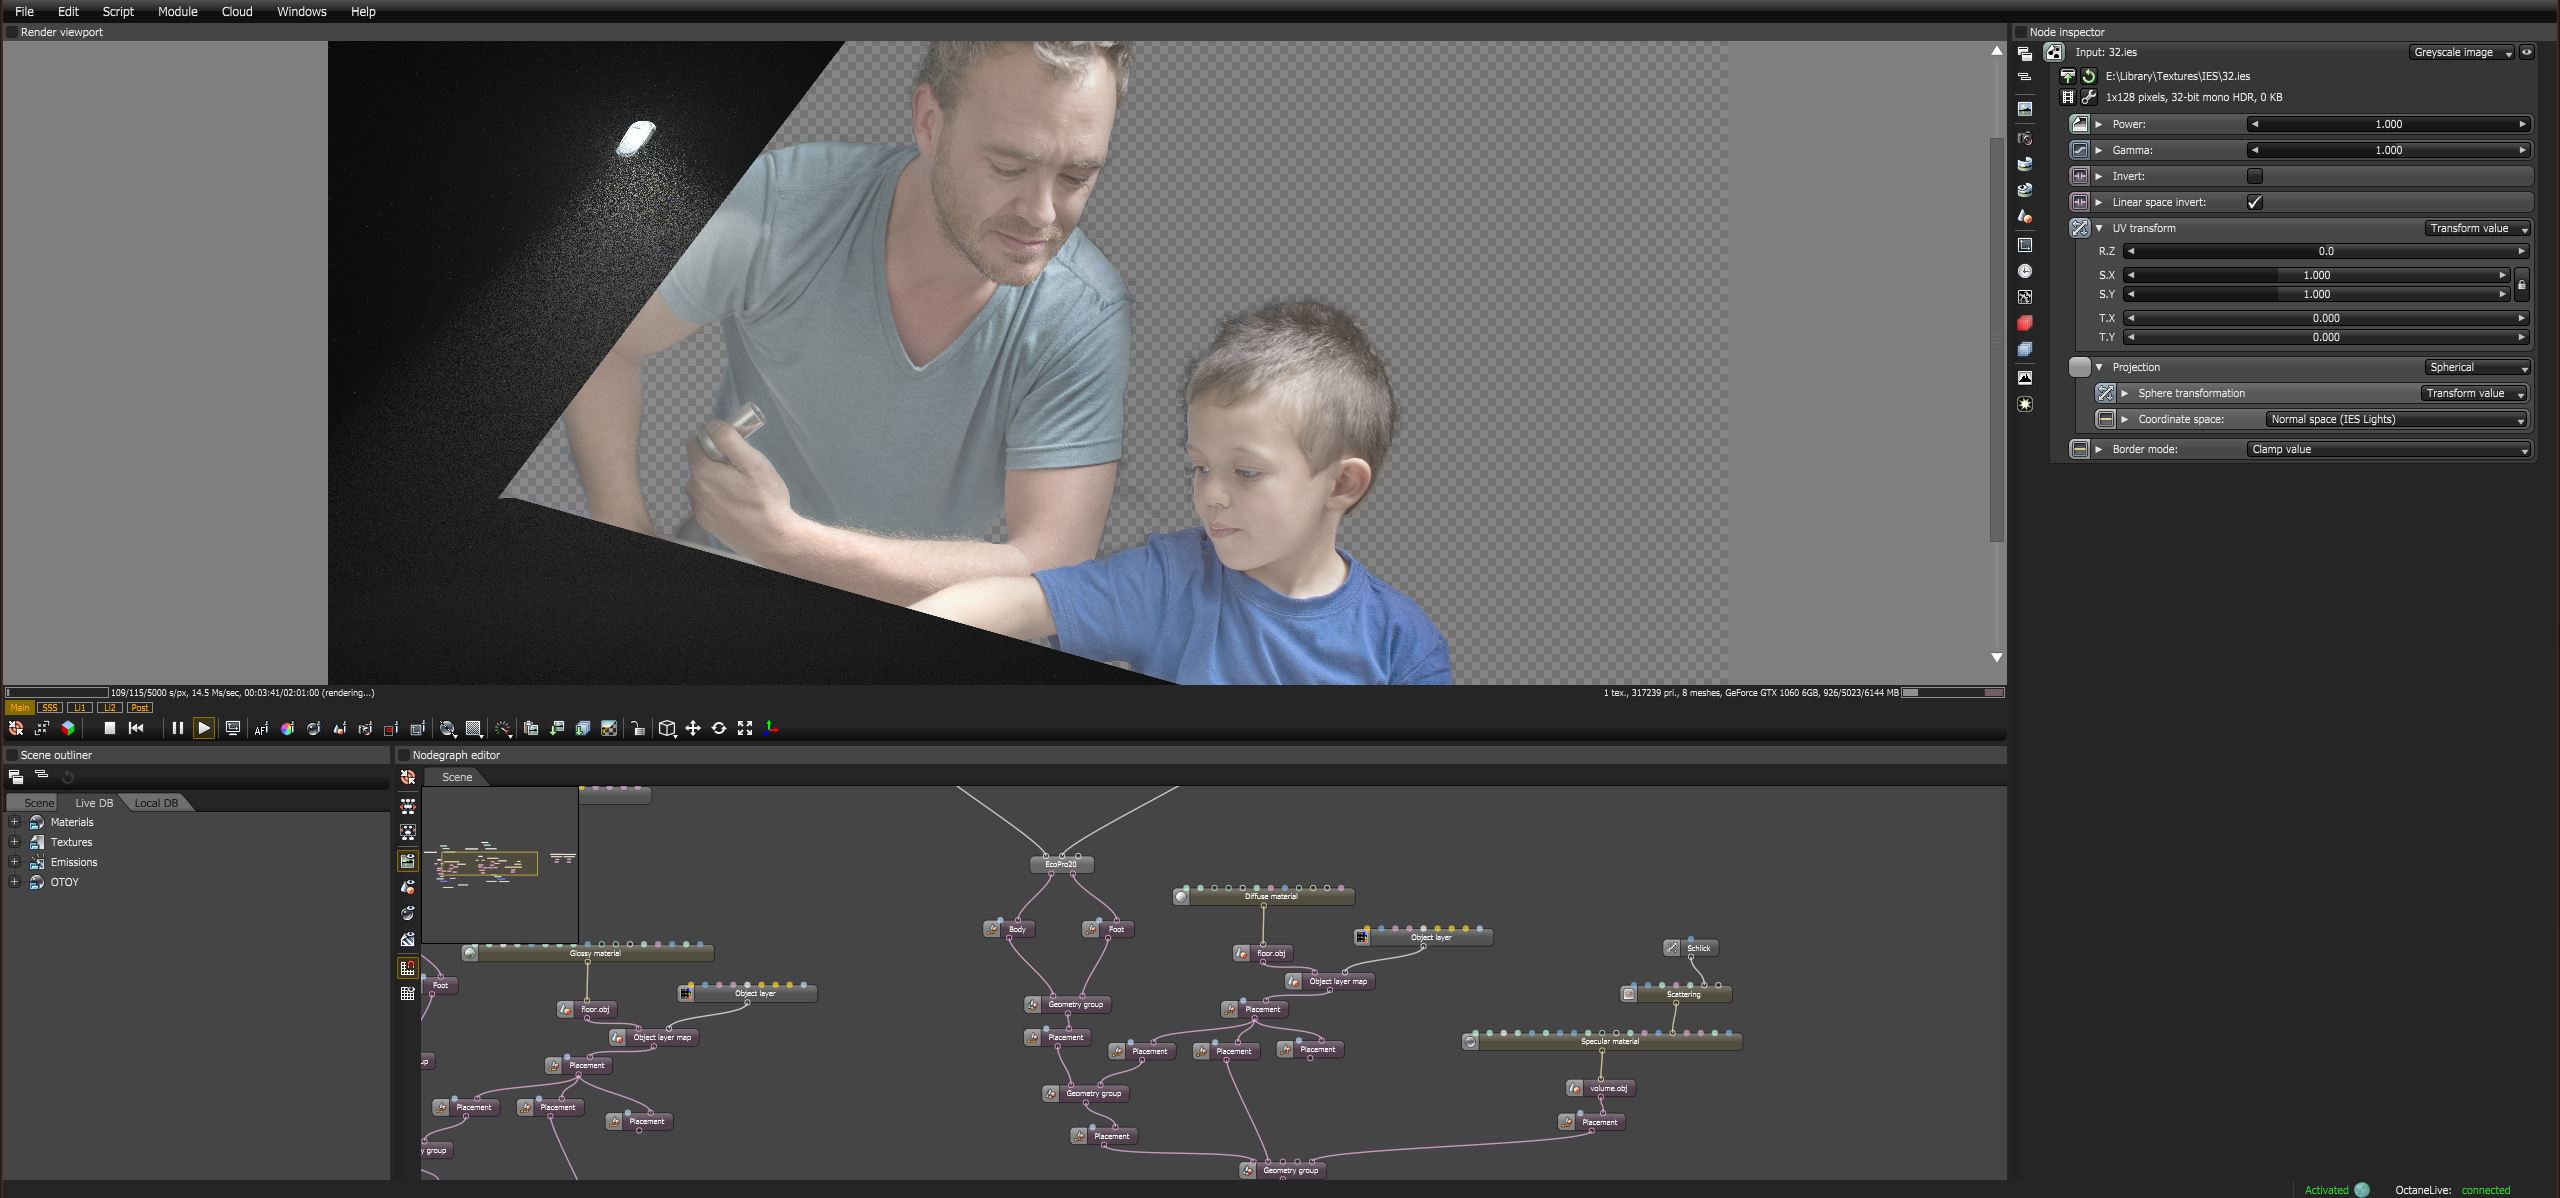
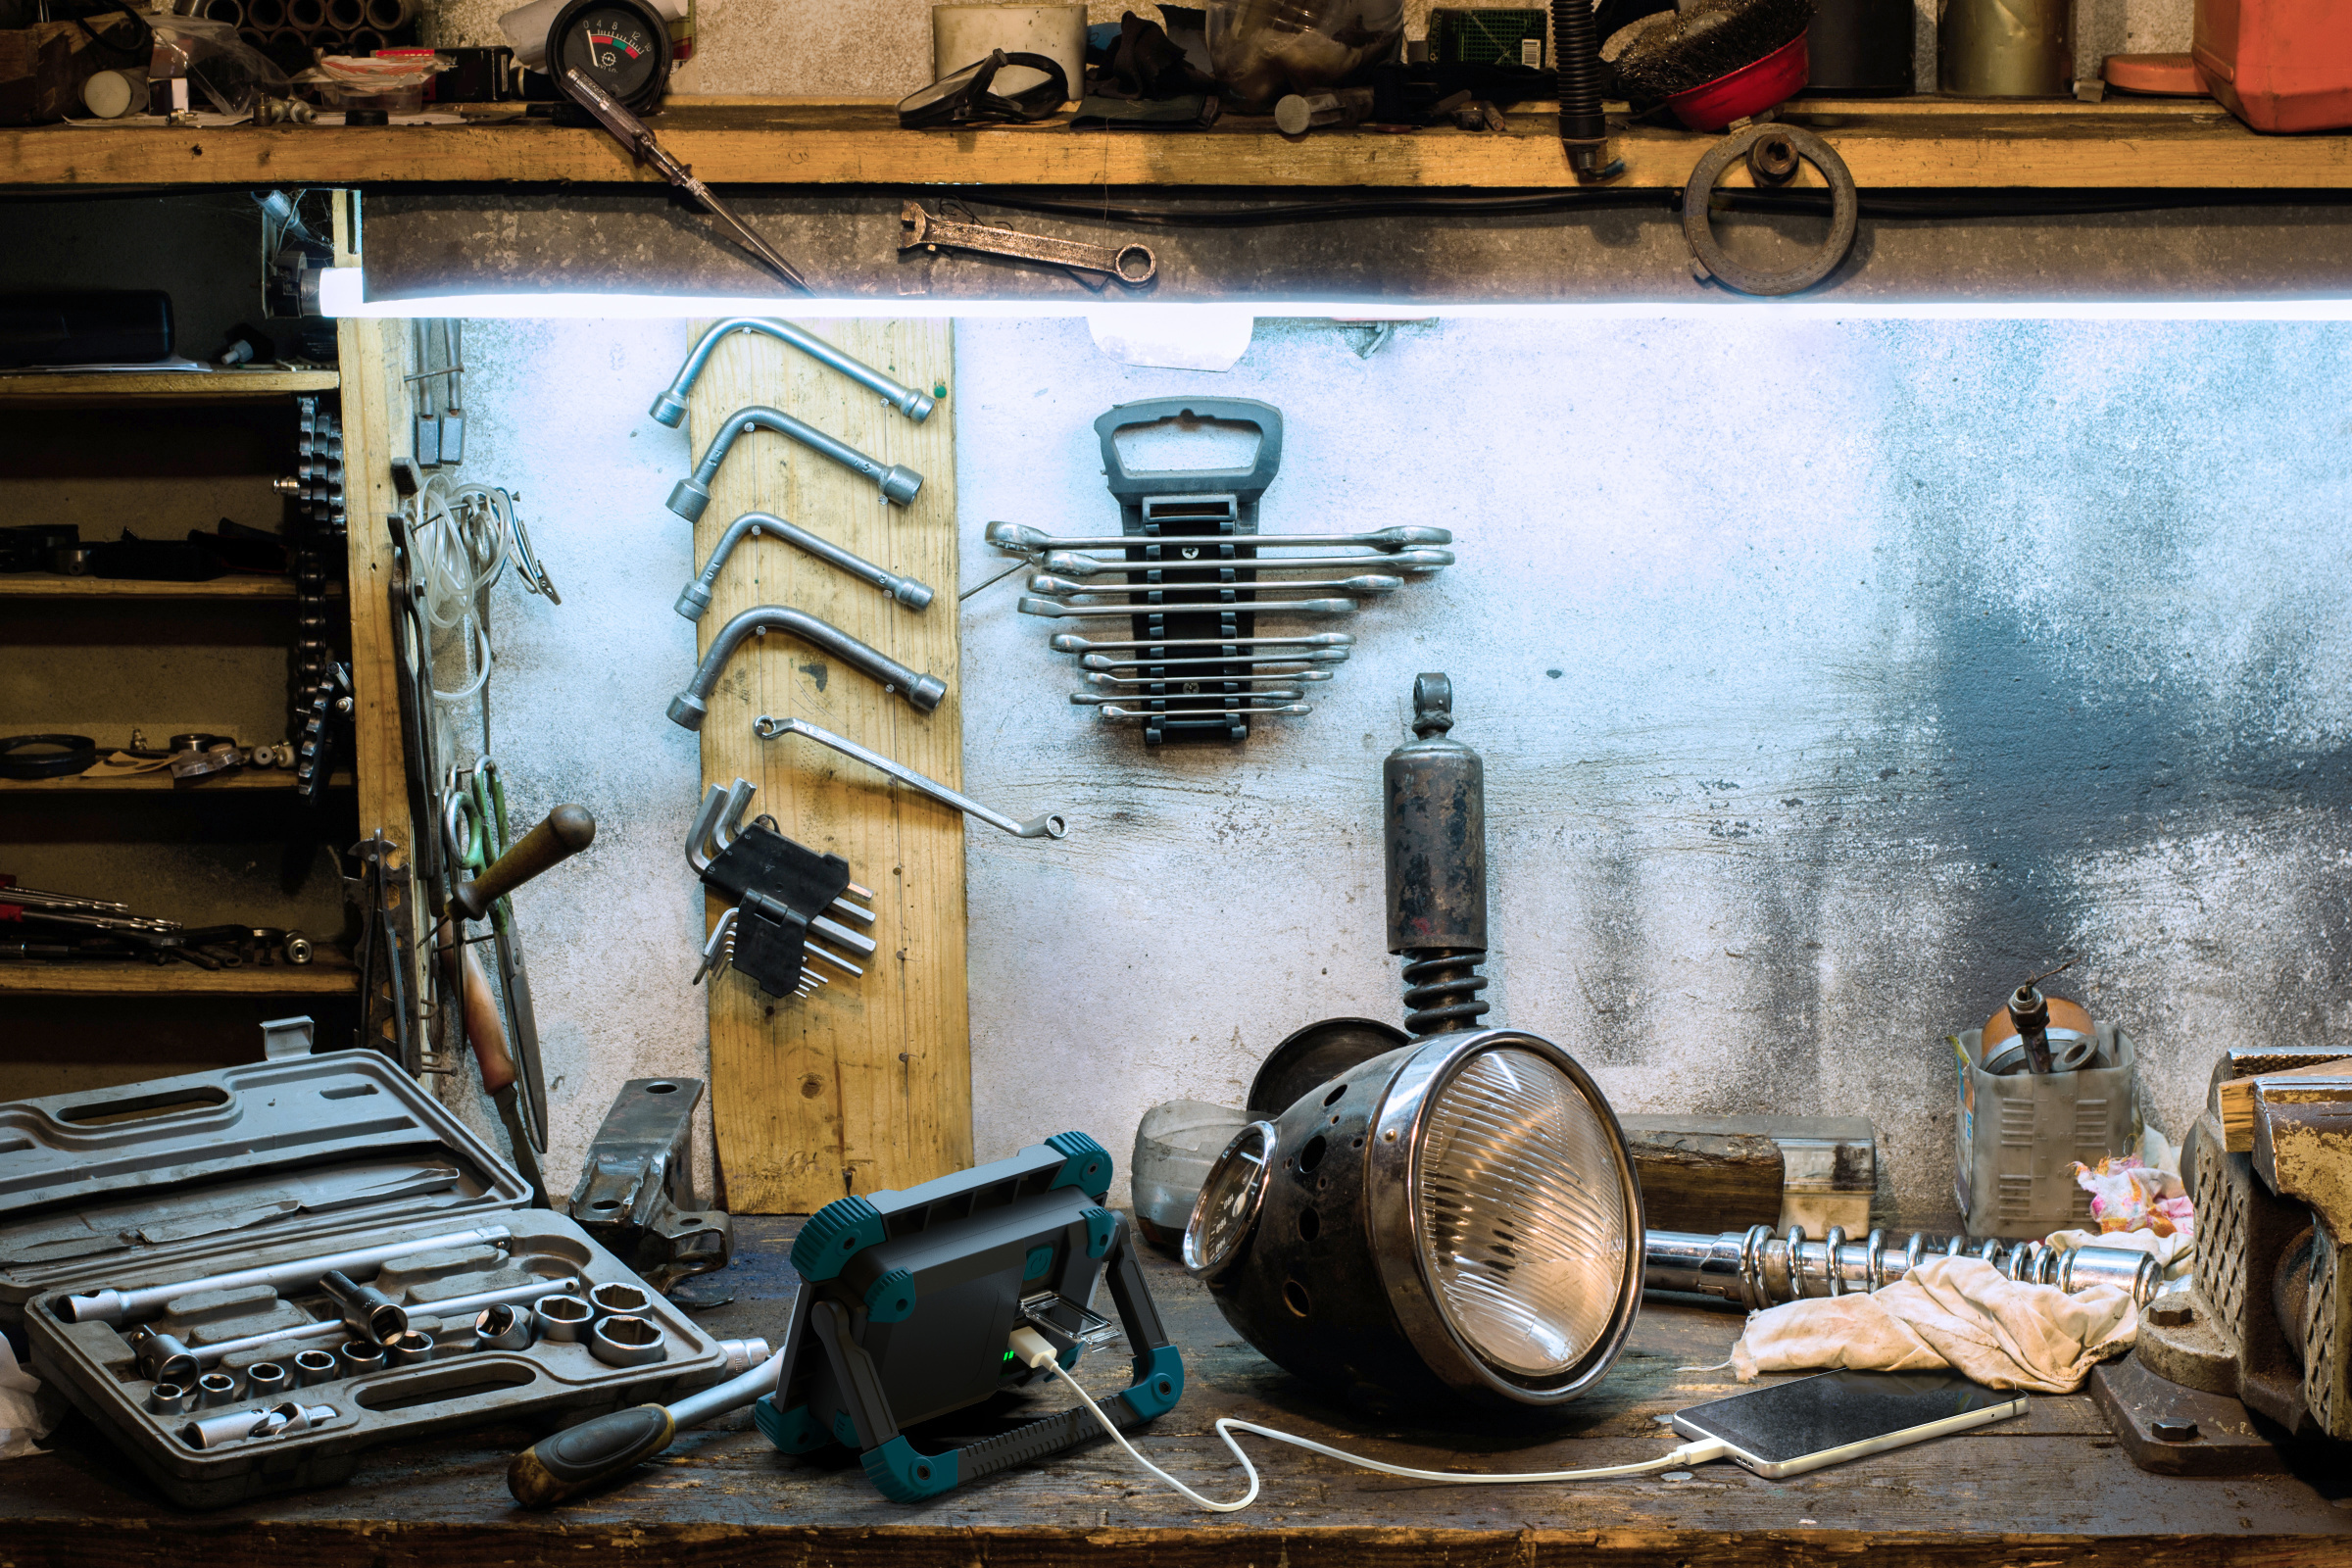
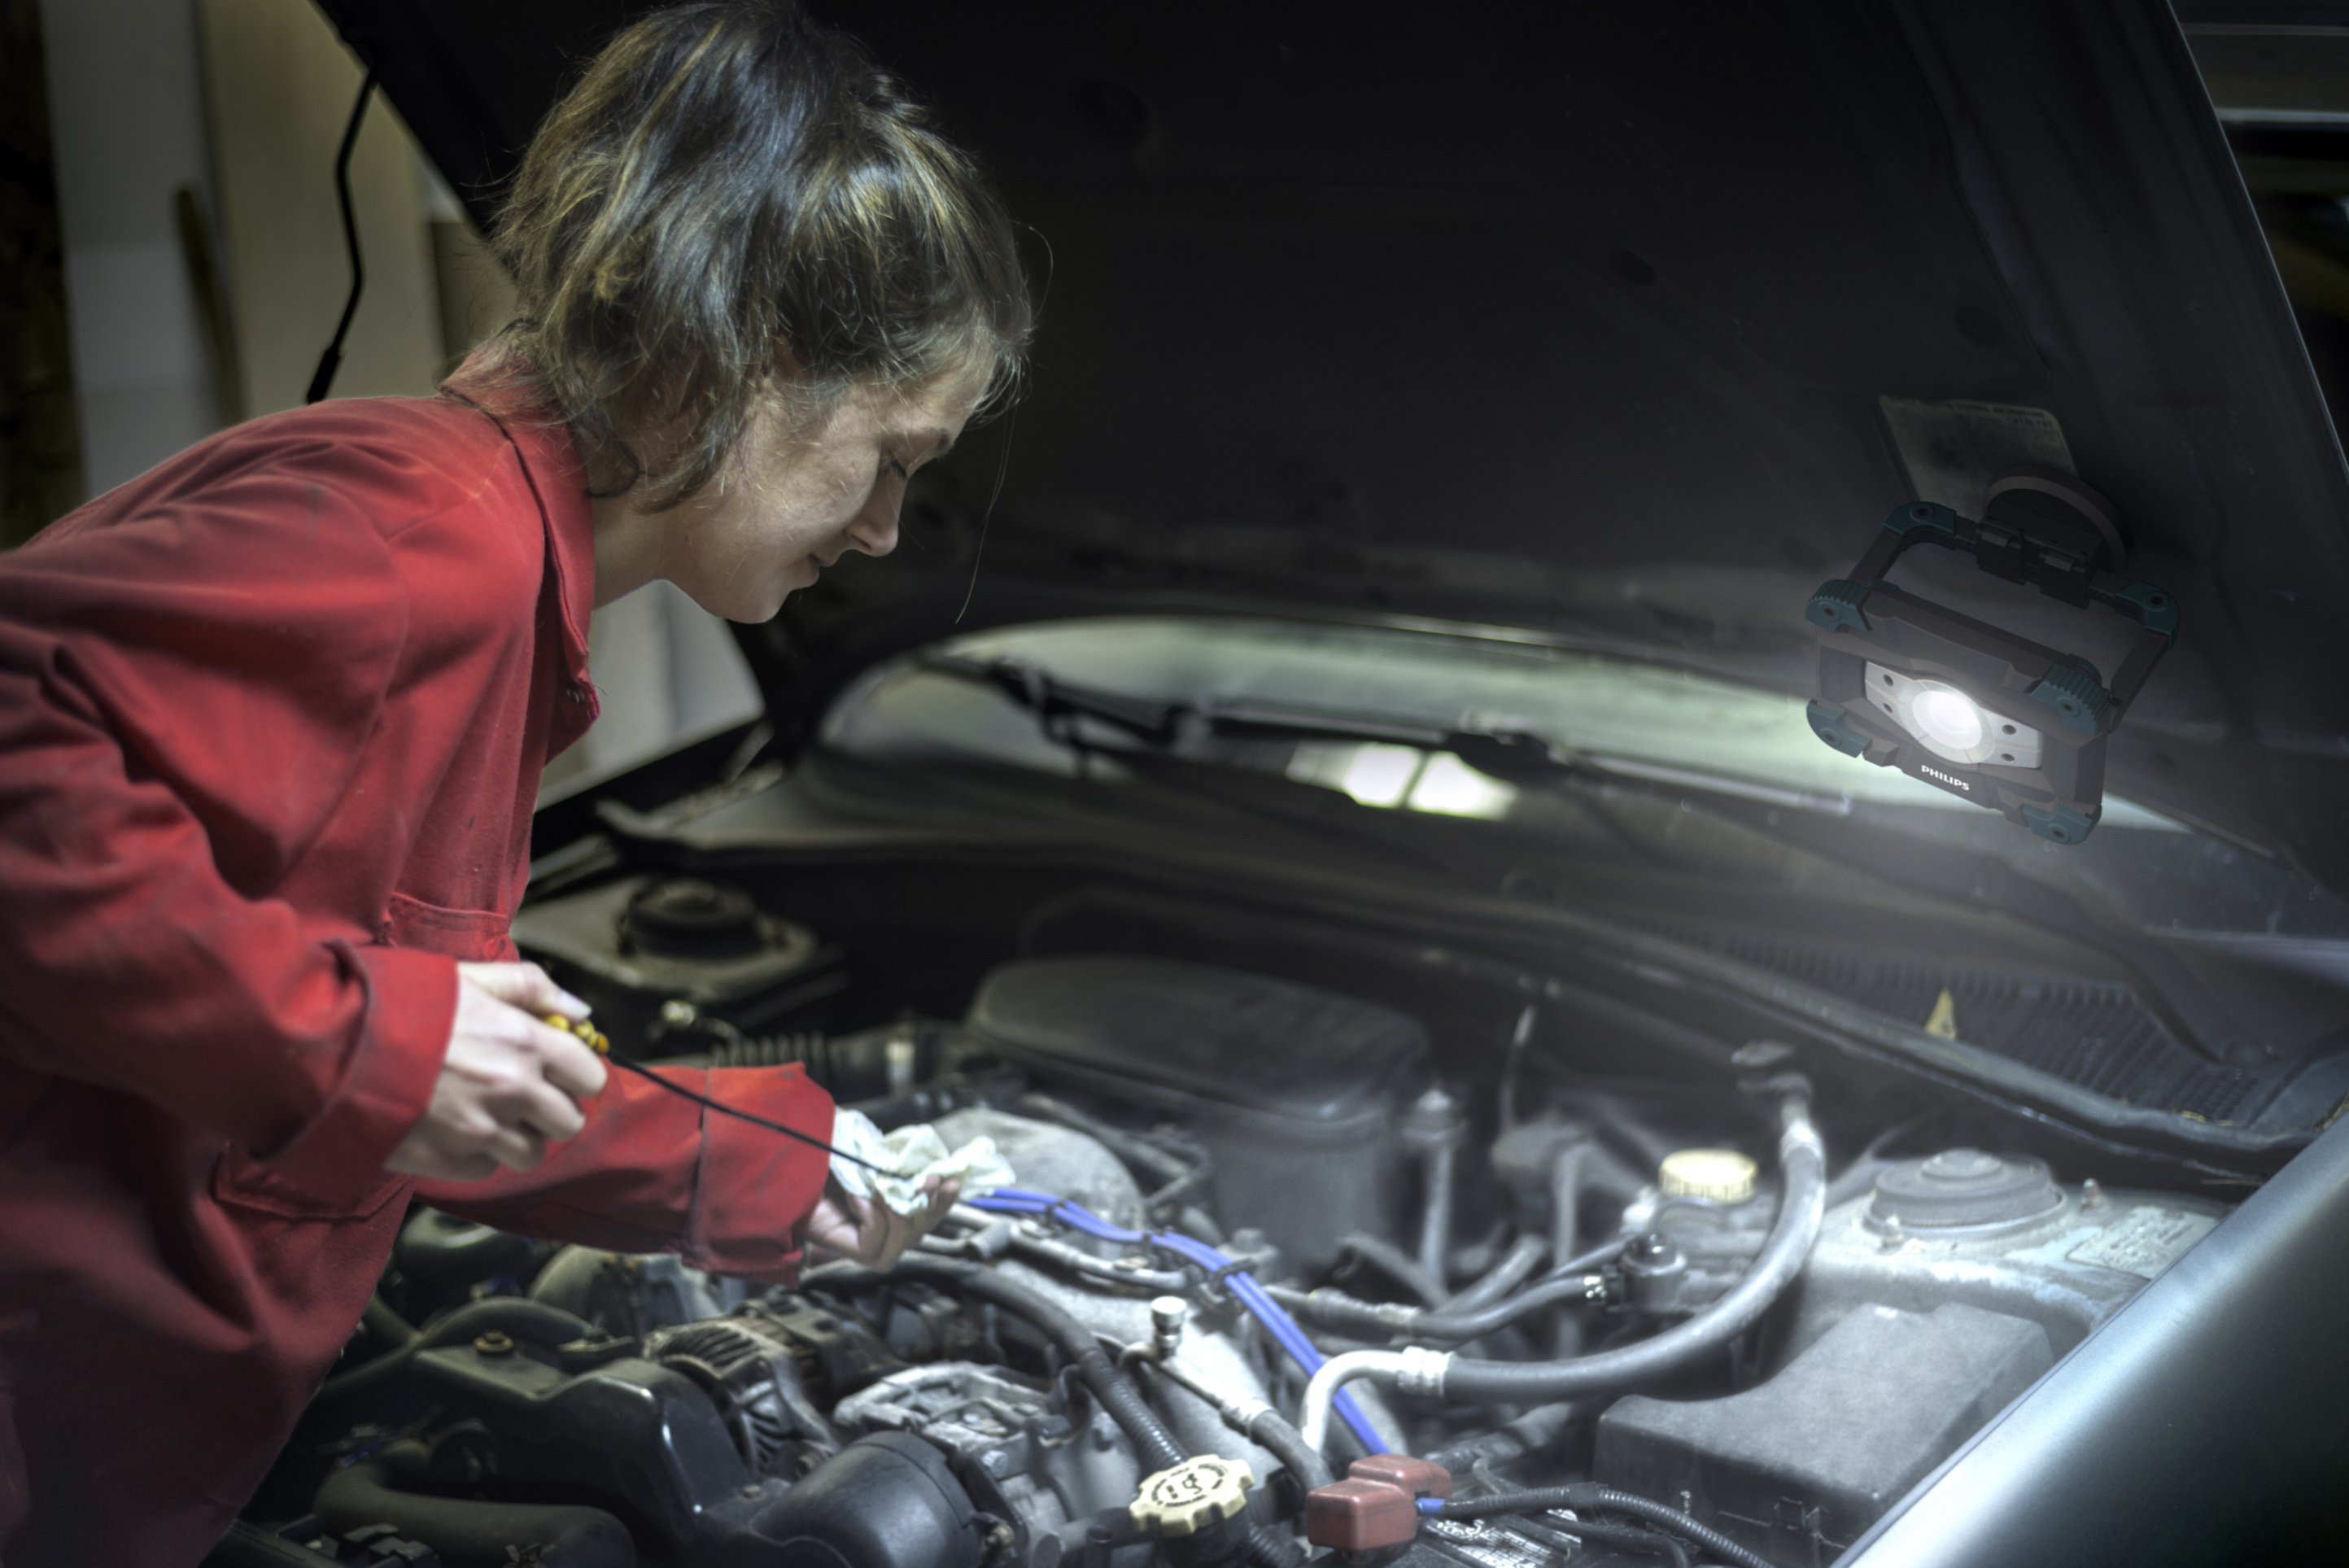
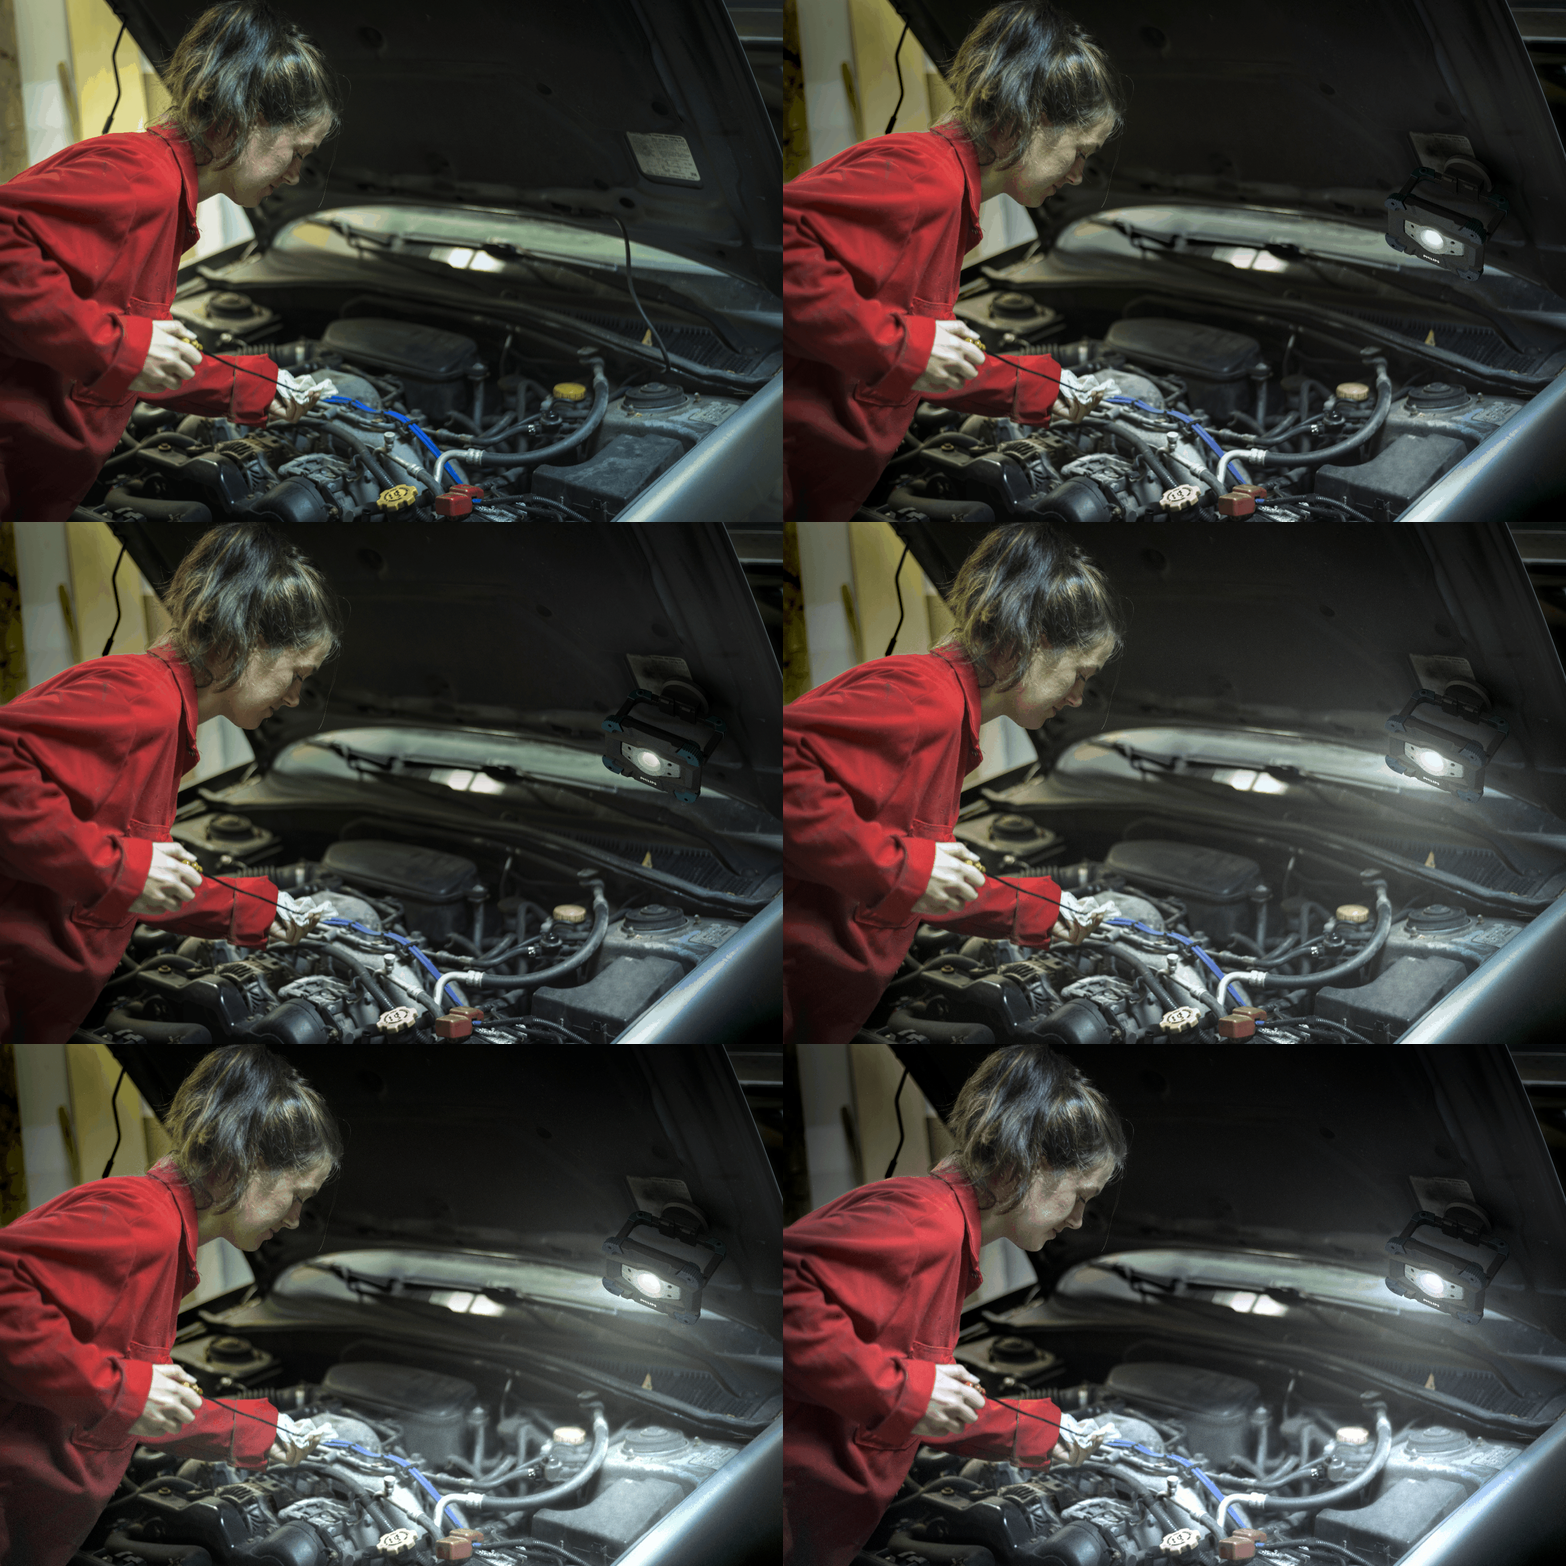
Most scenes relied on simple additional geometry to approximate the objects in the lifestyle photography to catch shadows, occlusion and illumination effects. For some atmosphere, volume scattering material on a sphere around the lamps was rendered out from Octane Render standalone. In combination with IES light profiles, the rendered look could be derected very well.
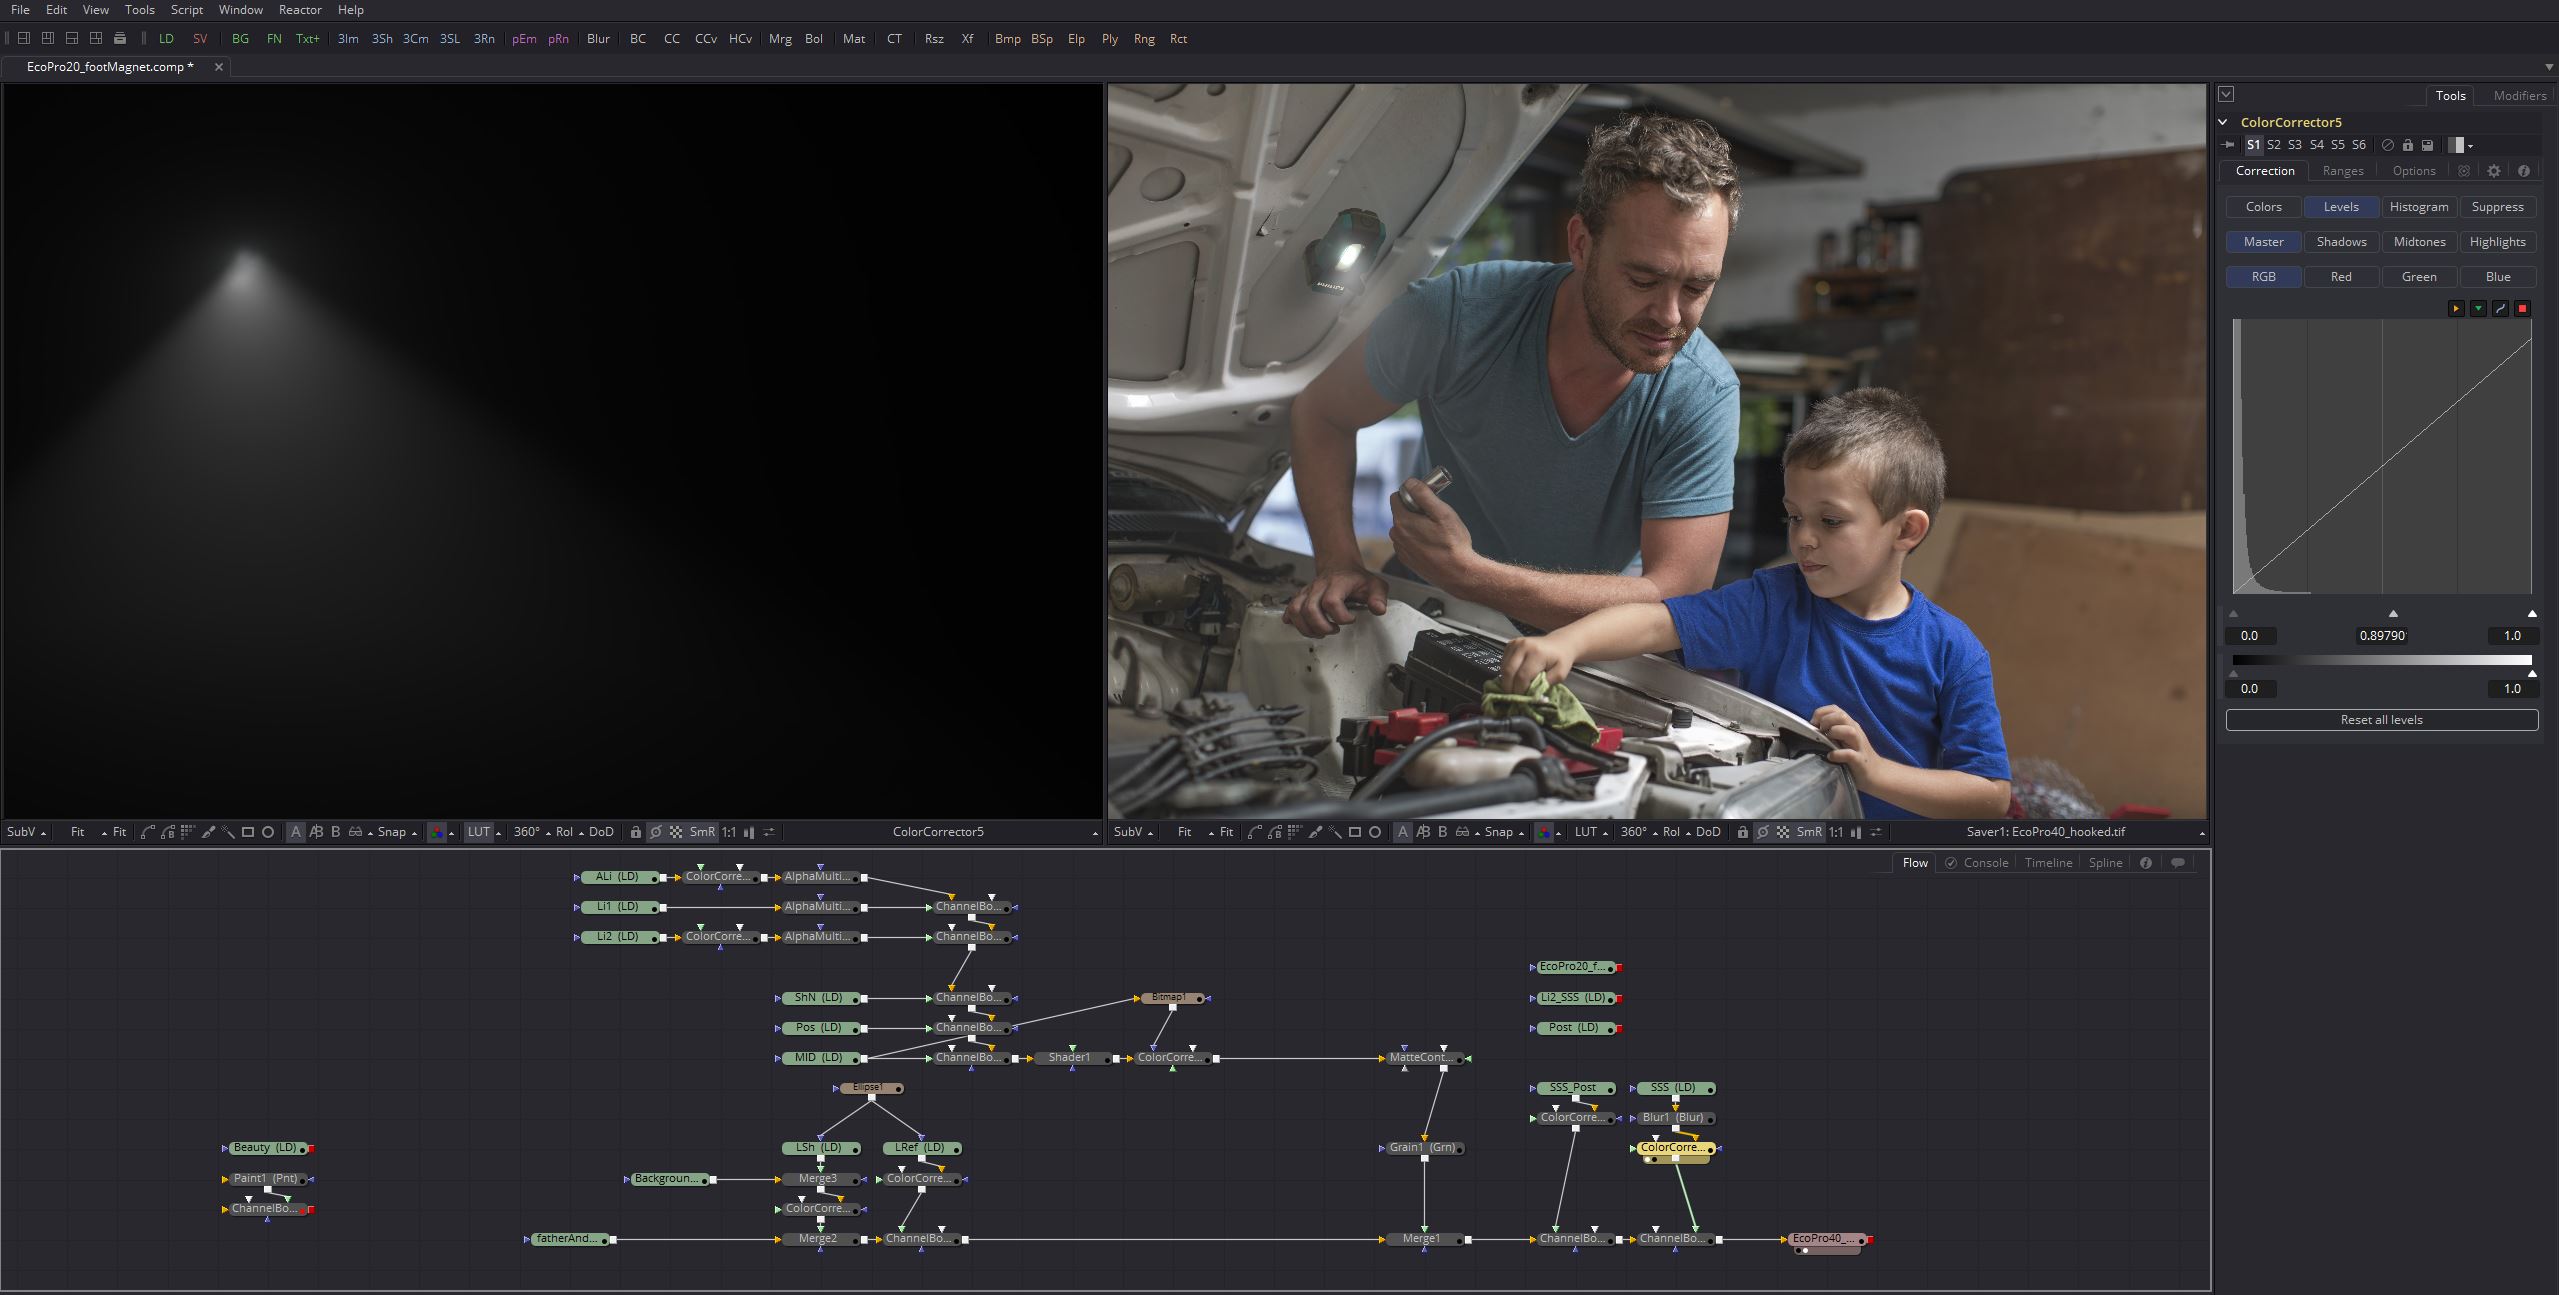
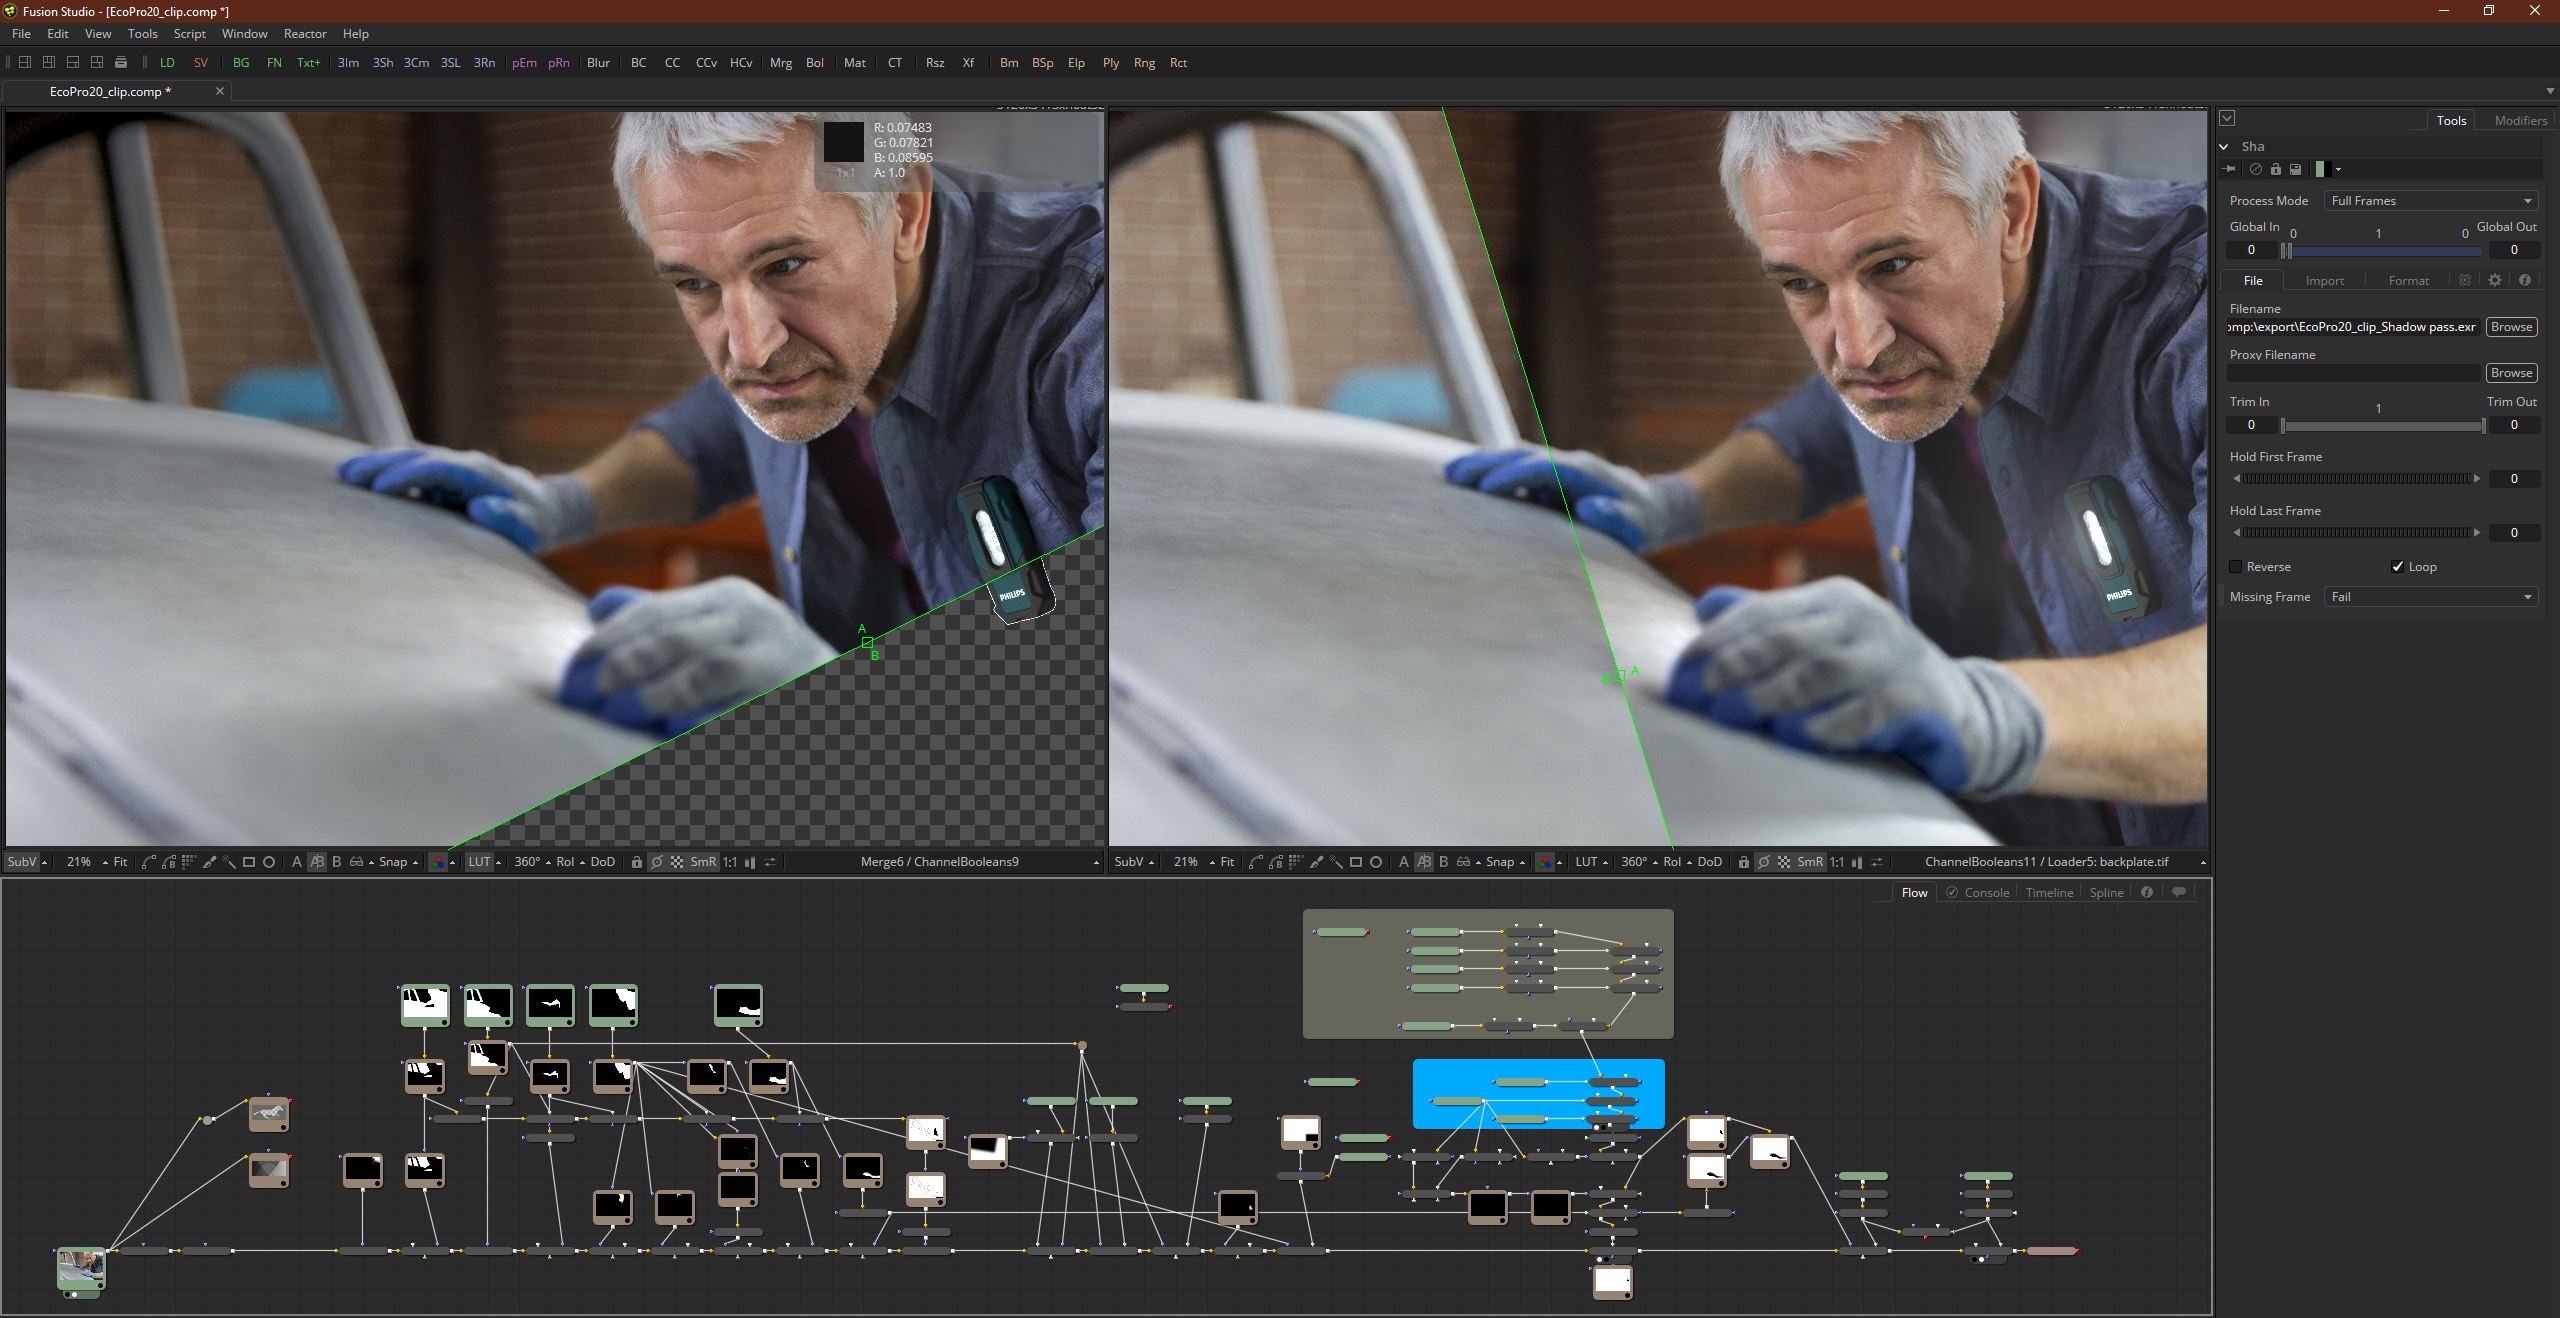
Beauty passes and info passes were composited over the lifestyle photography in Fusion Studio. Many external mattes, created in Photoshop and in Affinity Photo (combining the strengths of each application selection tools and exchanging that data back and forth) defined the larger corrections in Fusion. Then, the tidy-up and detail work was mostly dodging and burning in Photoshop.
