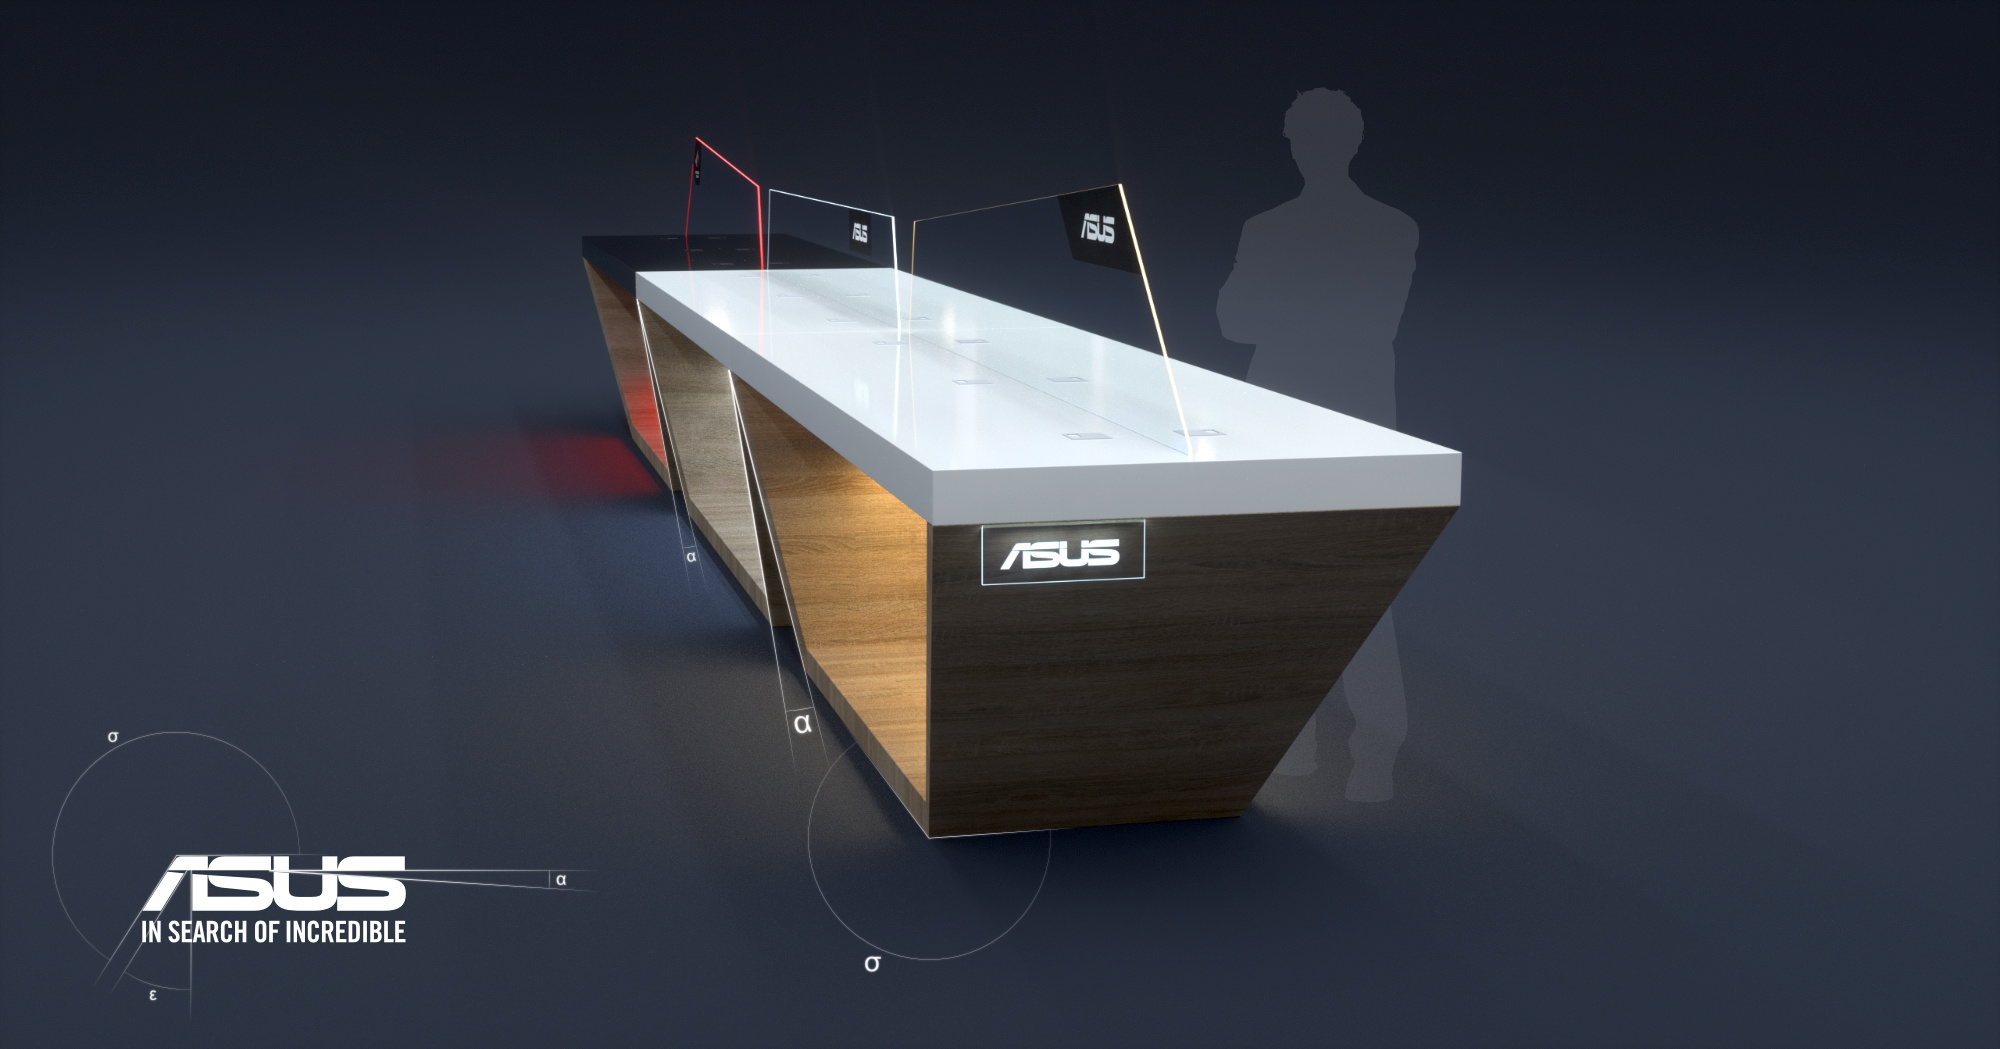
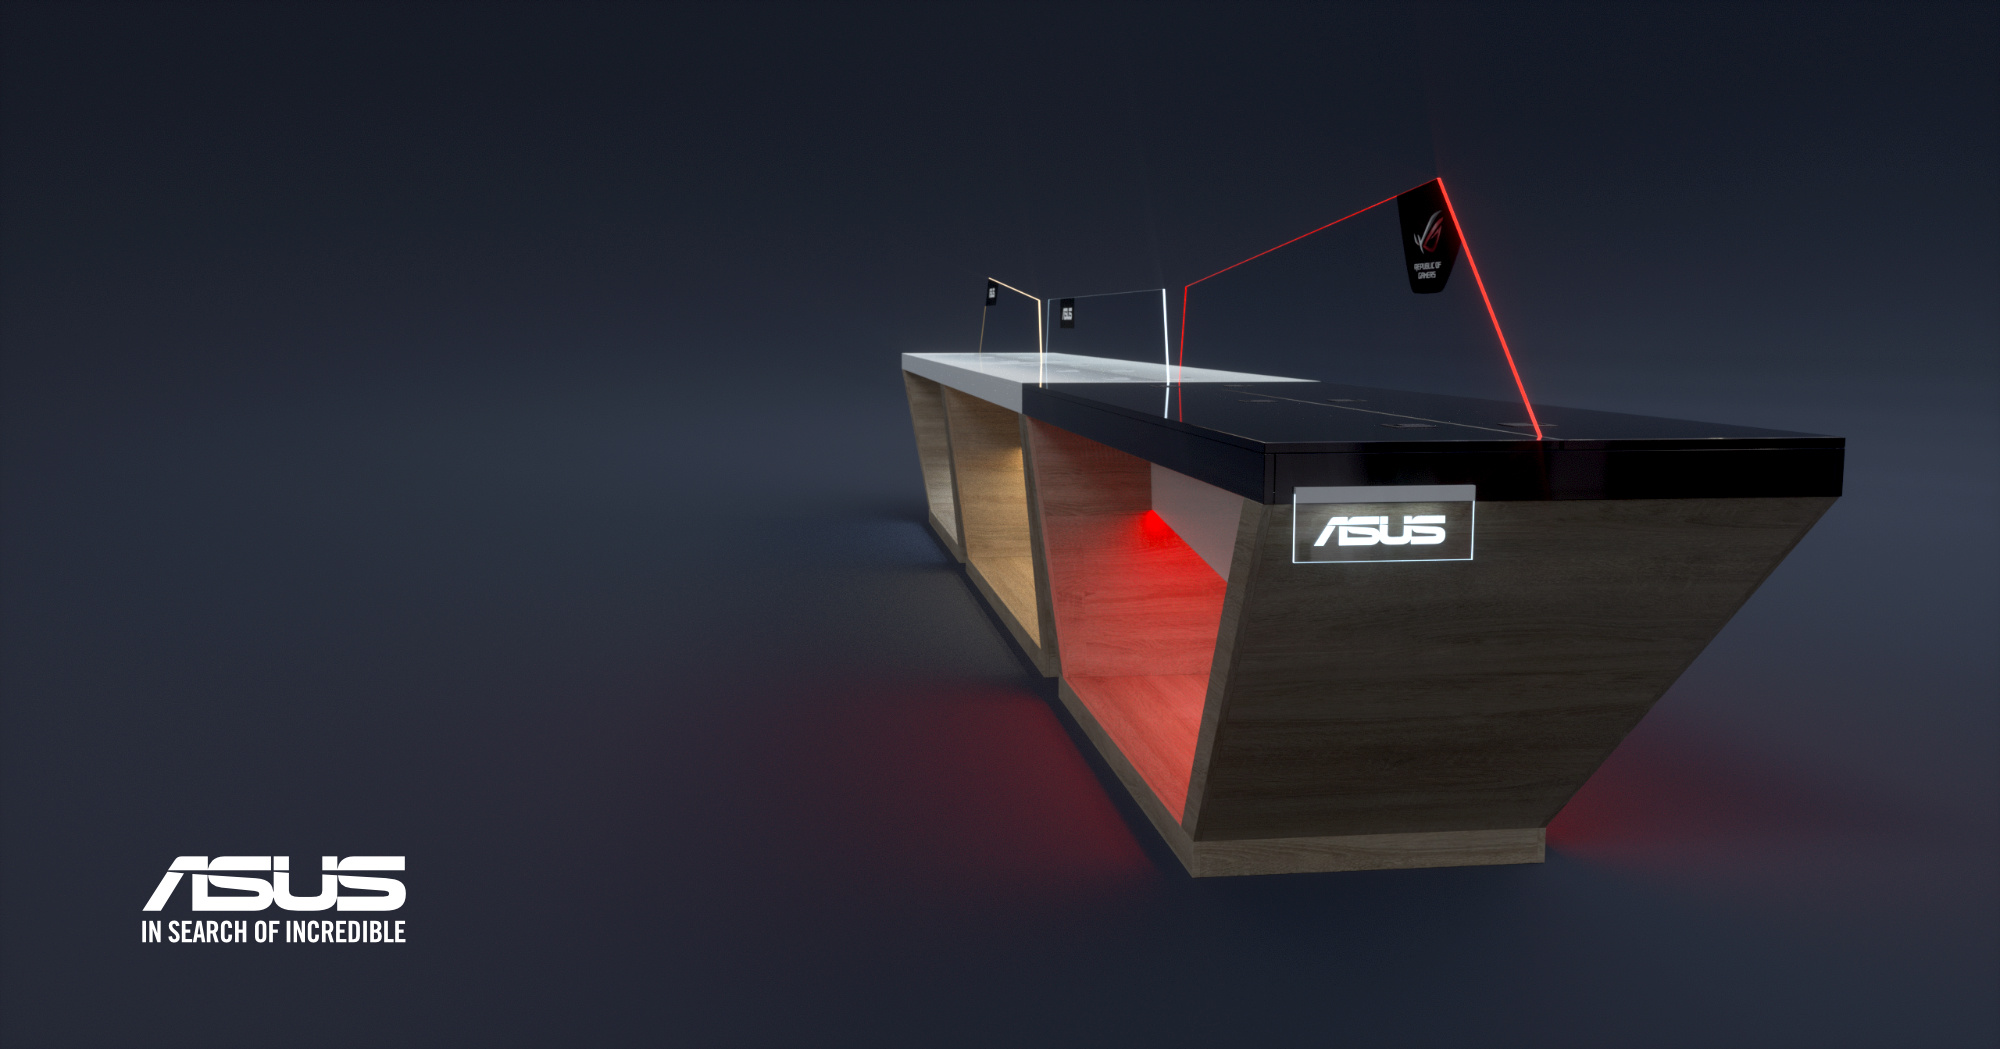
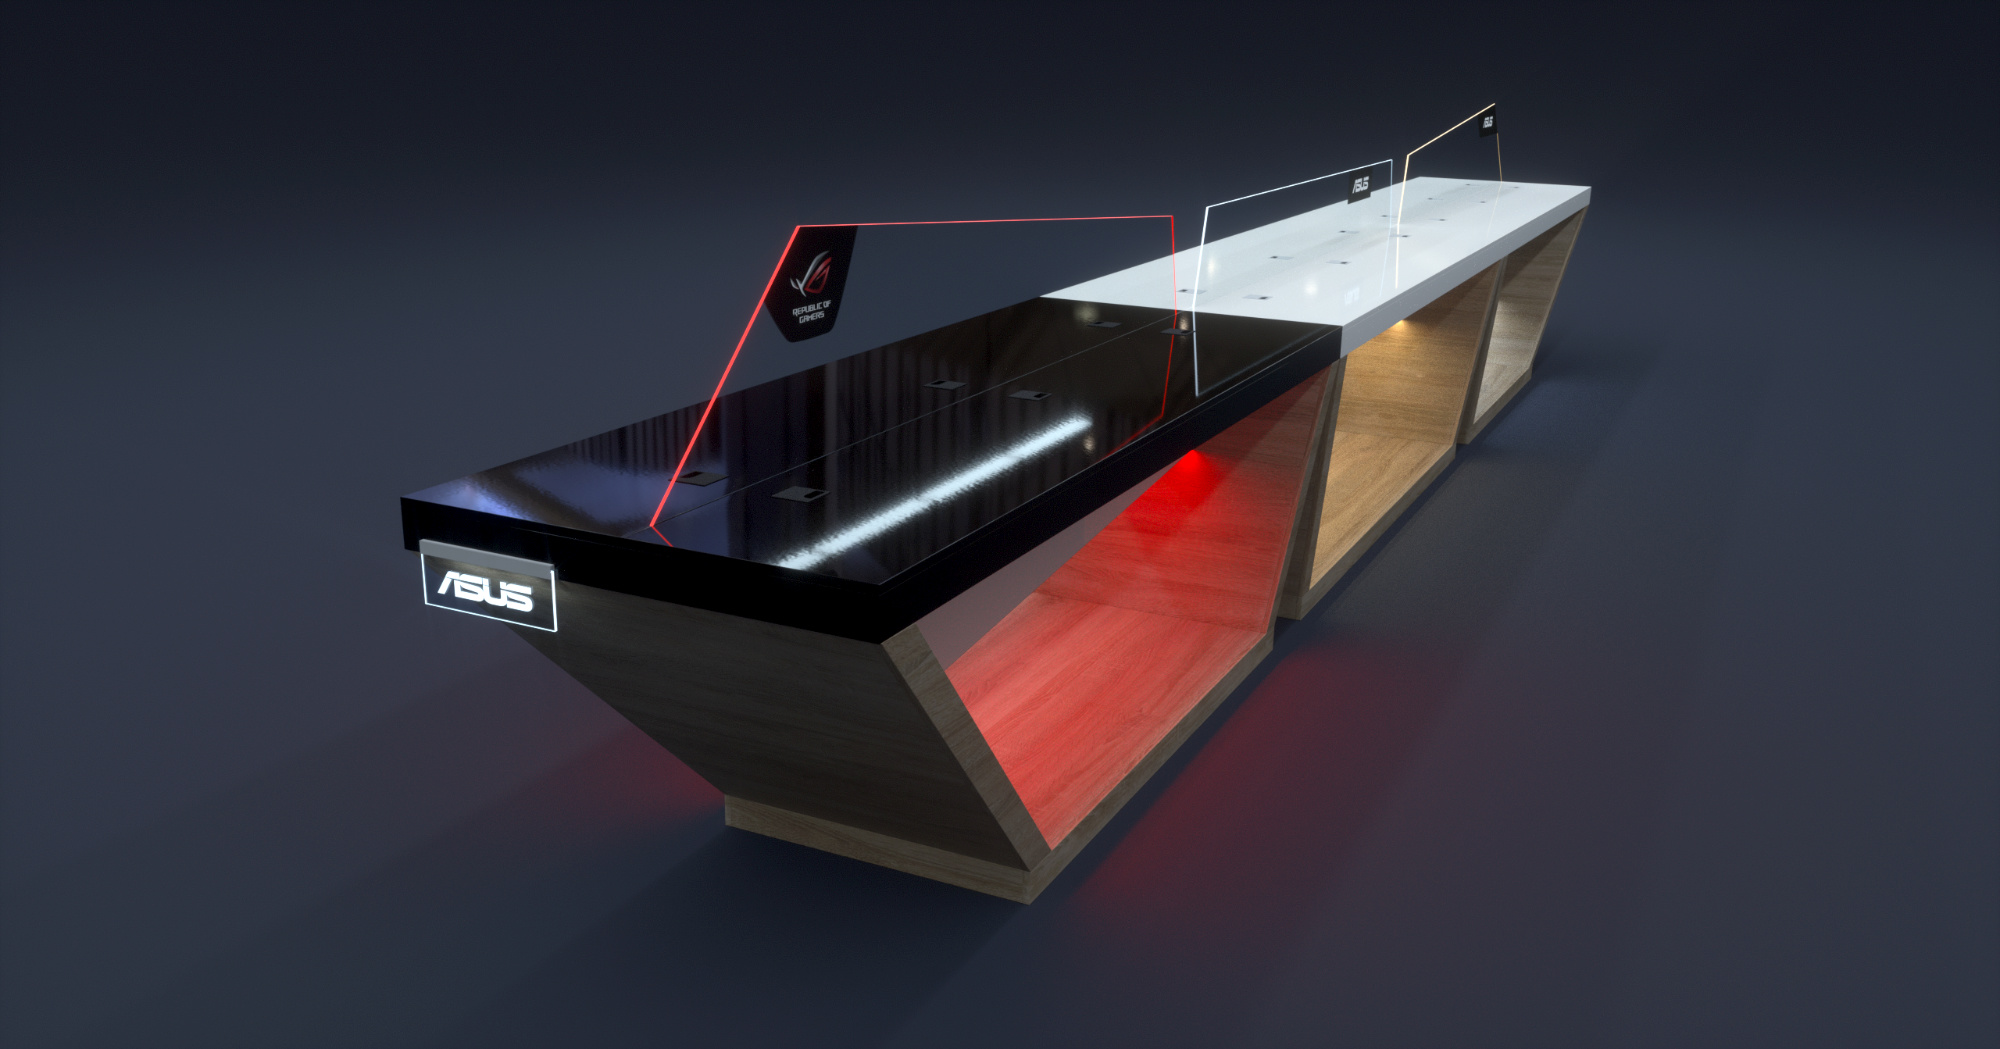
The island shapes were meant to resemble the general character of the ASUS logotype. From a graphic design standpoint,
the contrast created by and between overlapping surfaces, their angles, materials and shading (or illumination), is bound
to match certain features of the logotype depending on the vantage point. That was a strong selling point.
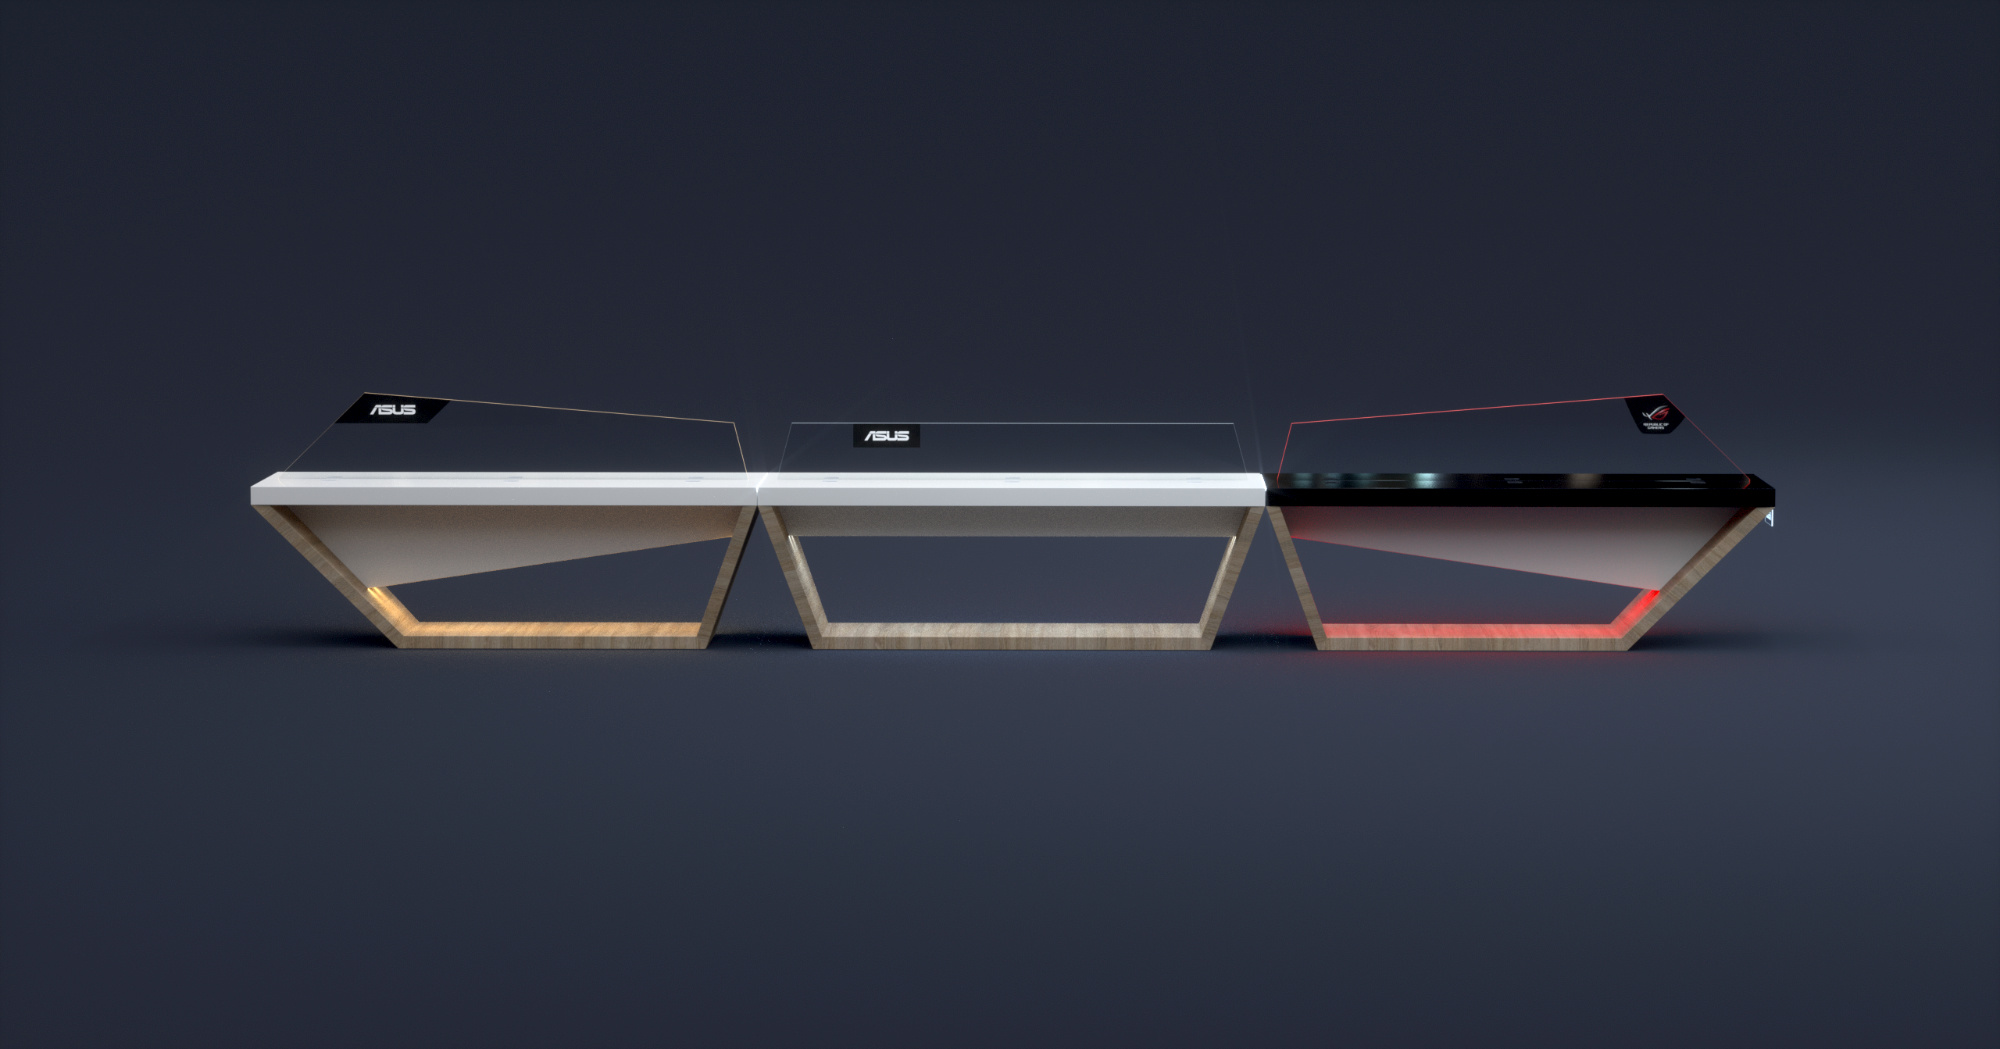
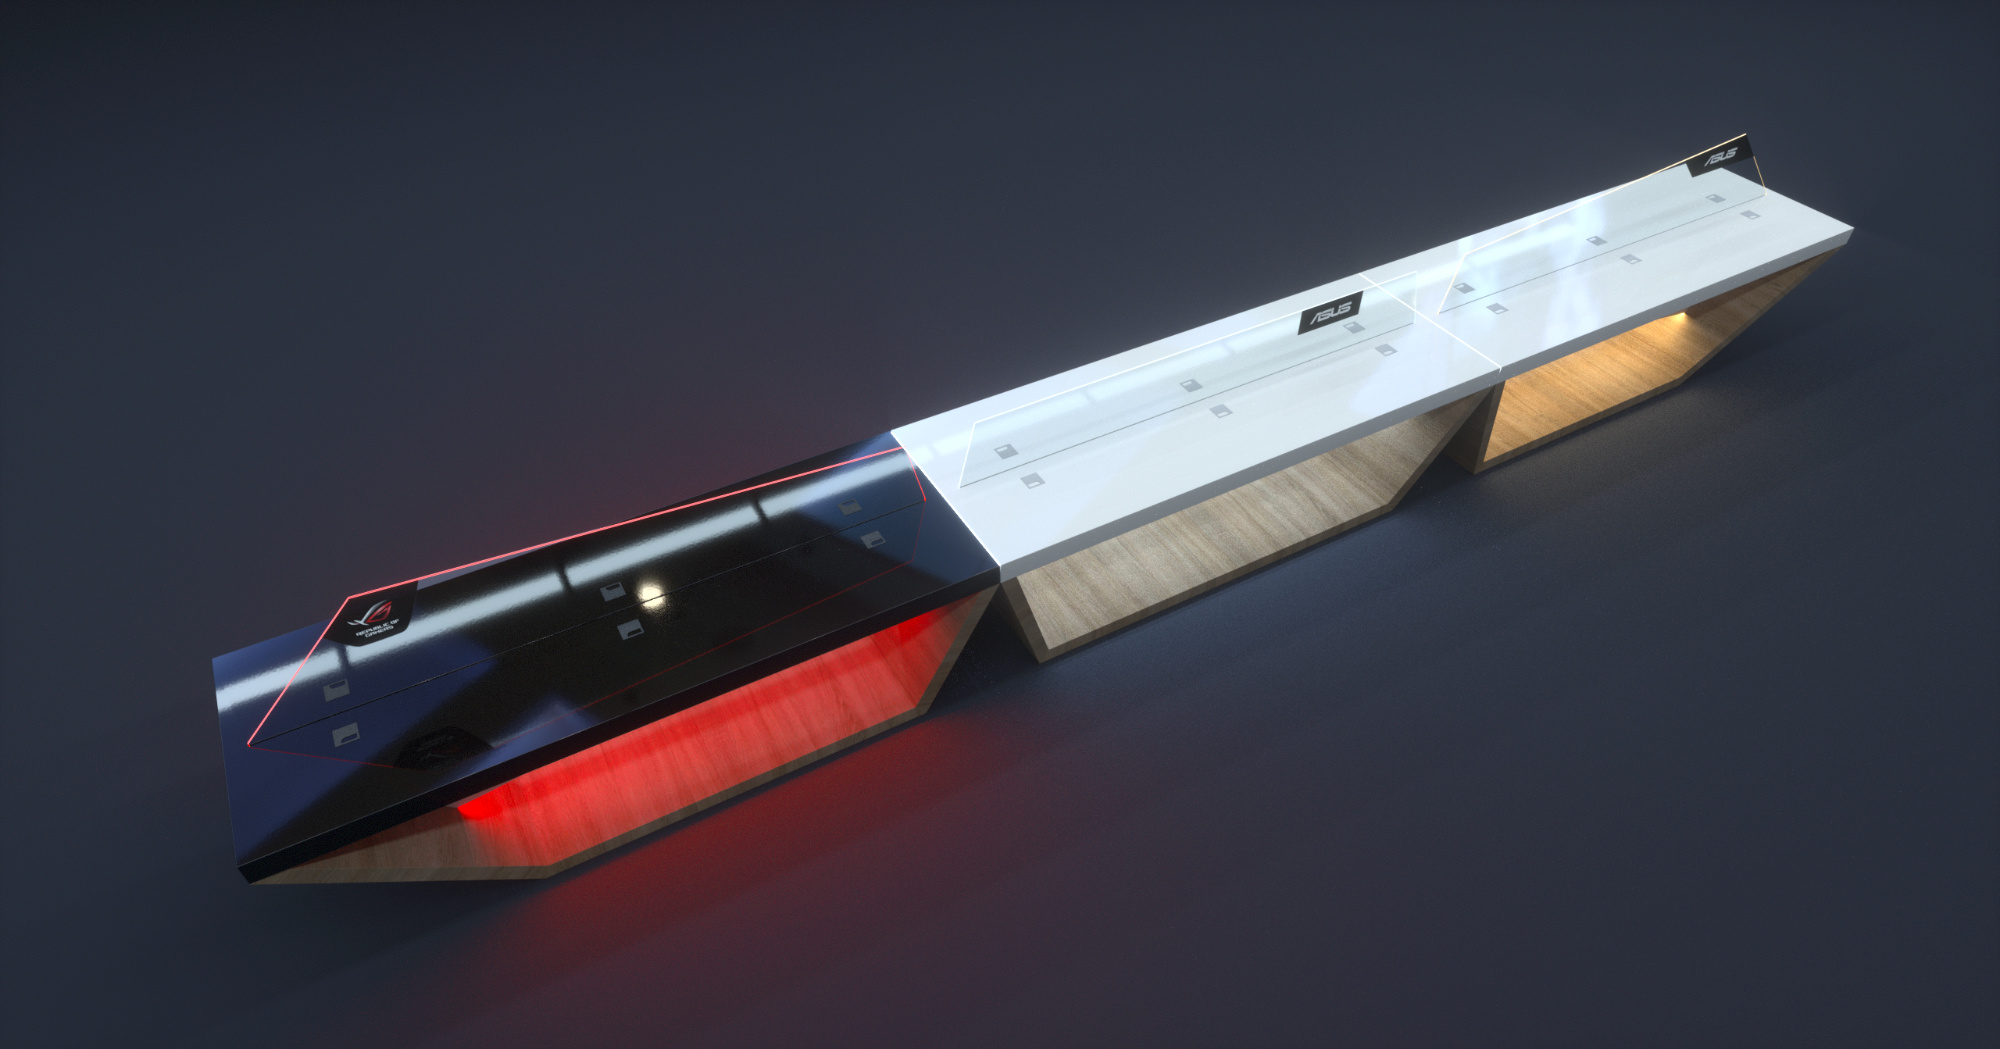
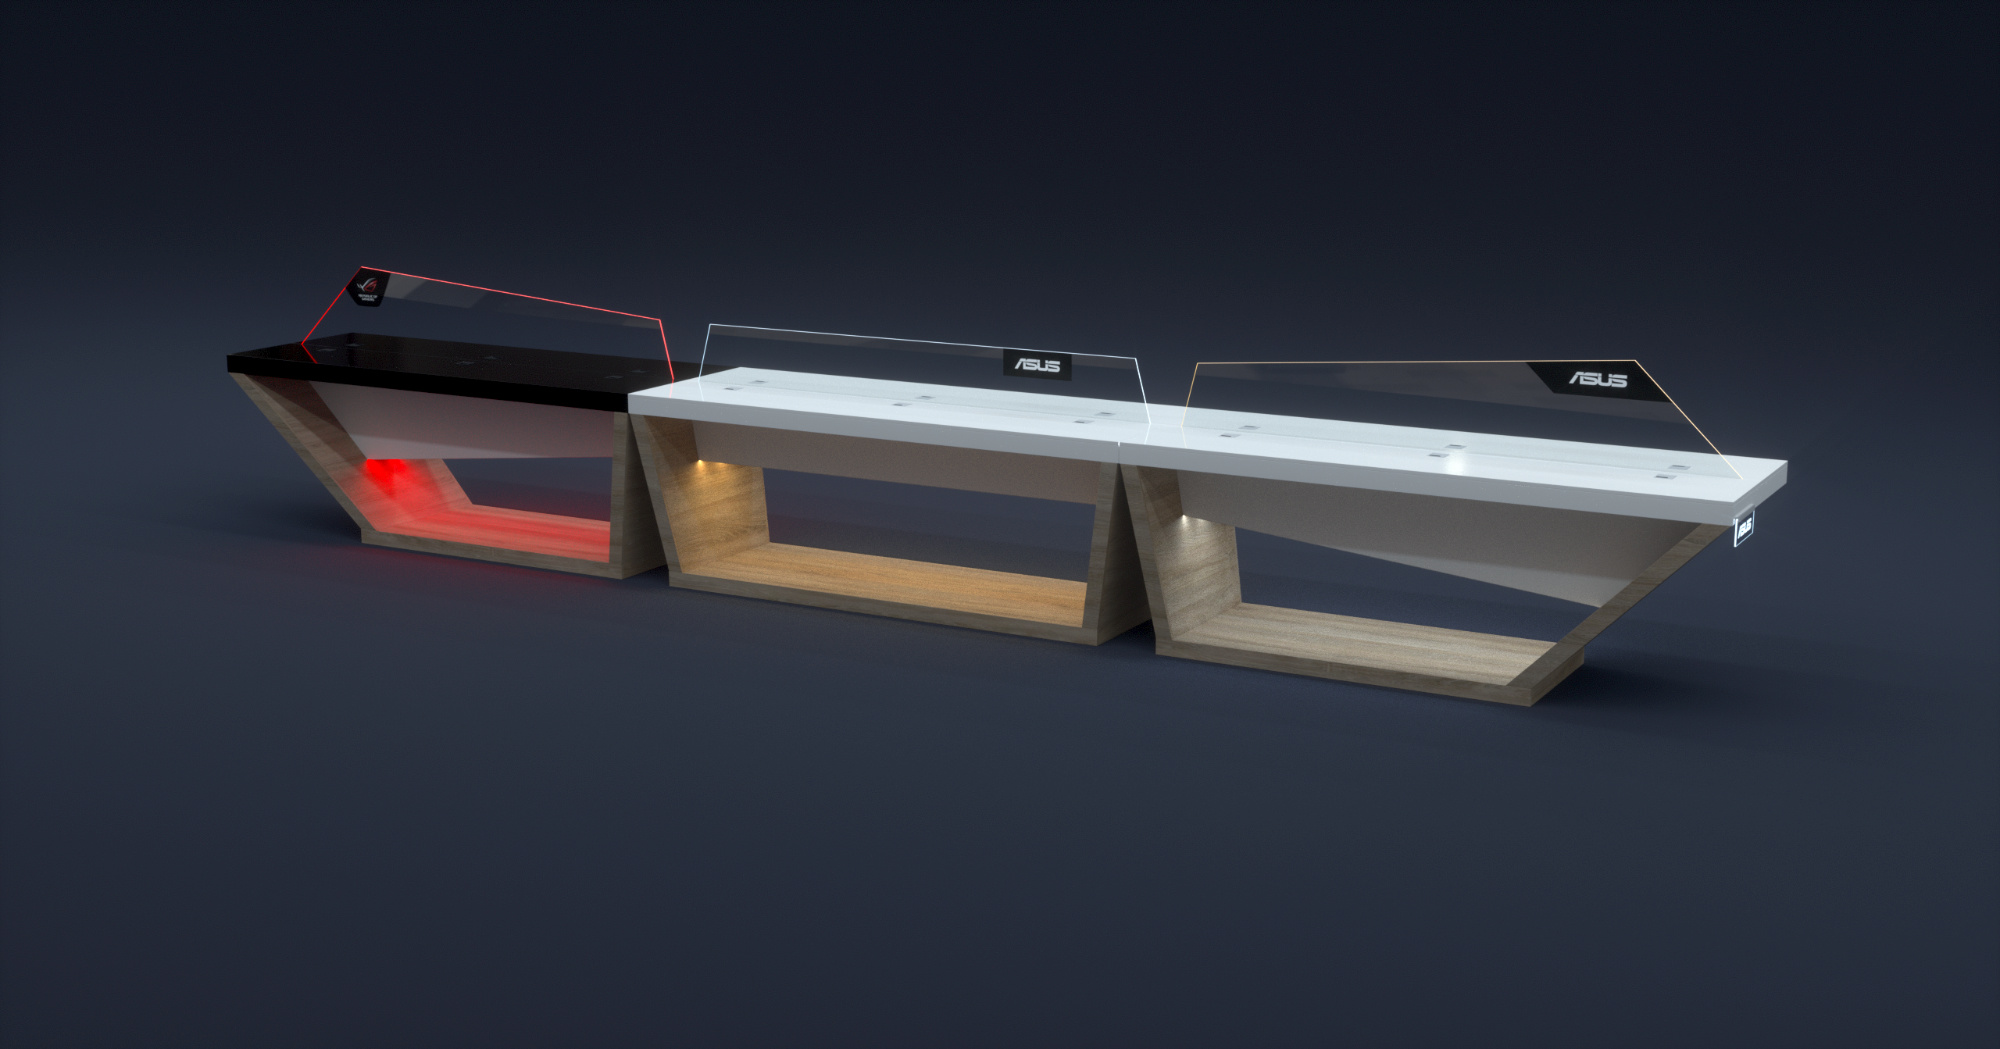
Because that island had to be applicable for a range of stores, each with somewhat different requirements and floor space,
the modular design allowed for enough flexibility and scalability. In that example, the end modules were practically identical
and simply rotated 180 degrees. The middle module could be omitted or repeated. In other scenarios, module lengths were reduced
and so cold cover lengths in smaller increments.
Preliminary pen on paper sketch was only used briefly to get the 3D model going. (I don't keep it, but the point is that pen on paper focuses my mind.)
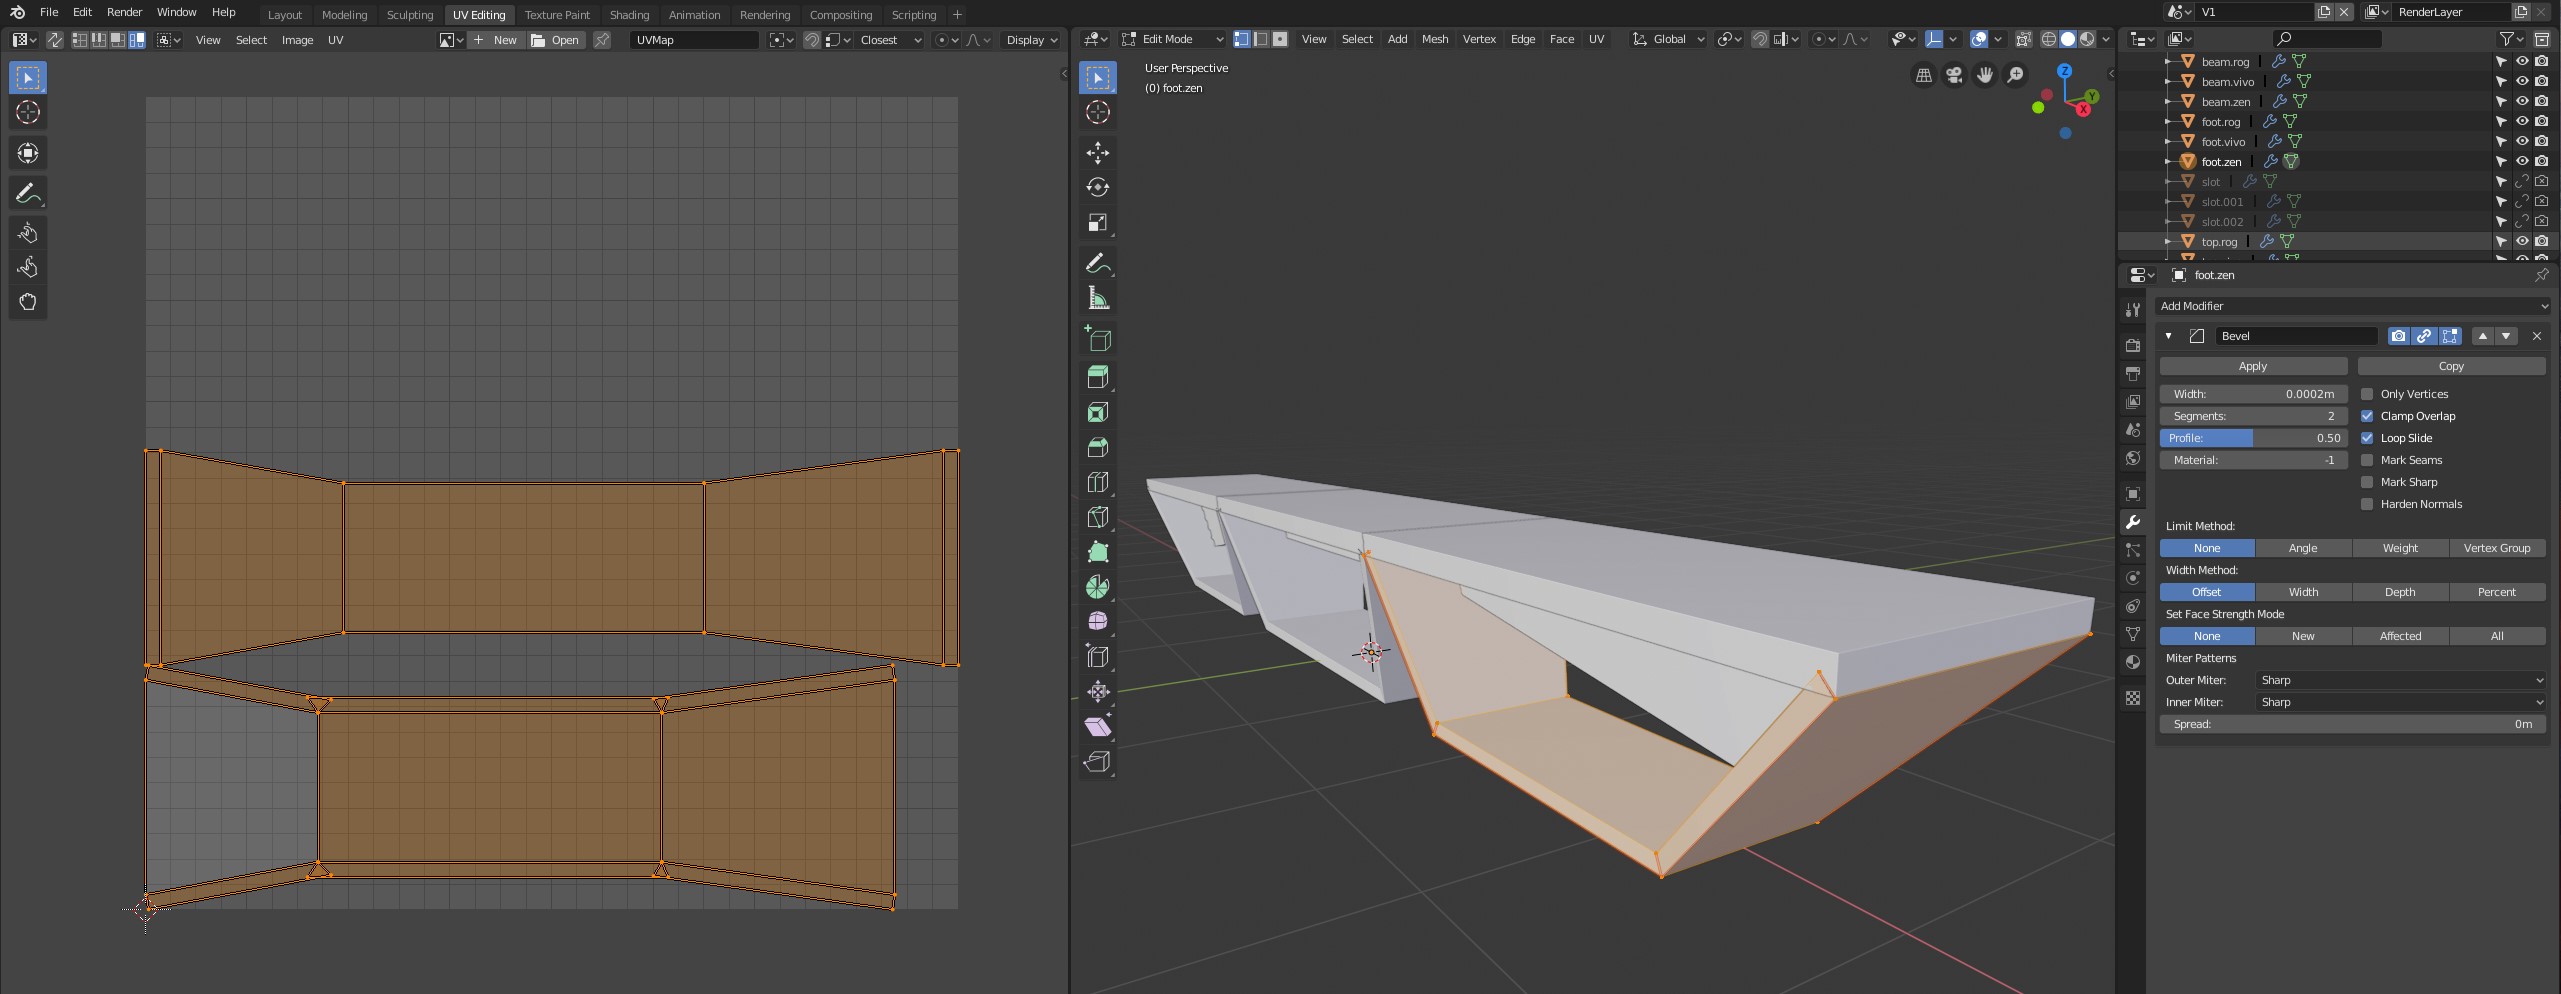
The concept was modelled in Blender. While solid based modelling may often be the standard for that kind of task,
polygons are king for flexibility and quick experimentation with such double angled panels. As long as the model
remained physically plausible and manufacturable, polygon or solid modelling didn't matter at that phase.
Parts of the model which required image-based texturing were UV unwrapped. Then, the texture layouts were made in Affinity Designer (an Illustrator alternative) and Photoshop.
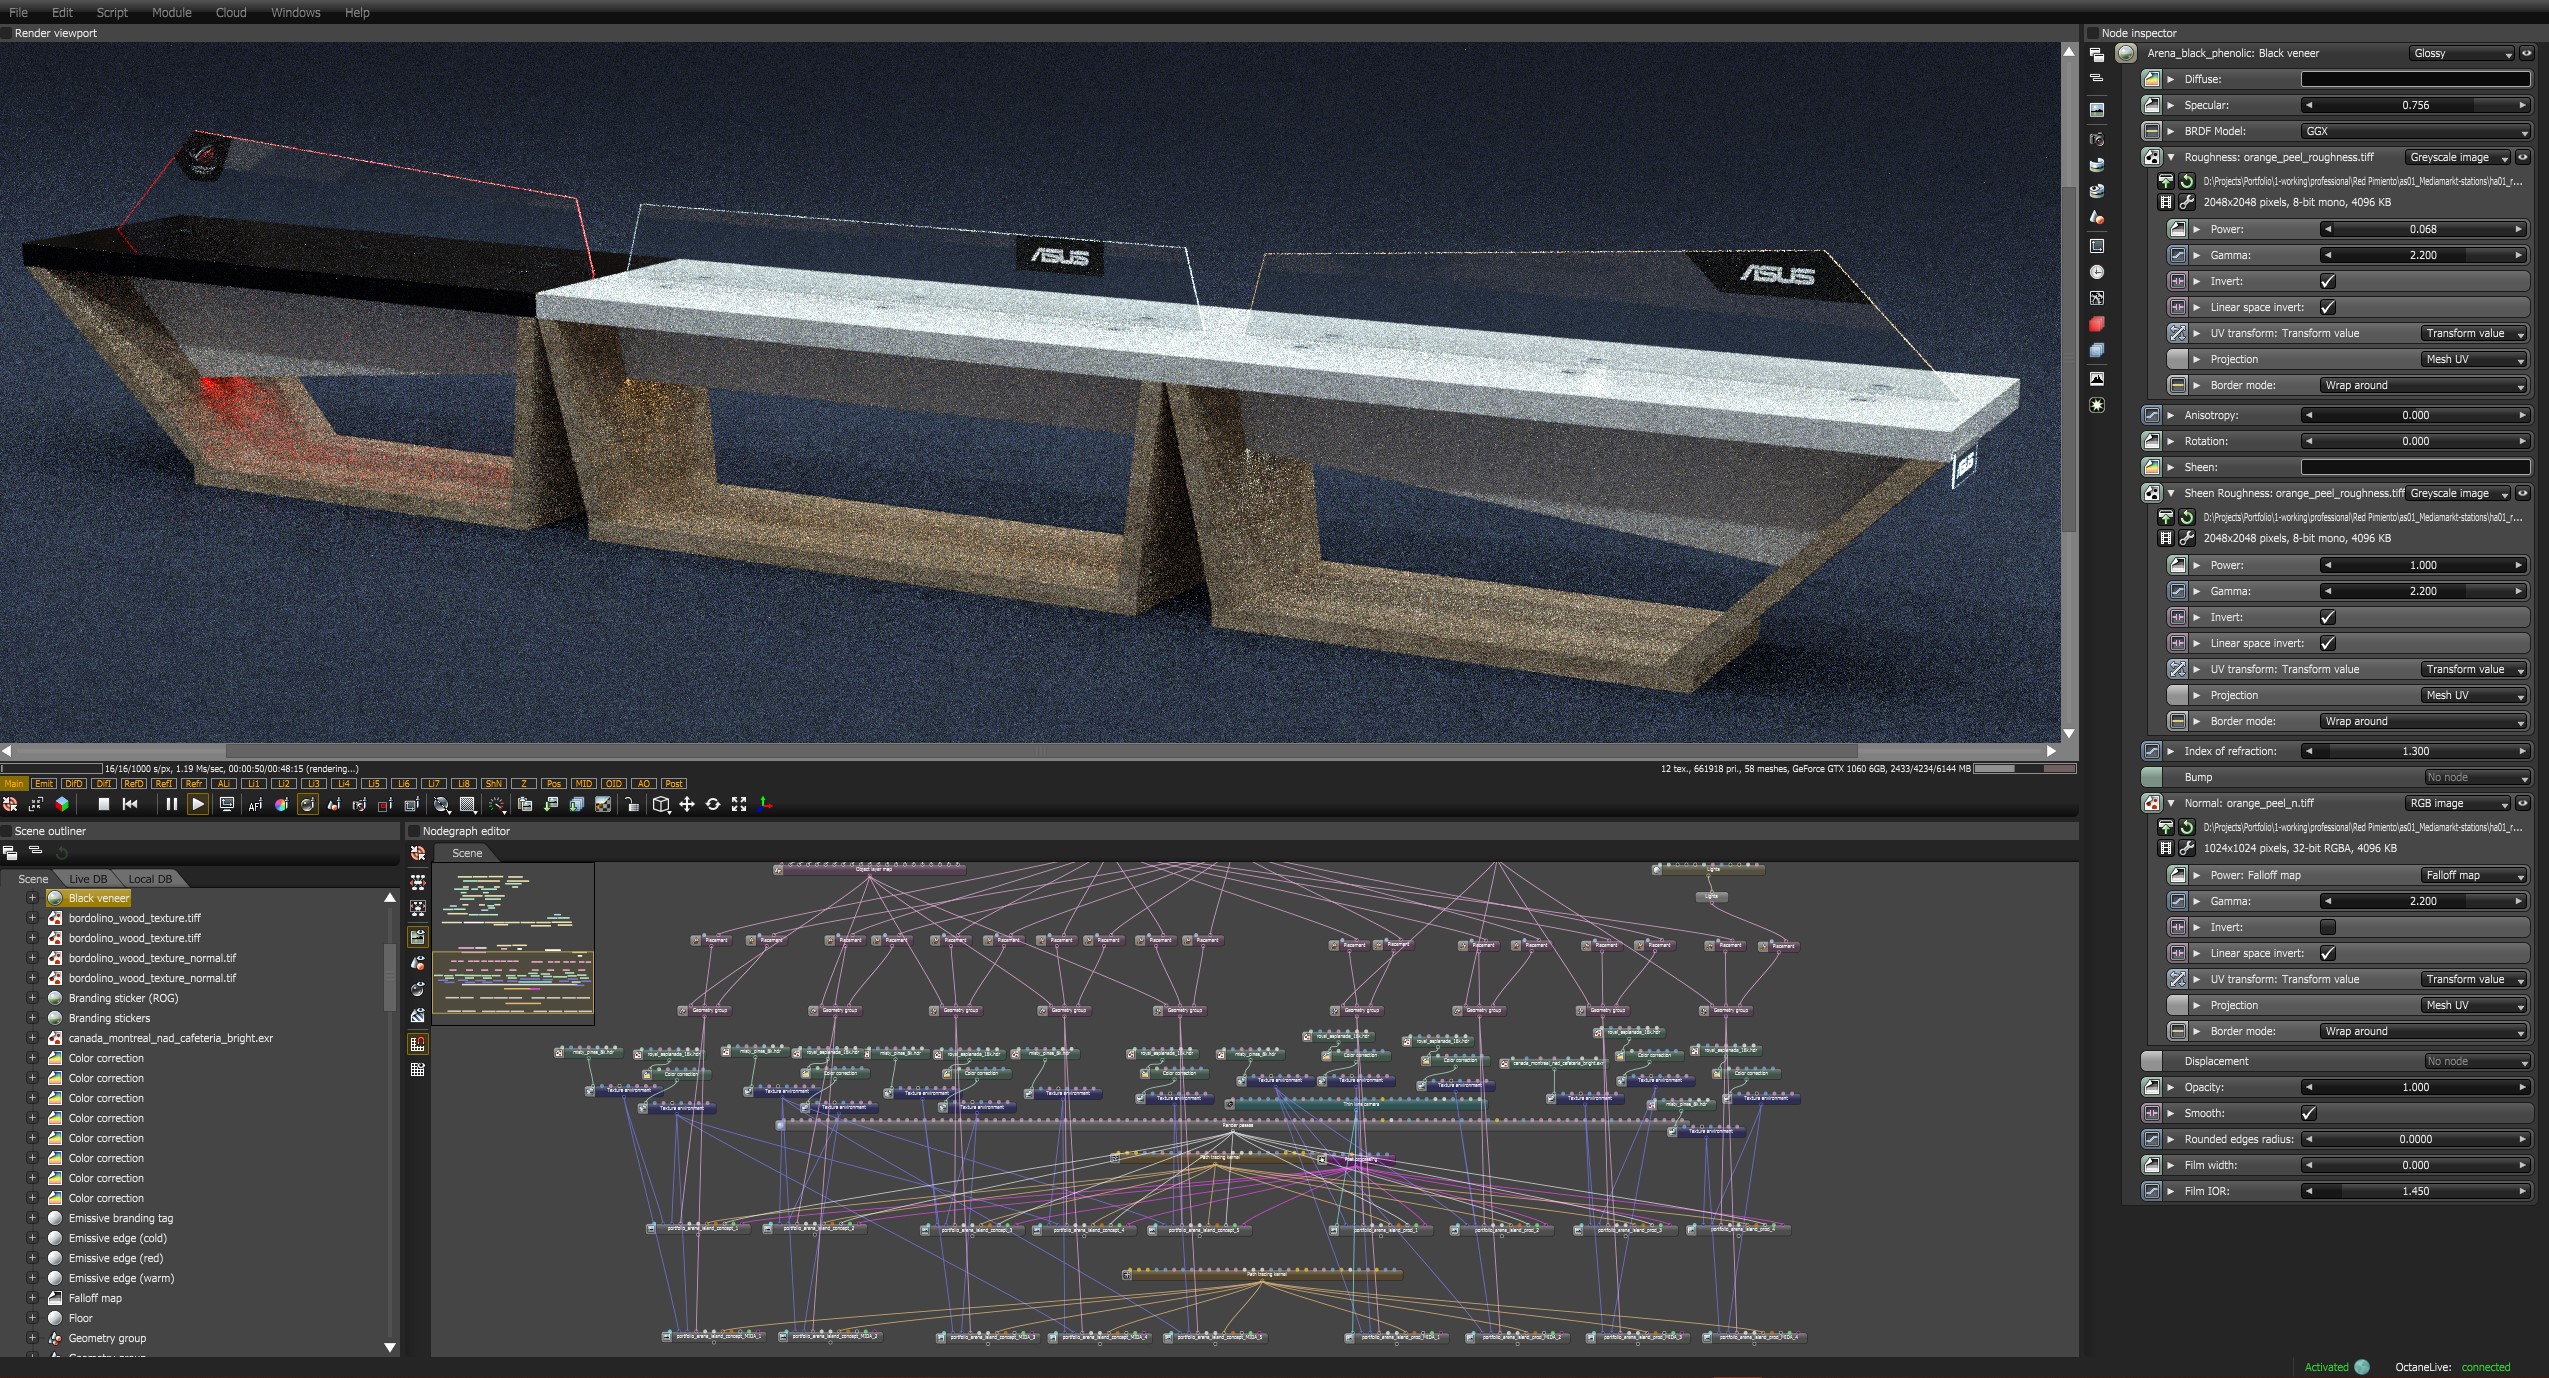
Shading in Octane Render standalone was a breeze. For lighting, most of the time a single high-quality HDR image was enough
(Not that I advocate for that approach. Different scenarios, budgets, locations, clients would be addressed differently vis-a-vis time,
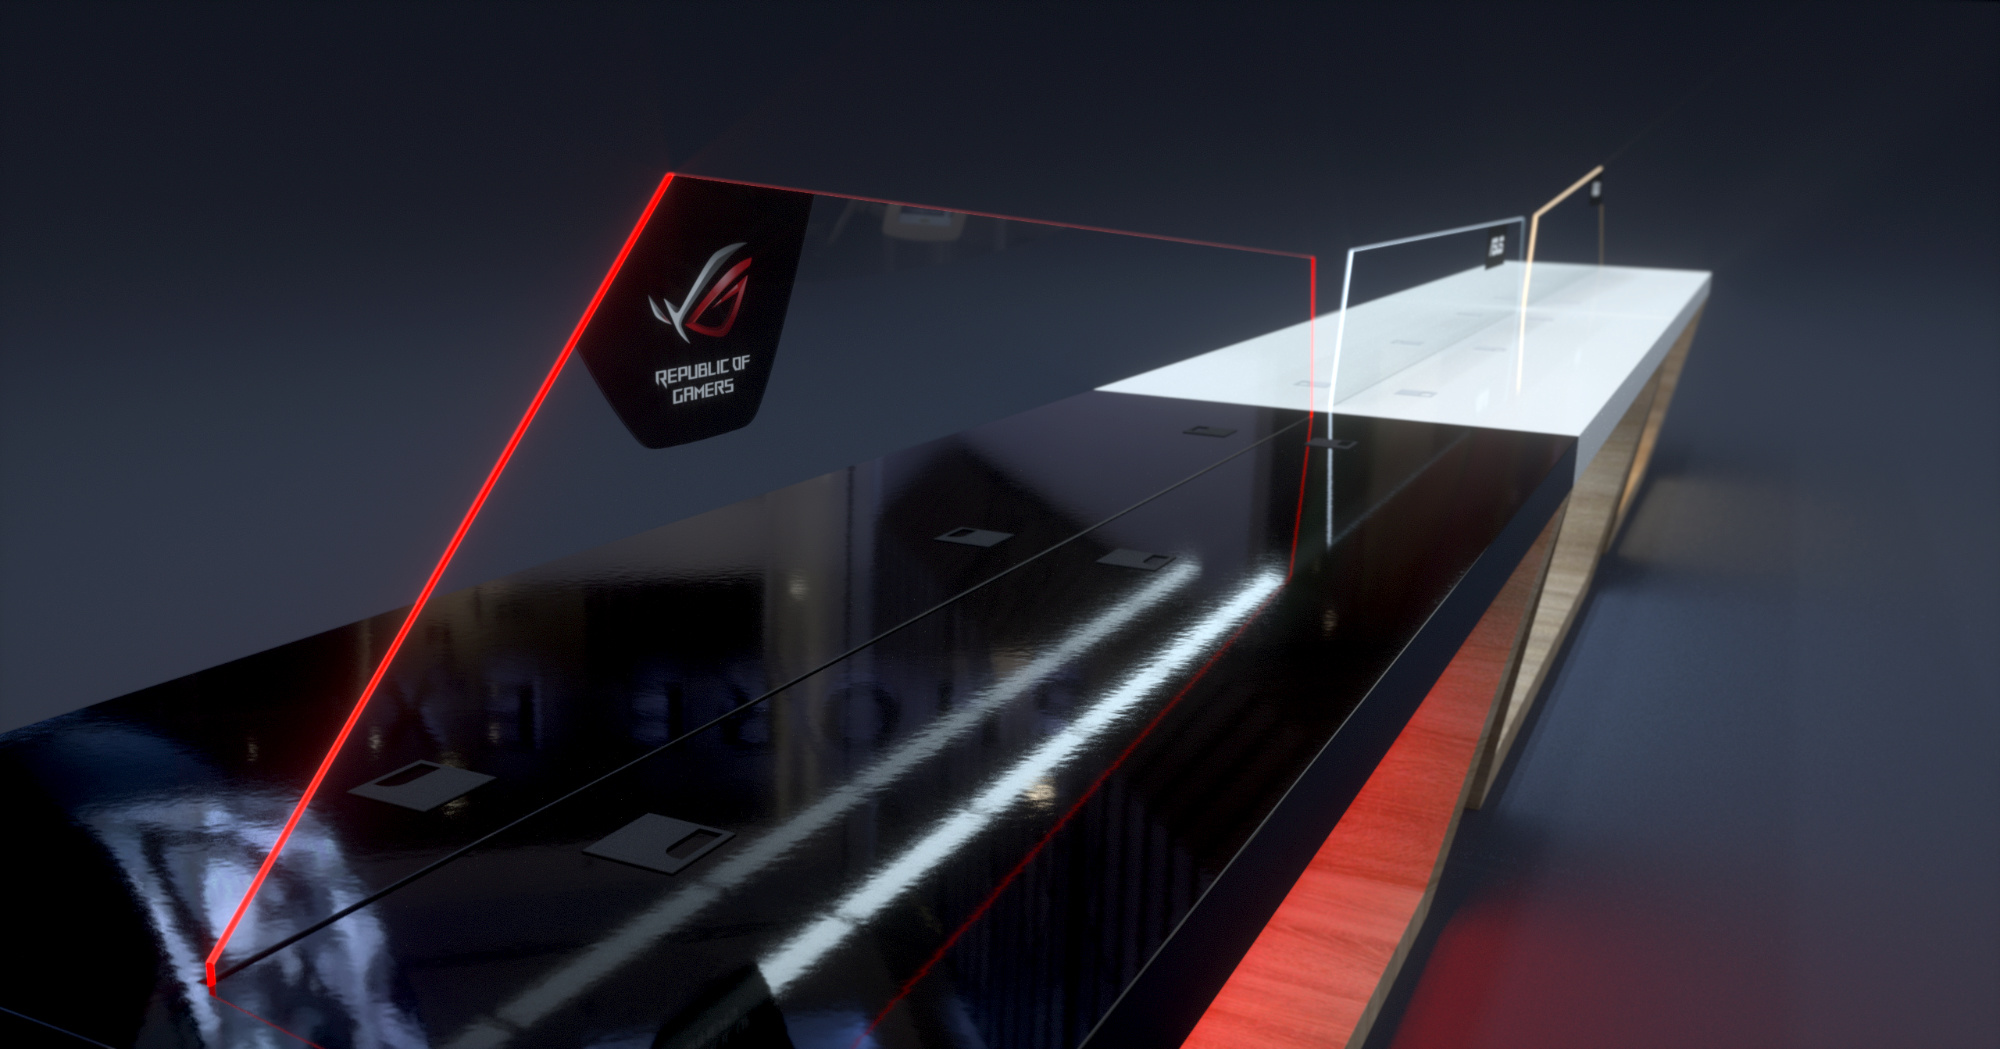
money and quality trade-offs.) Cascading mixed shaders were assigned to the glass for the illuminated edge, the branding, and of course - for the glass.
Some micro-surface detail was achieved using normal maps generated in Zeuxis (a tiny procedural generator available through Steam; It looks prehistoric, but who cares - Check it out!)
For most renders, info passes (aka AOVs - arbitrary output values) were also output, such as Material ID pass, Position pass, AO pass.
Loading their R, G or B channels as layer masks in Photoshop was great for targeted gamma adjustments for example.
That kind of control and that quickly can only happen in compositing (regardless of where that may take place - Photoshop or not.)
For added control over reflections and refractions, the corresponding beauty passes were also used in additive or in overlay
modes and with levels adjustments (neither of which was technically correct to composite over final beauty, but the desired look was achieved.)
Since, there was hardly any impact on render speeds for outputting separate beauty passes, switching few of them on was a no-brainer which added a ton of compositing flexibility.
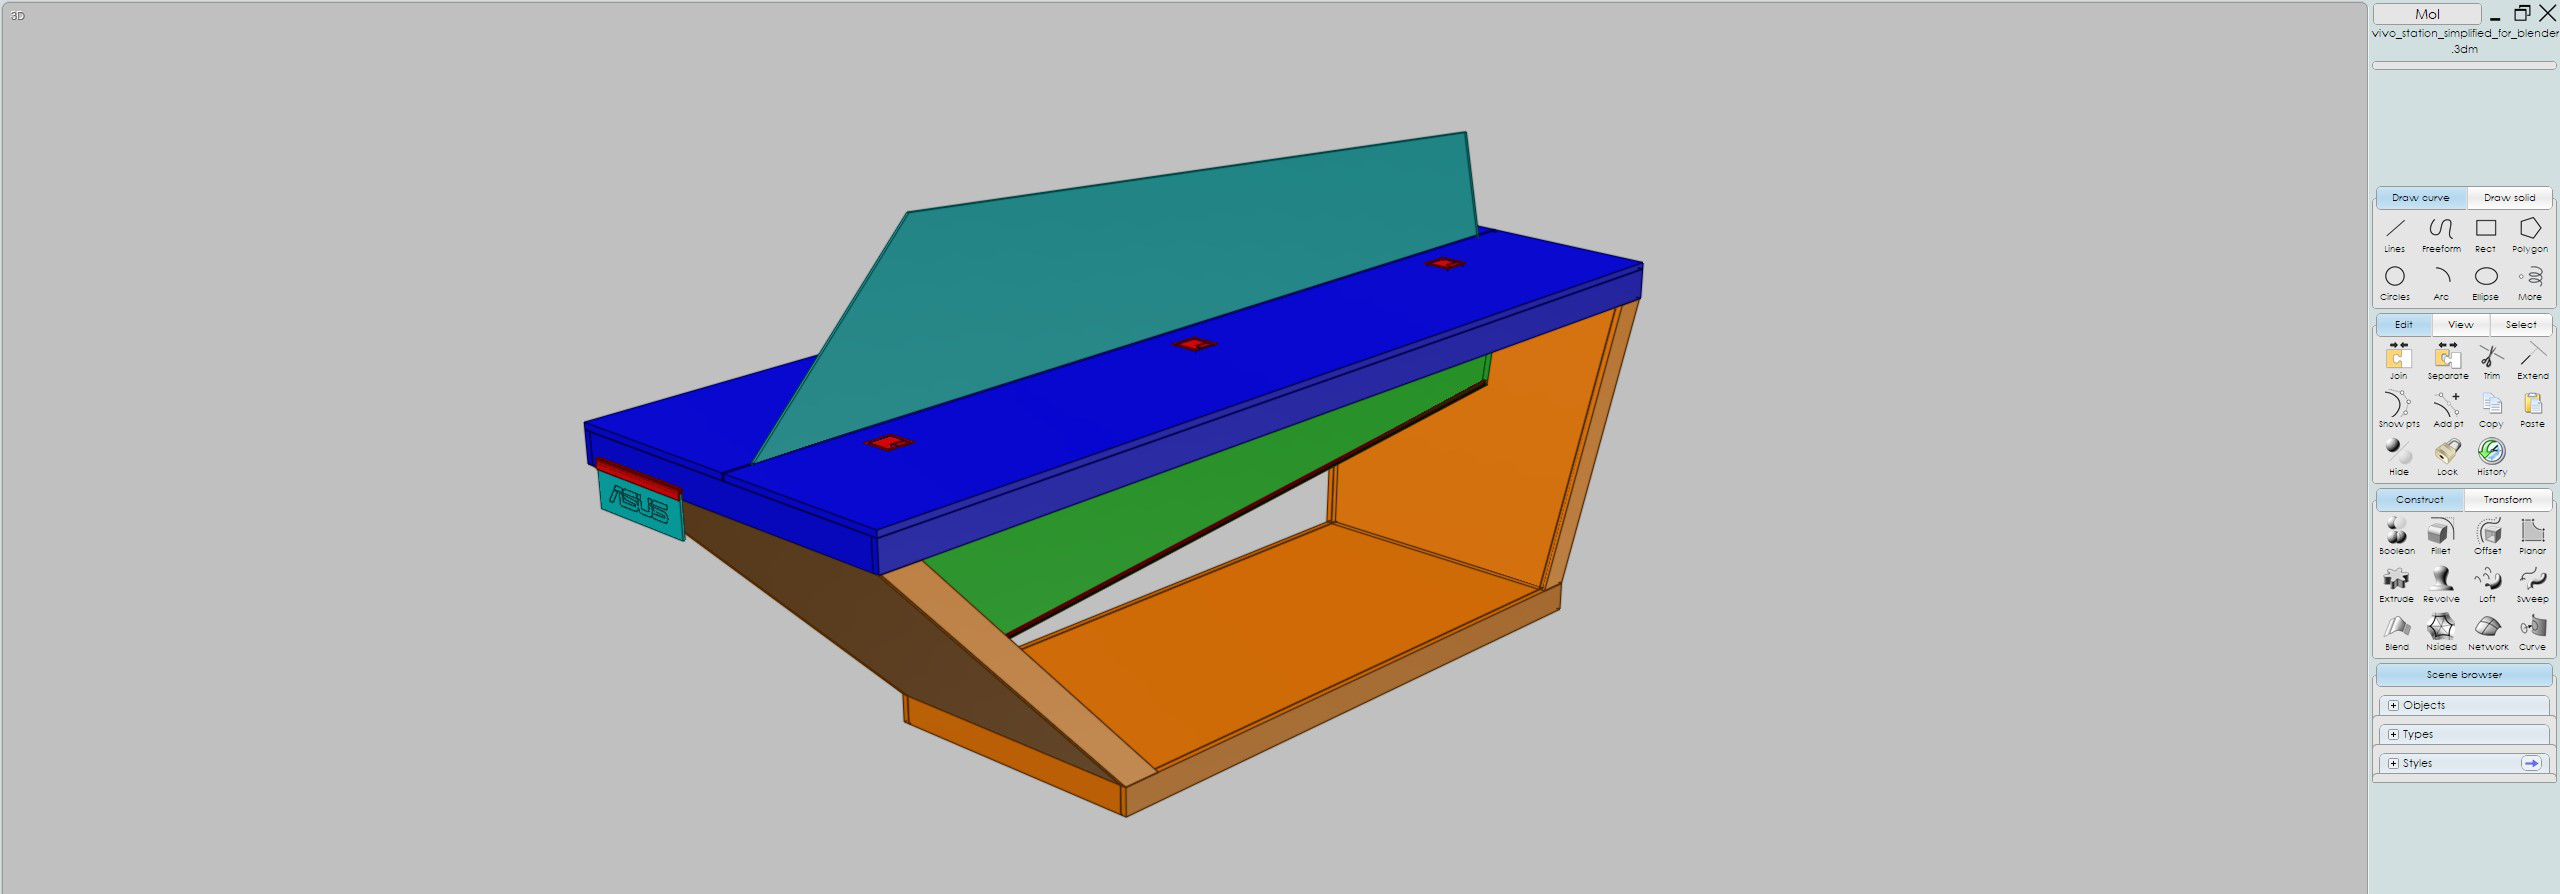
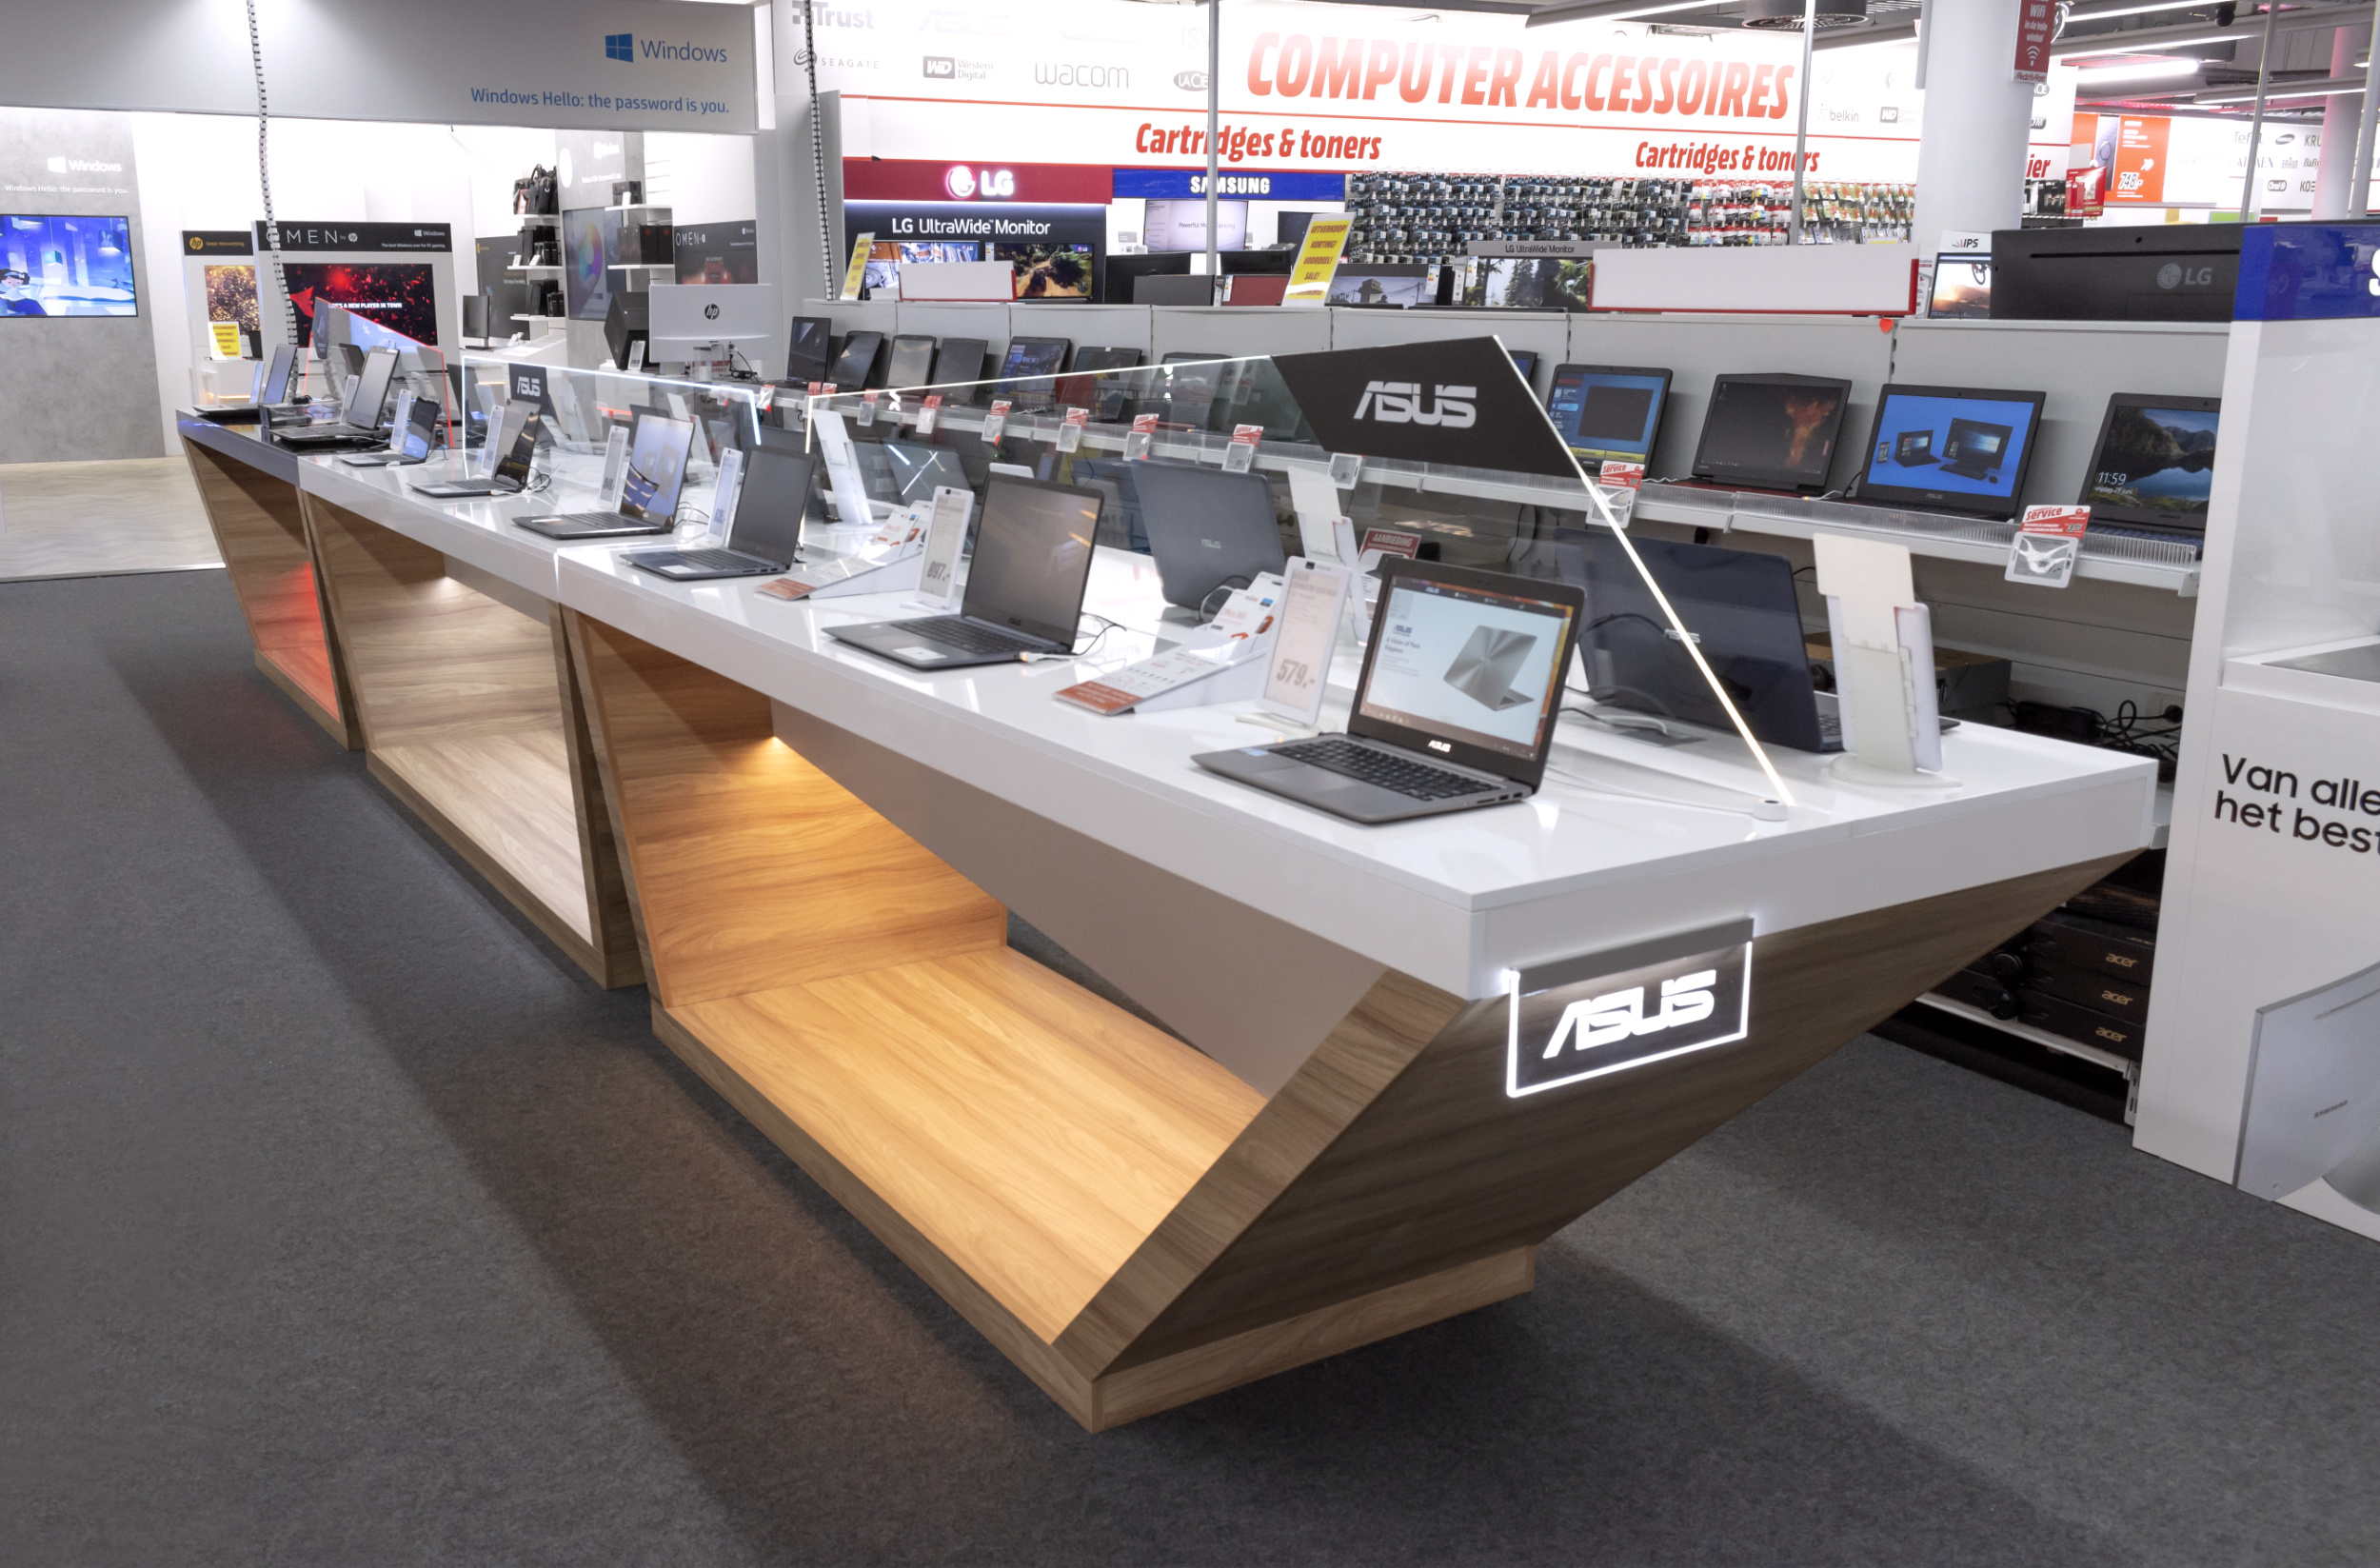
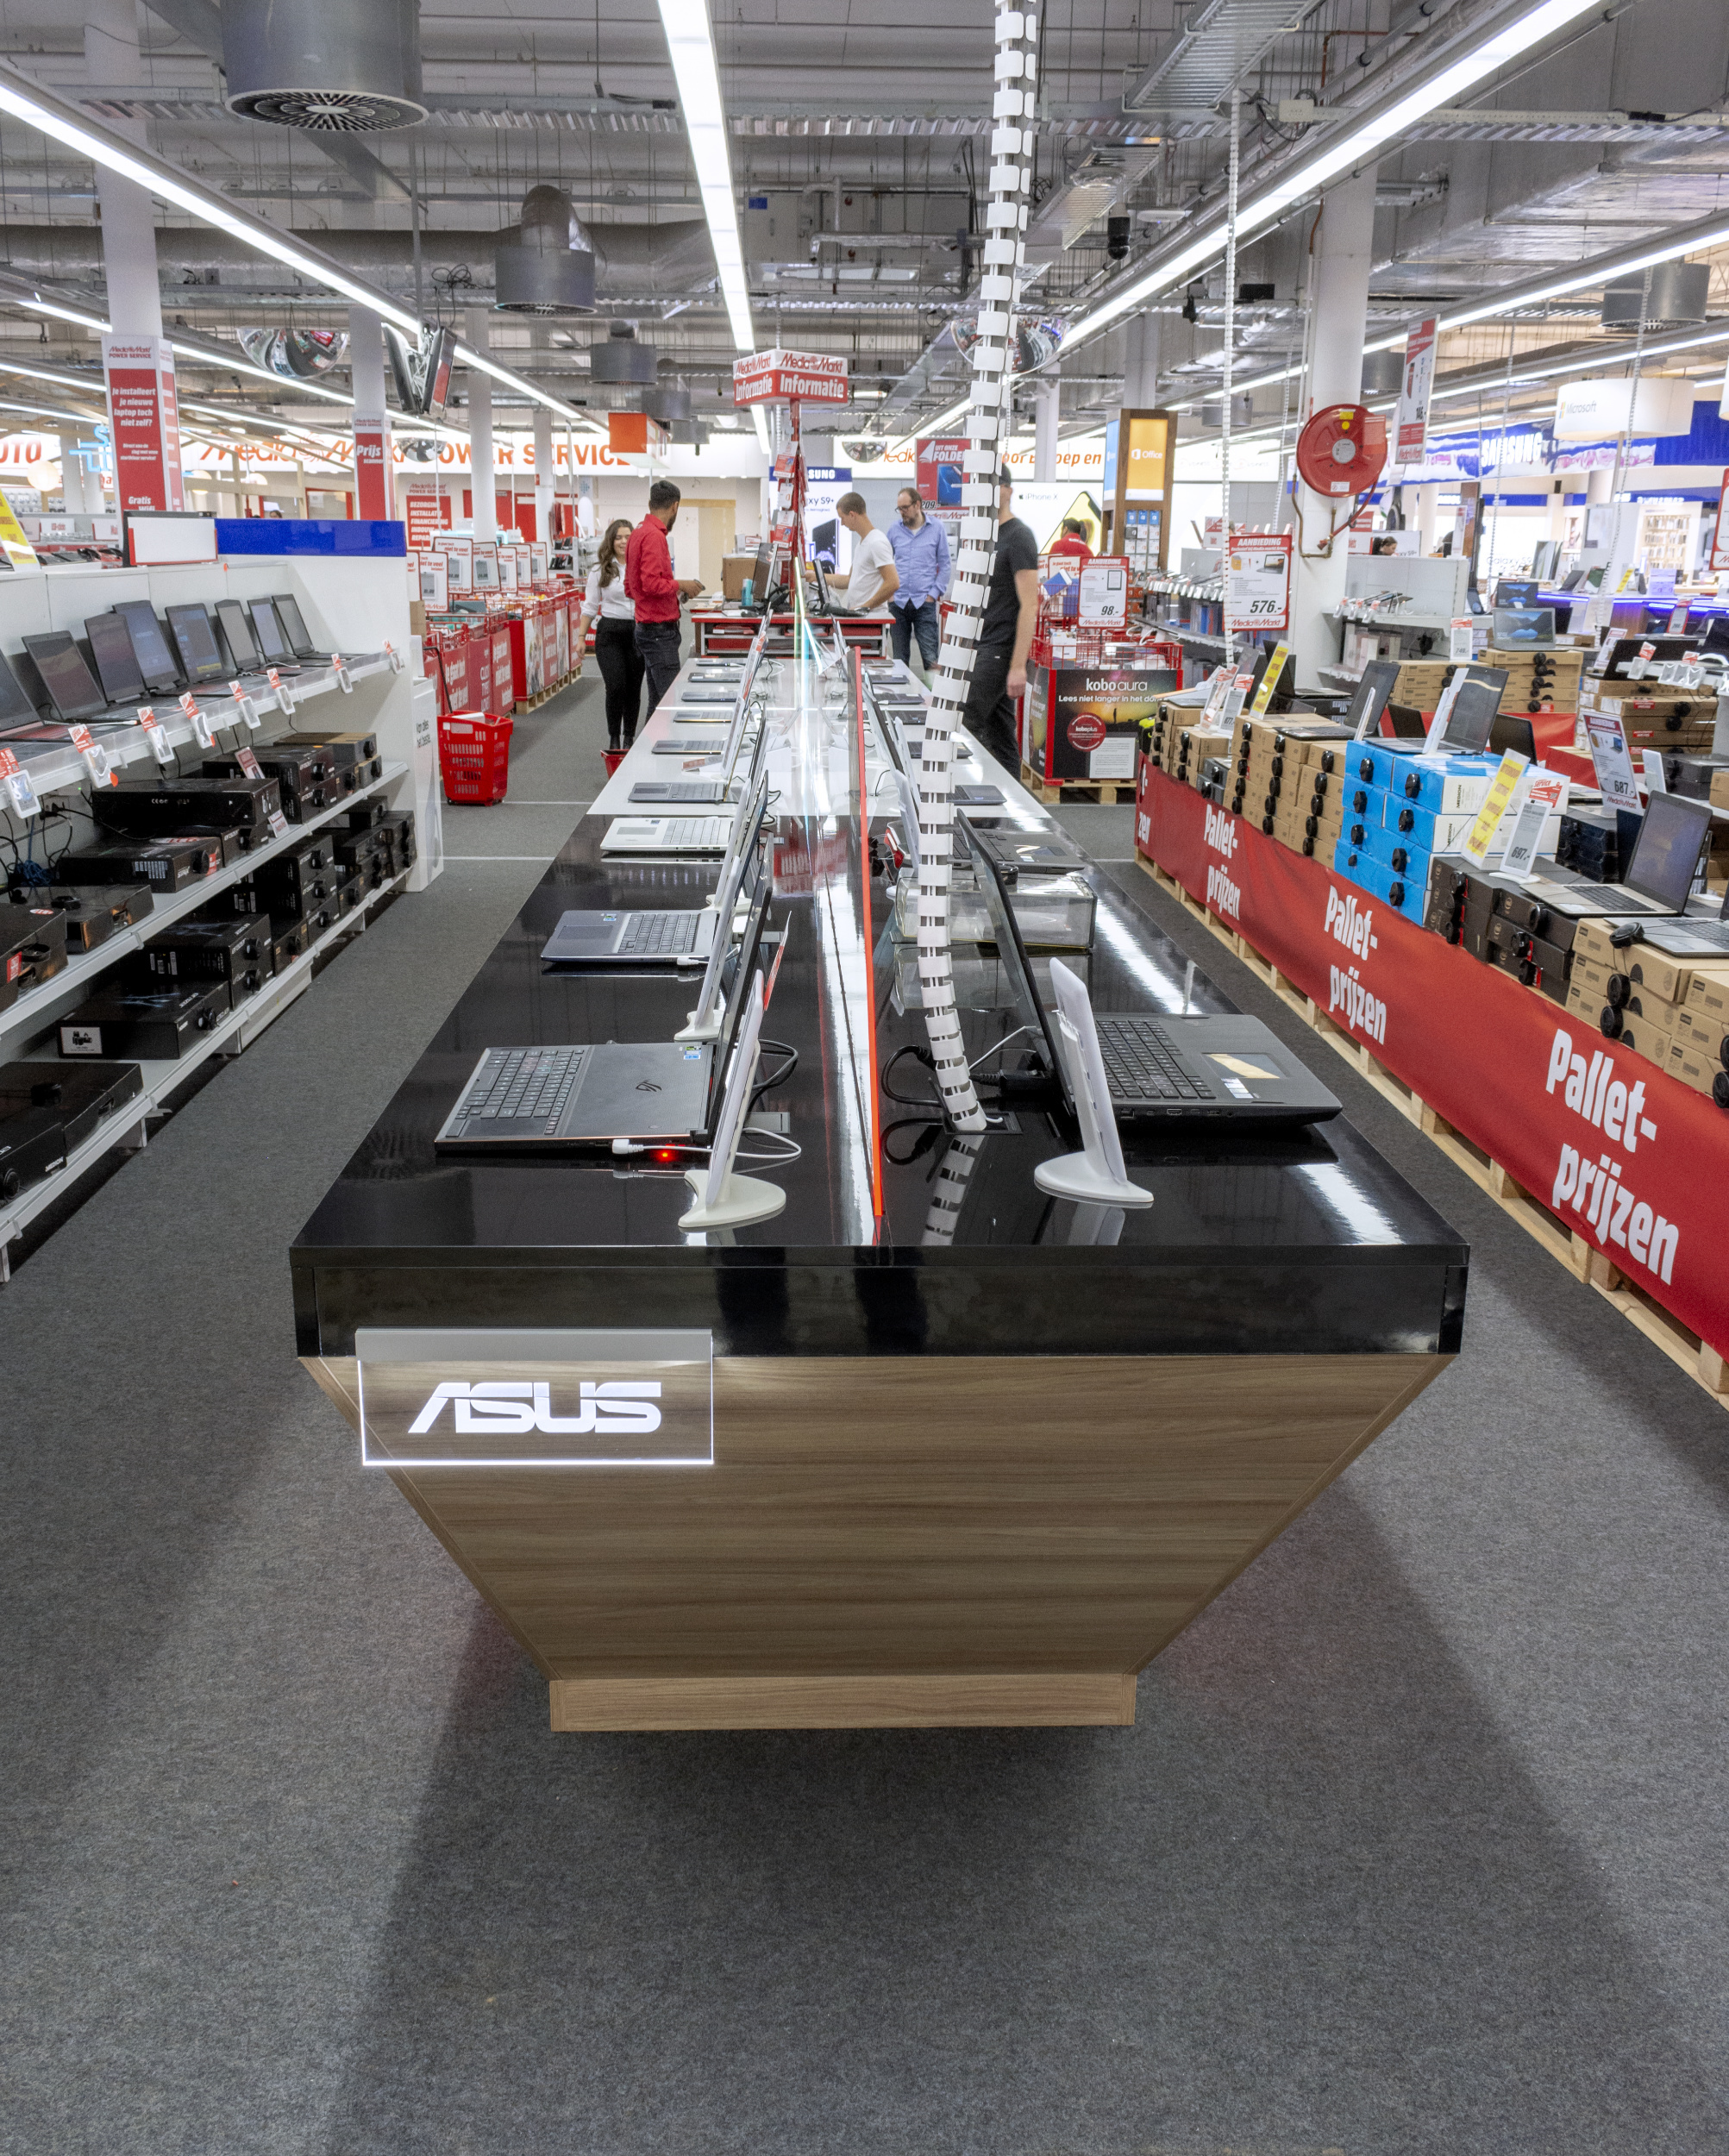
Overall the concept translated very well to the production-ready model. That task was carried out by a third party. The most notable concession was made where the feet meet the bottom panels - form was traded for stability.
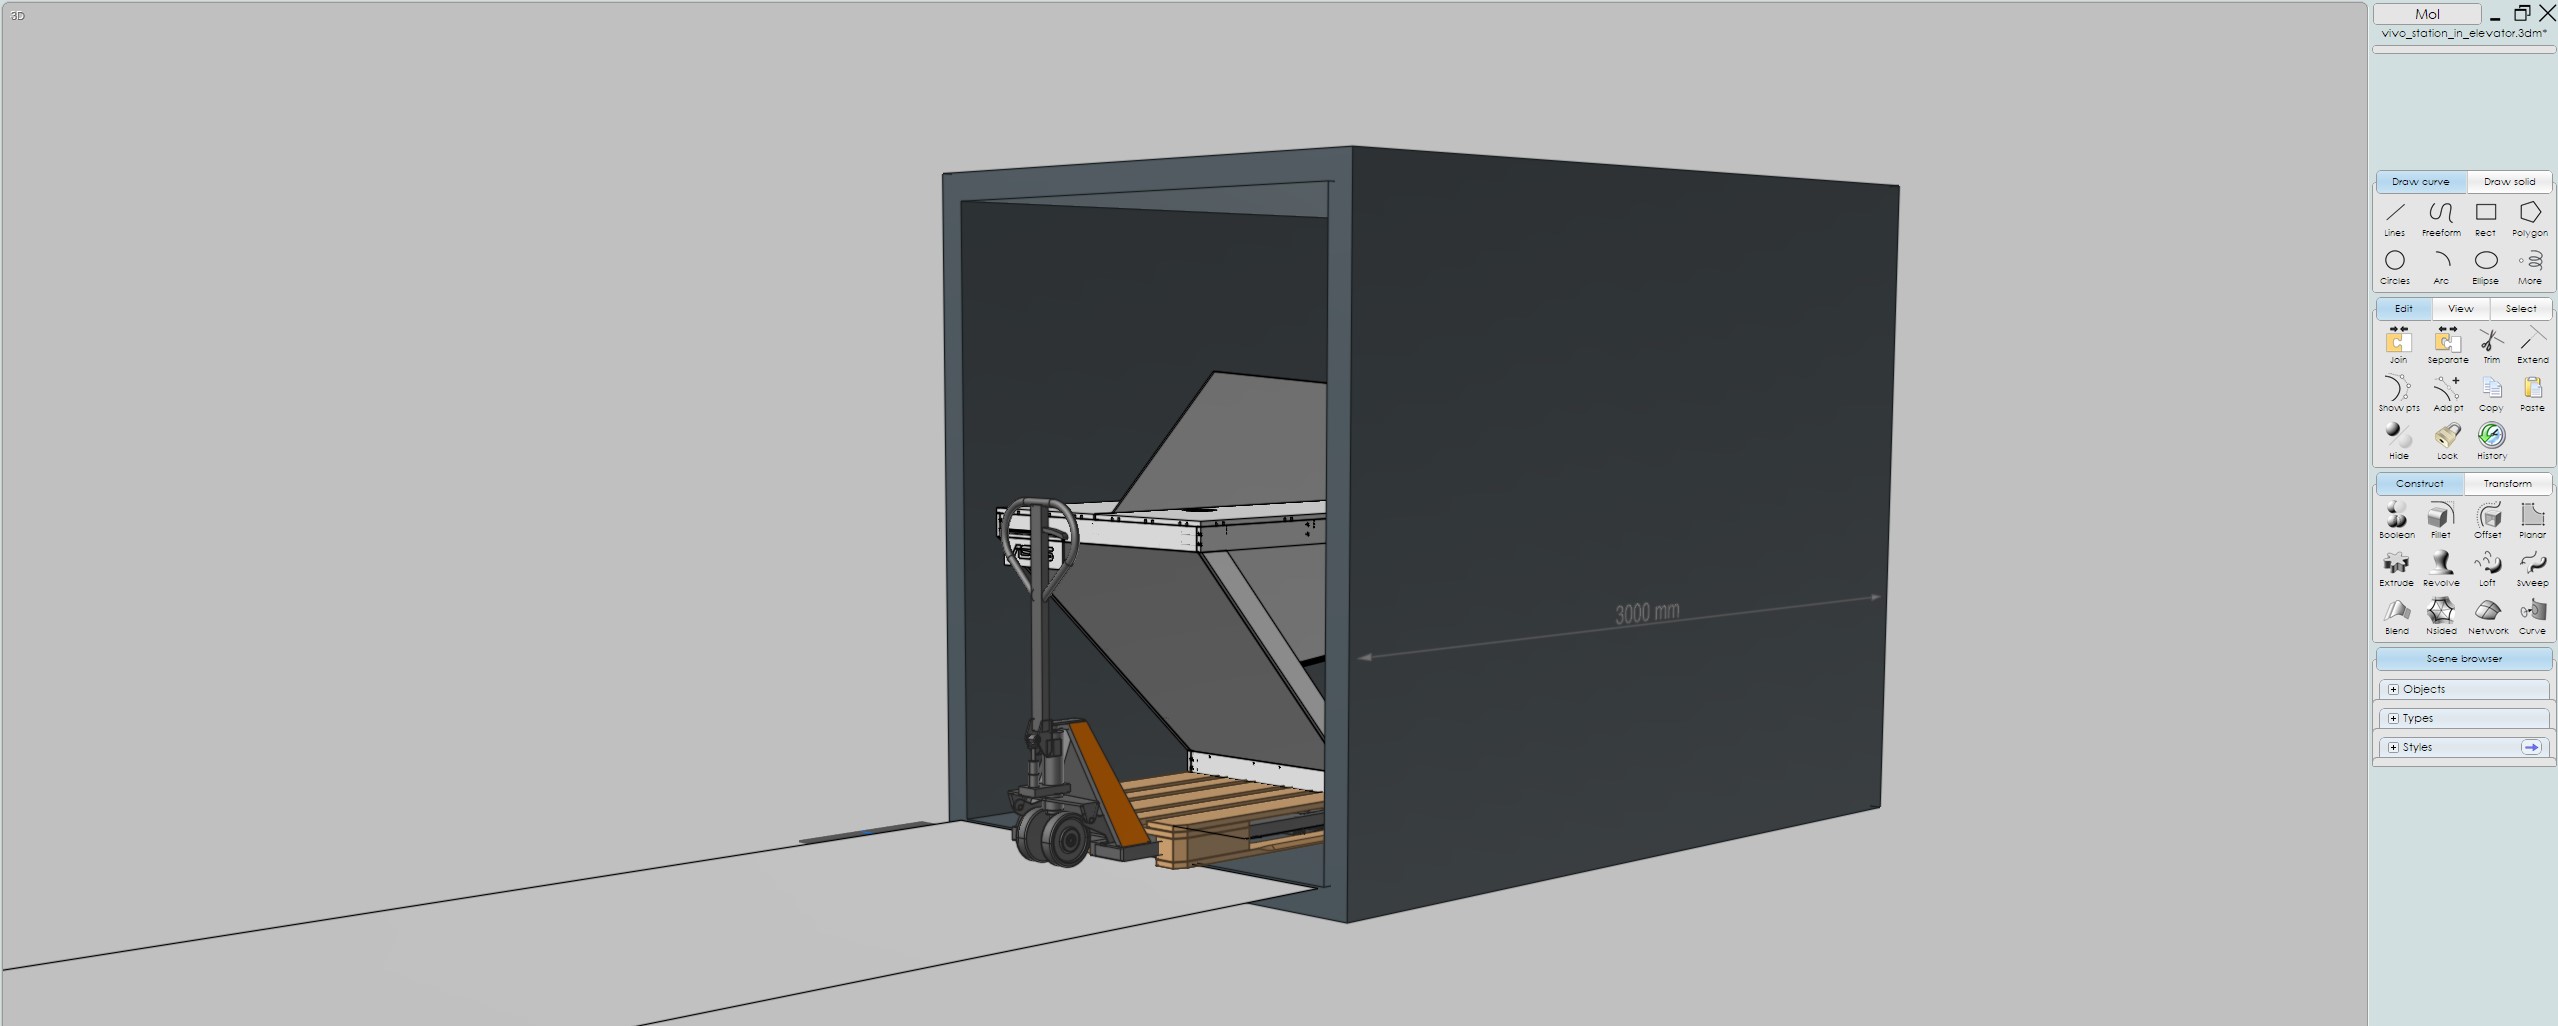
The modules were delivered pre-assembled and then wired and set-up in a matter of several hours on location. Note the elevator illustration whipped-up in MoI3D.
That kind of details may seem obvious, but on delivery day, success depends on several strangers who must have an understanding of what is about to happen.
One illustration can communicate an entire plan but more than that - it puts everybody at ease by removing anticipation and focusing the mind and that's key for making it to the shopping floor in 1 piece.