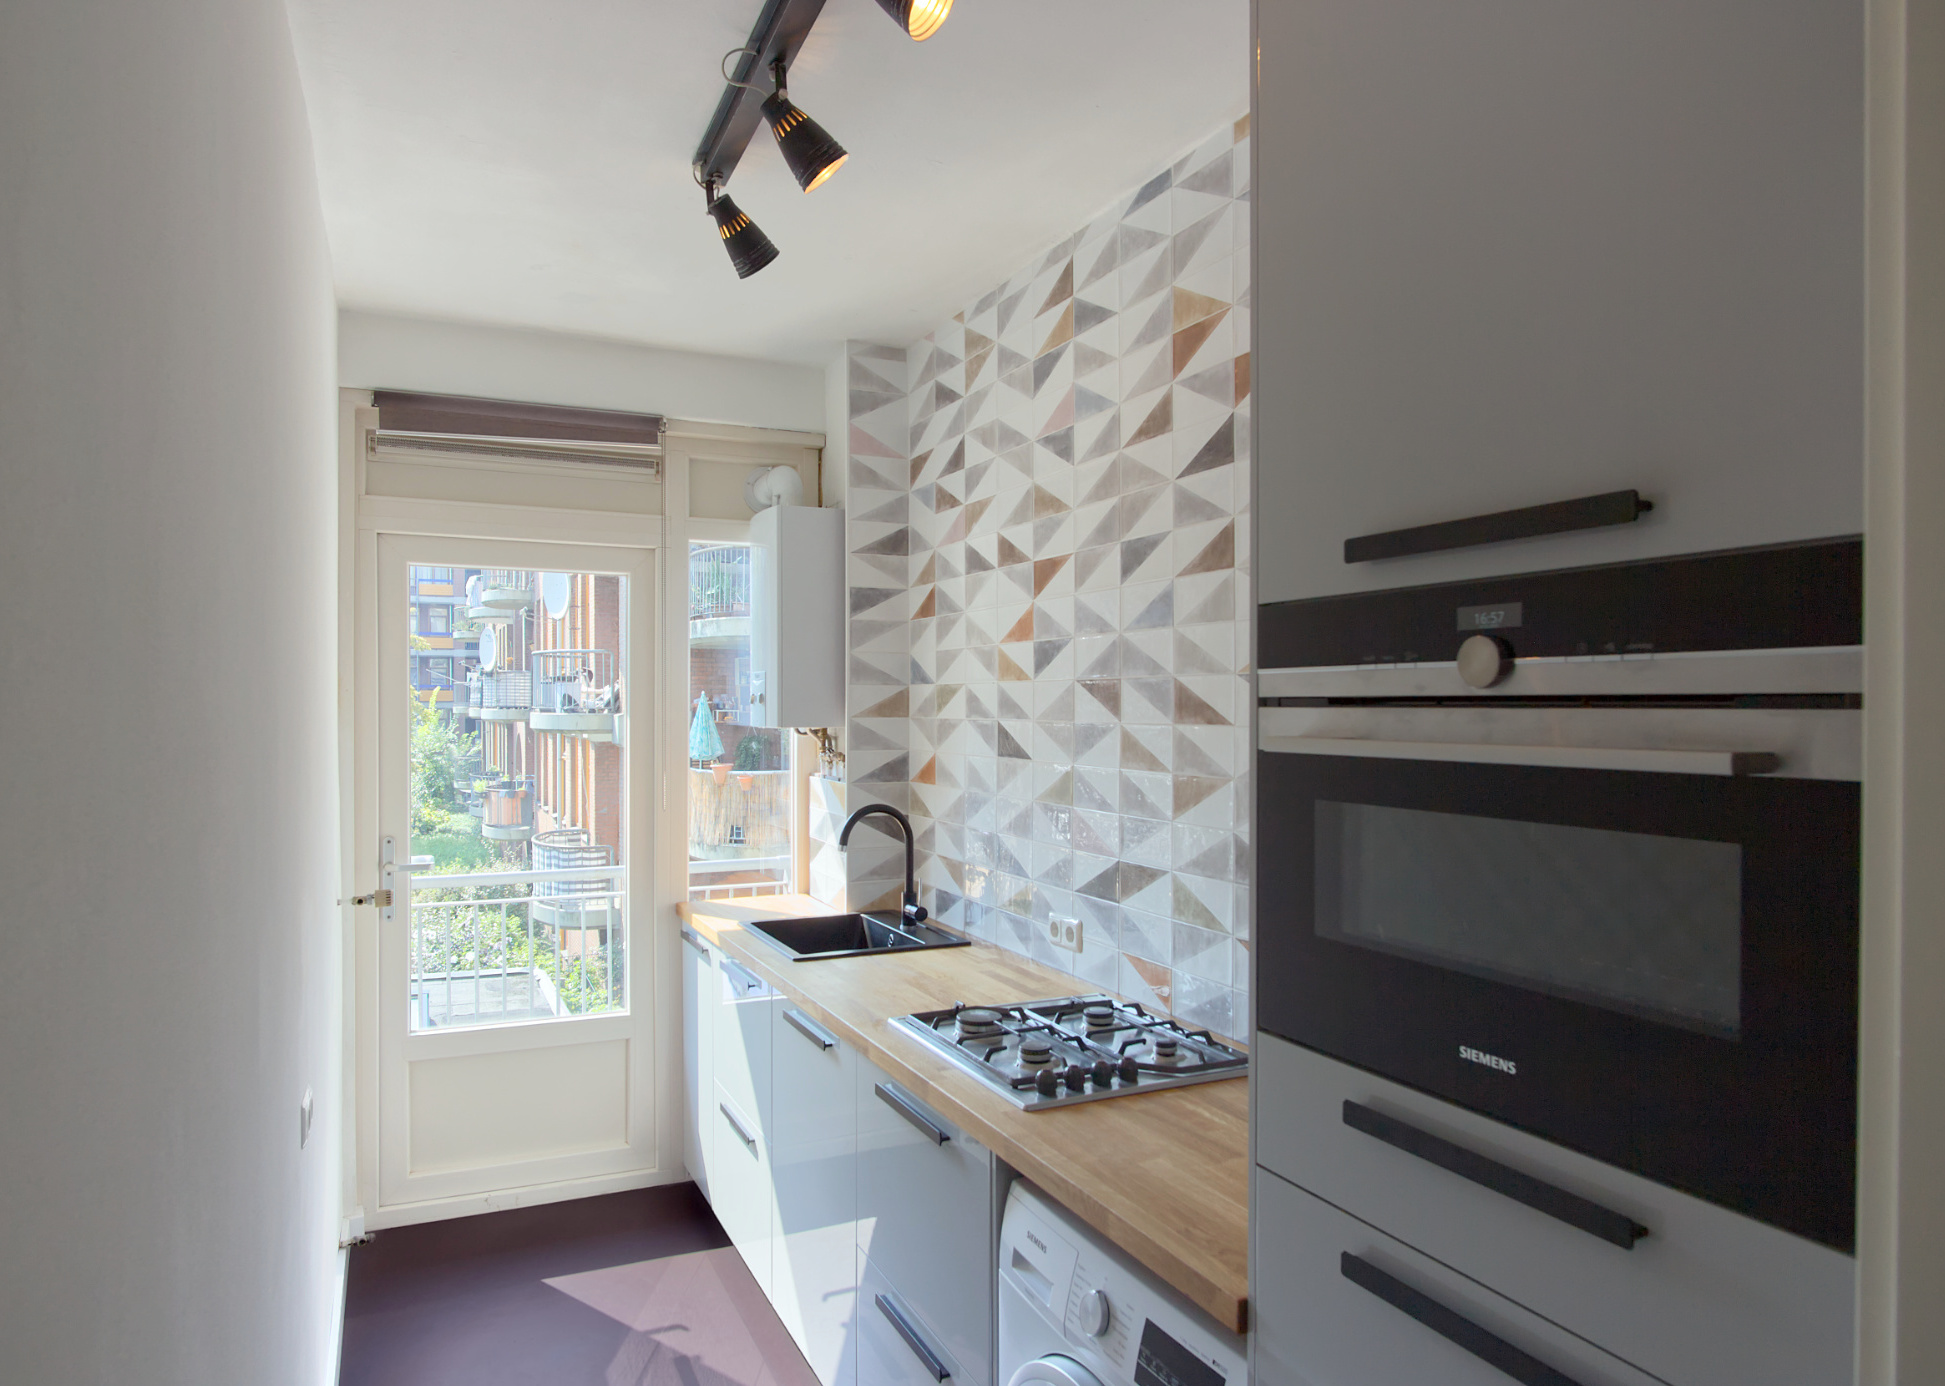
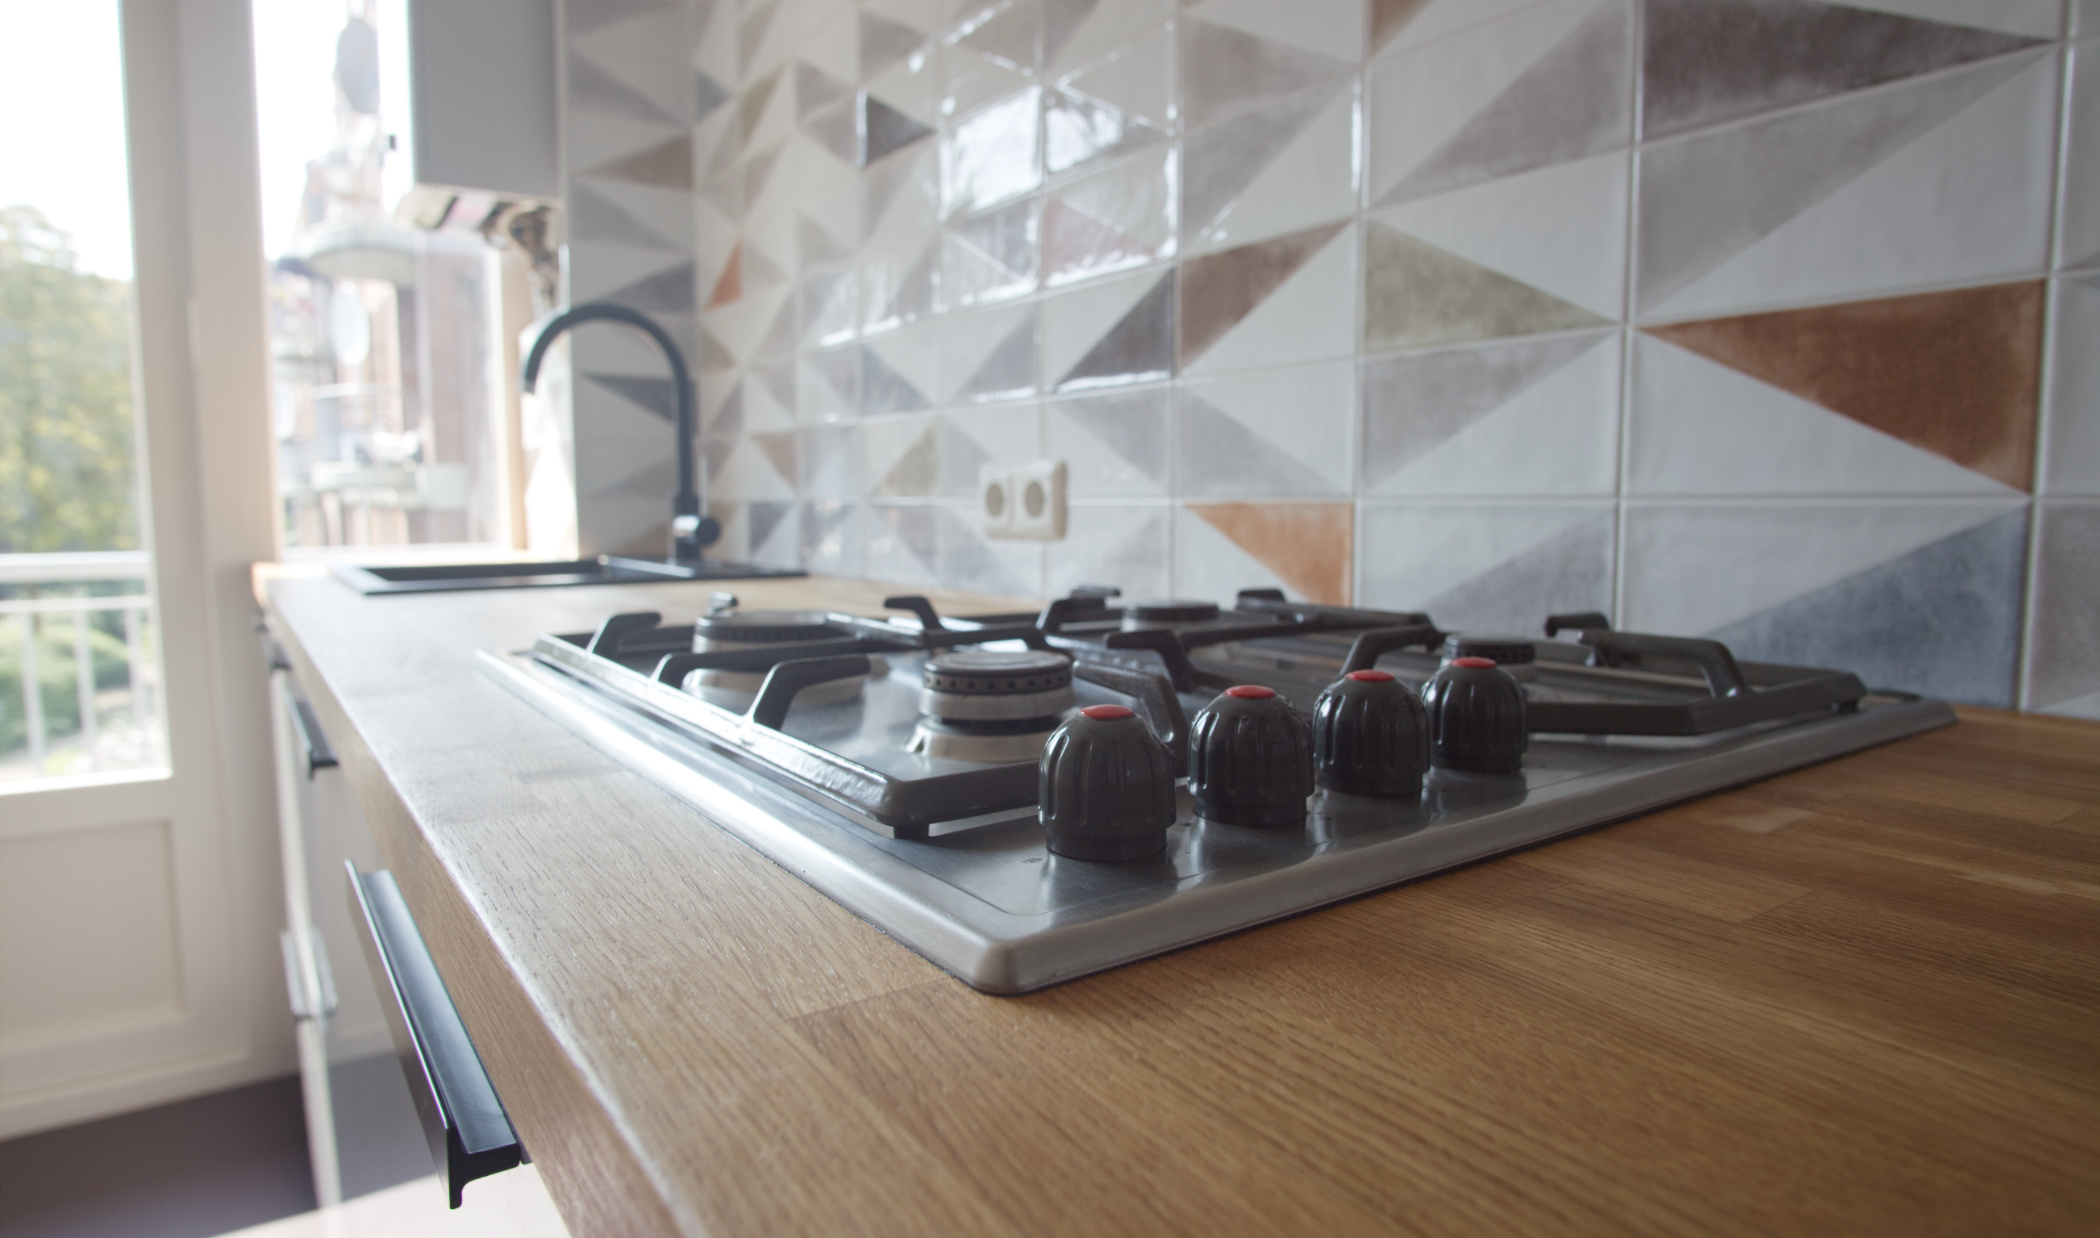
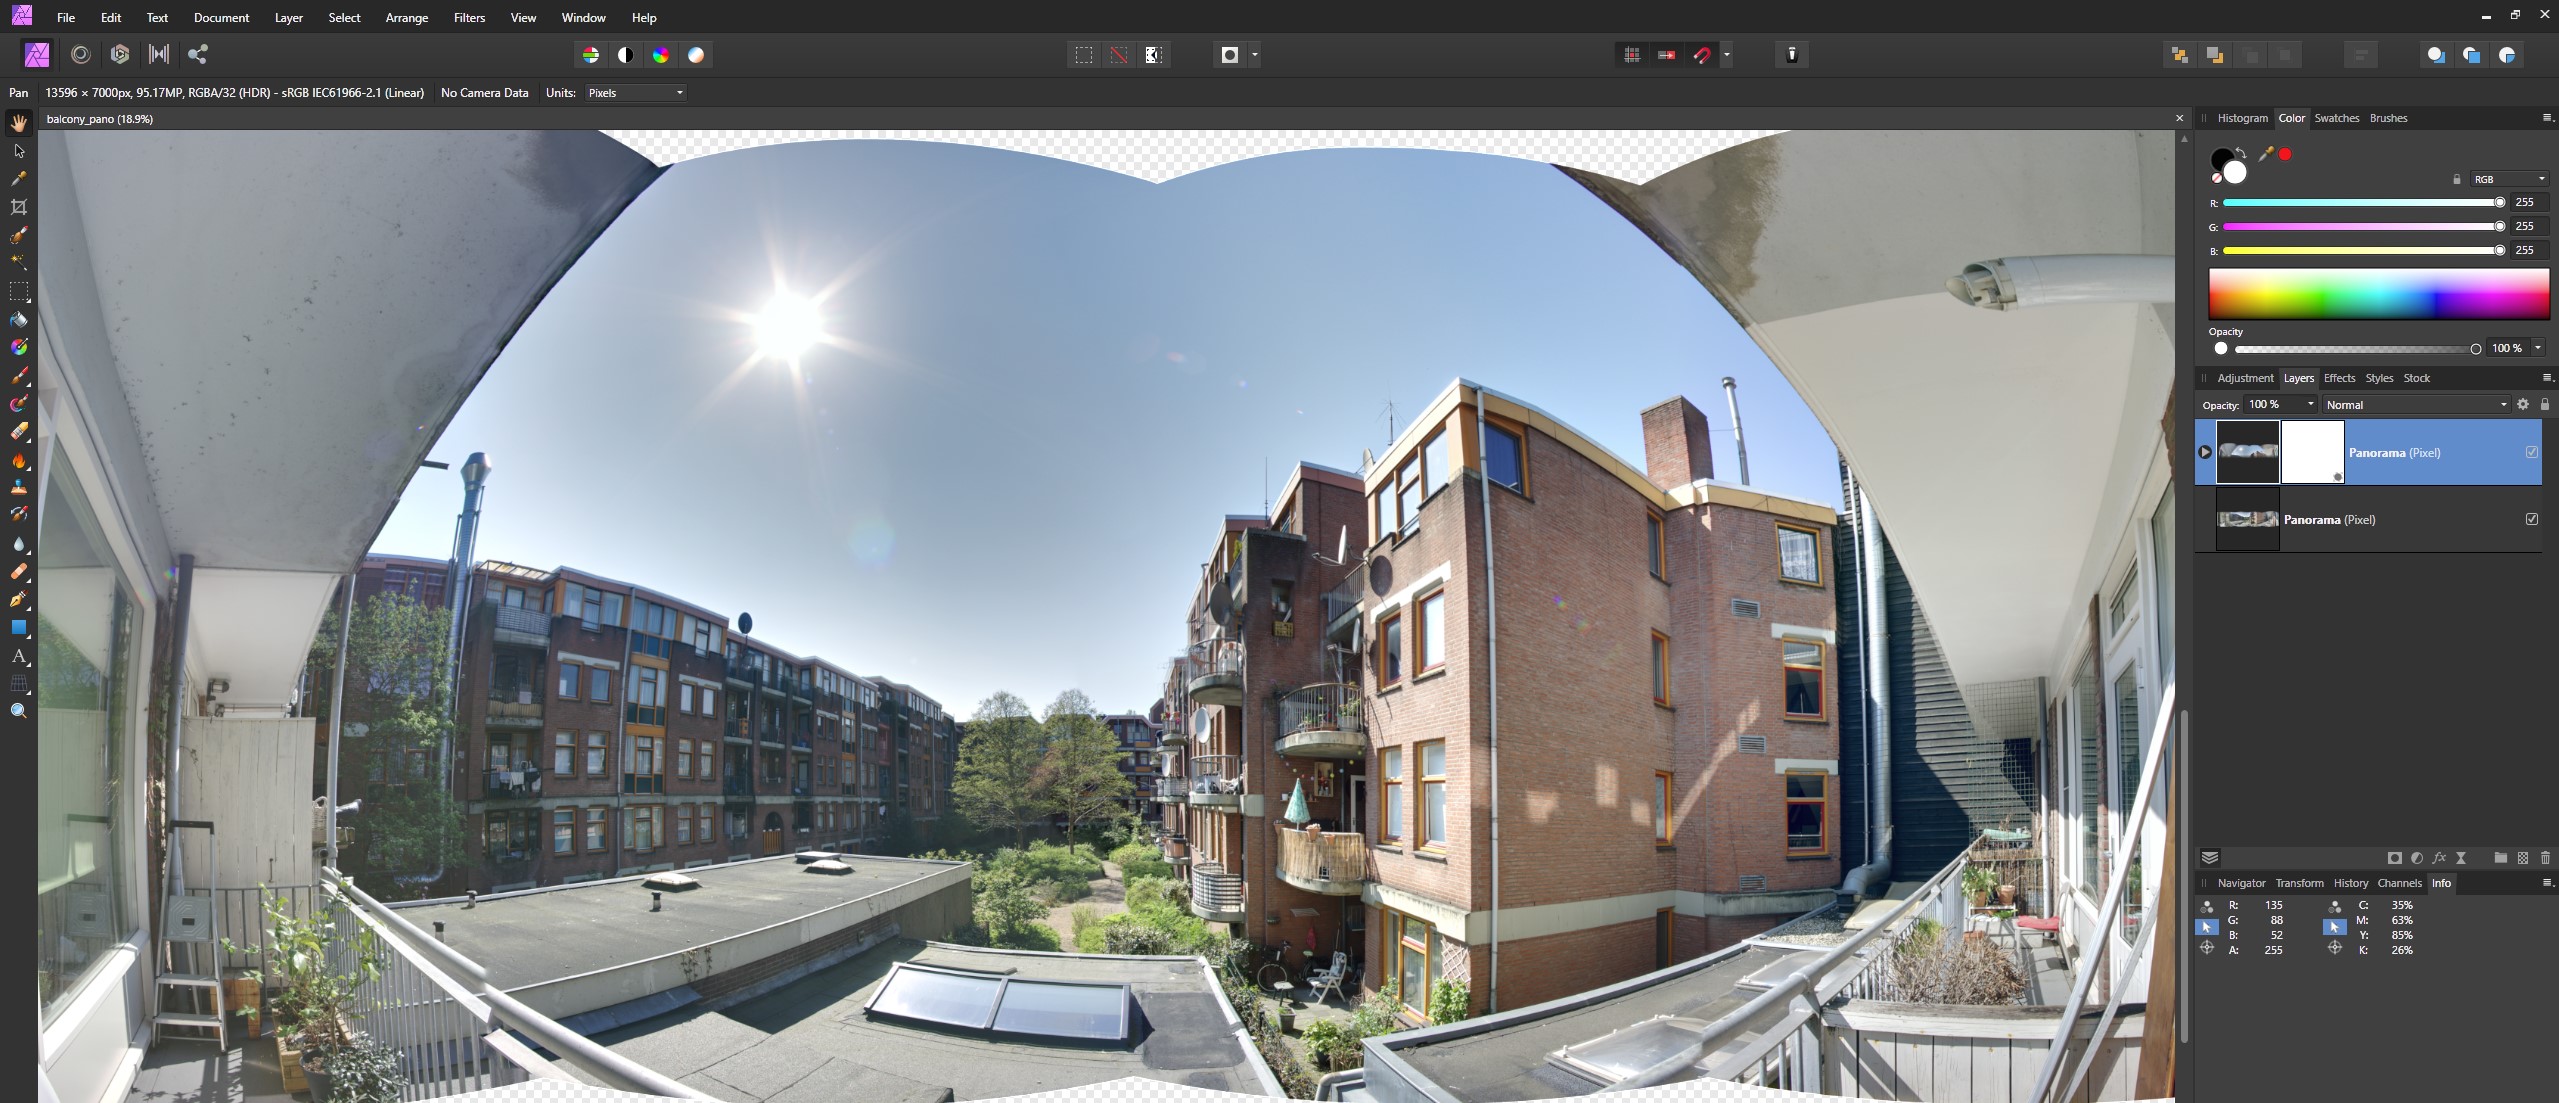
I shot 180 degrees left to right in increments of 45 degrees horizontal and 30-degree steps vertically using Canon EOS M + 12mm (about 19mm equivalent on 35mm) at f/11. The increments were HDR merged first and then stitched horizontally using Affinity Photo. Then I used only the middle and top panoramas to stitch them together
manually using the grid warp tool. That's a dirty method but it worked.
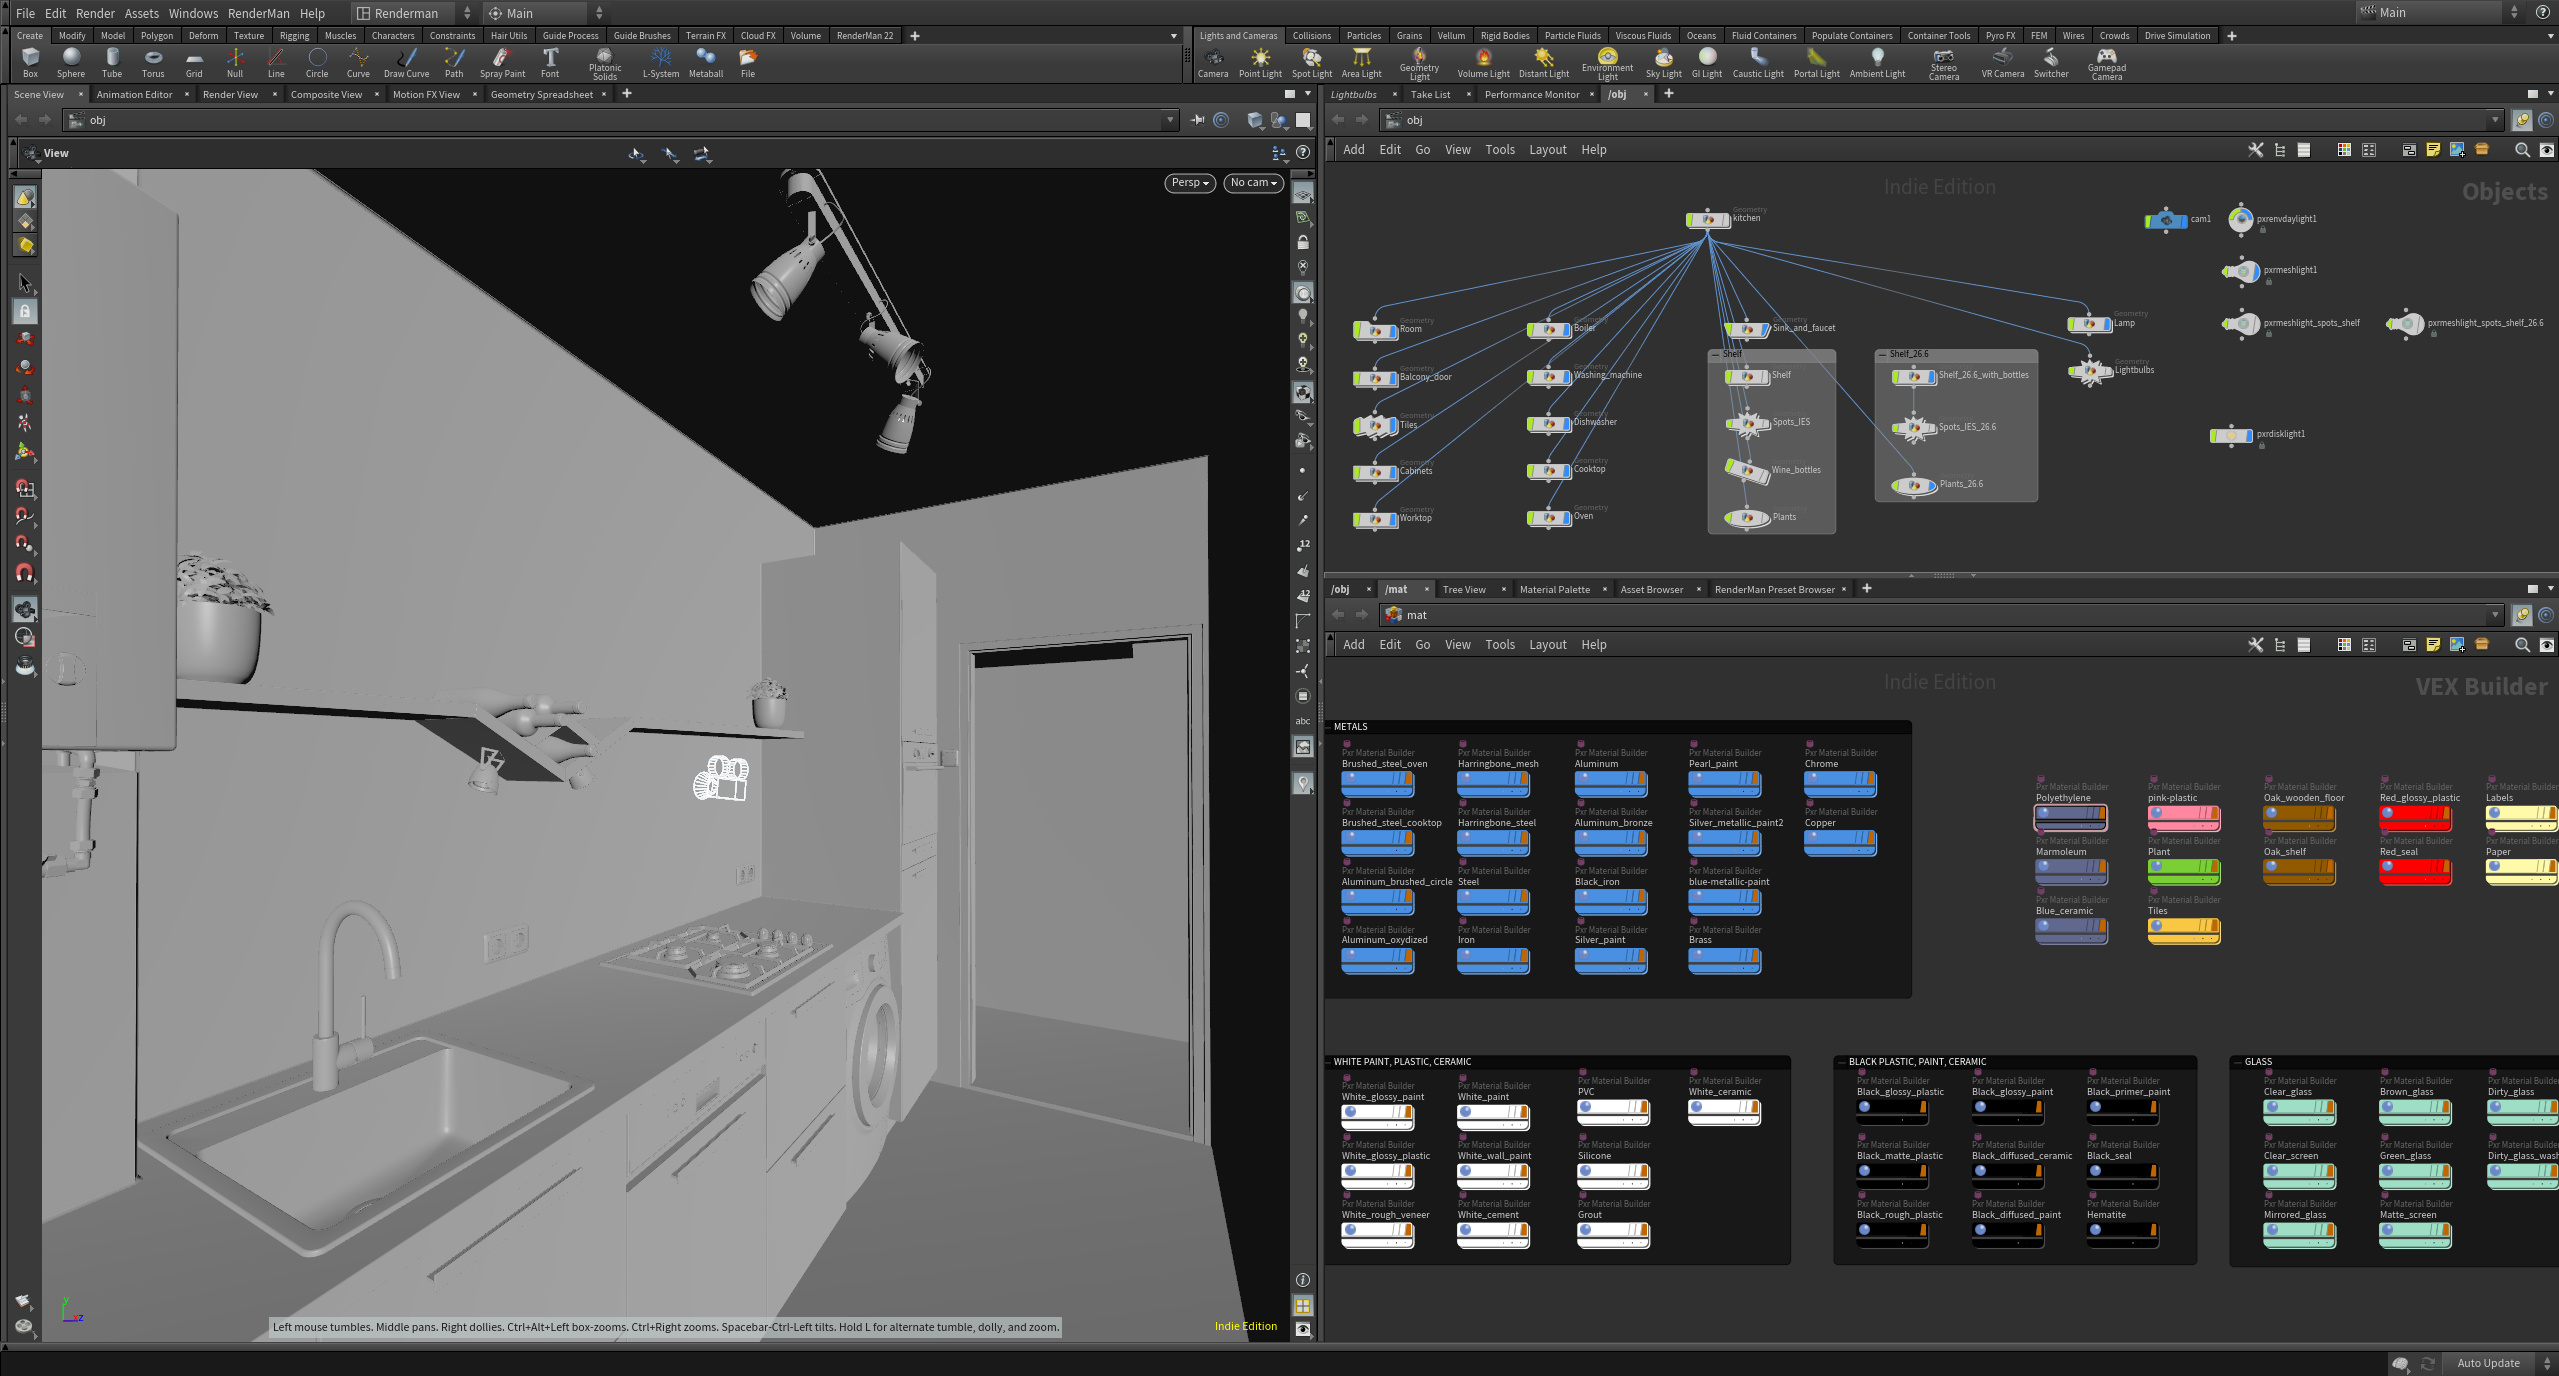
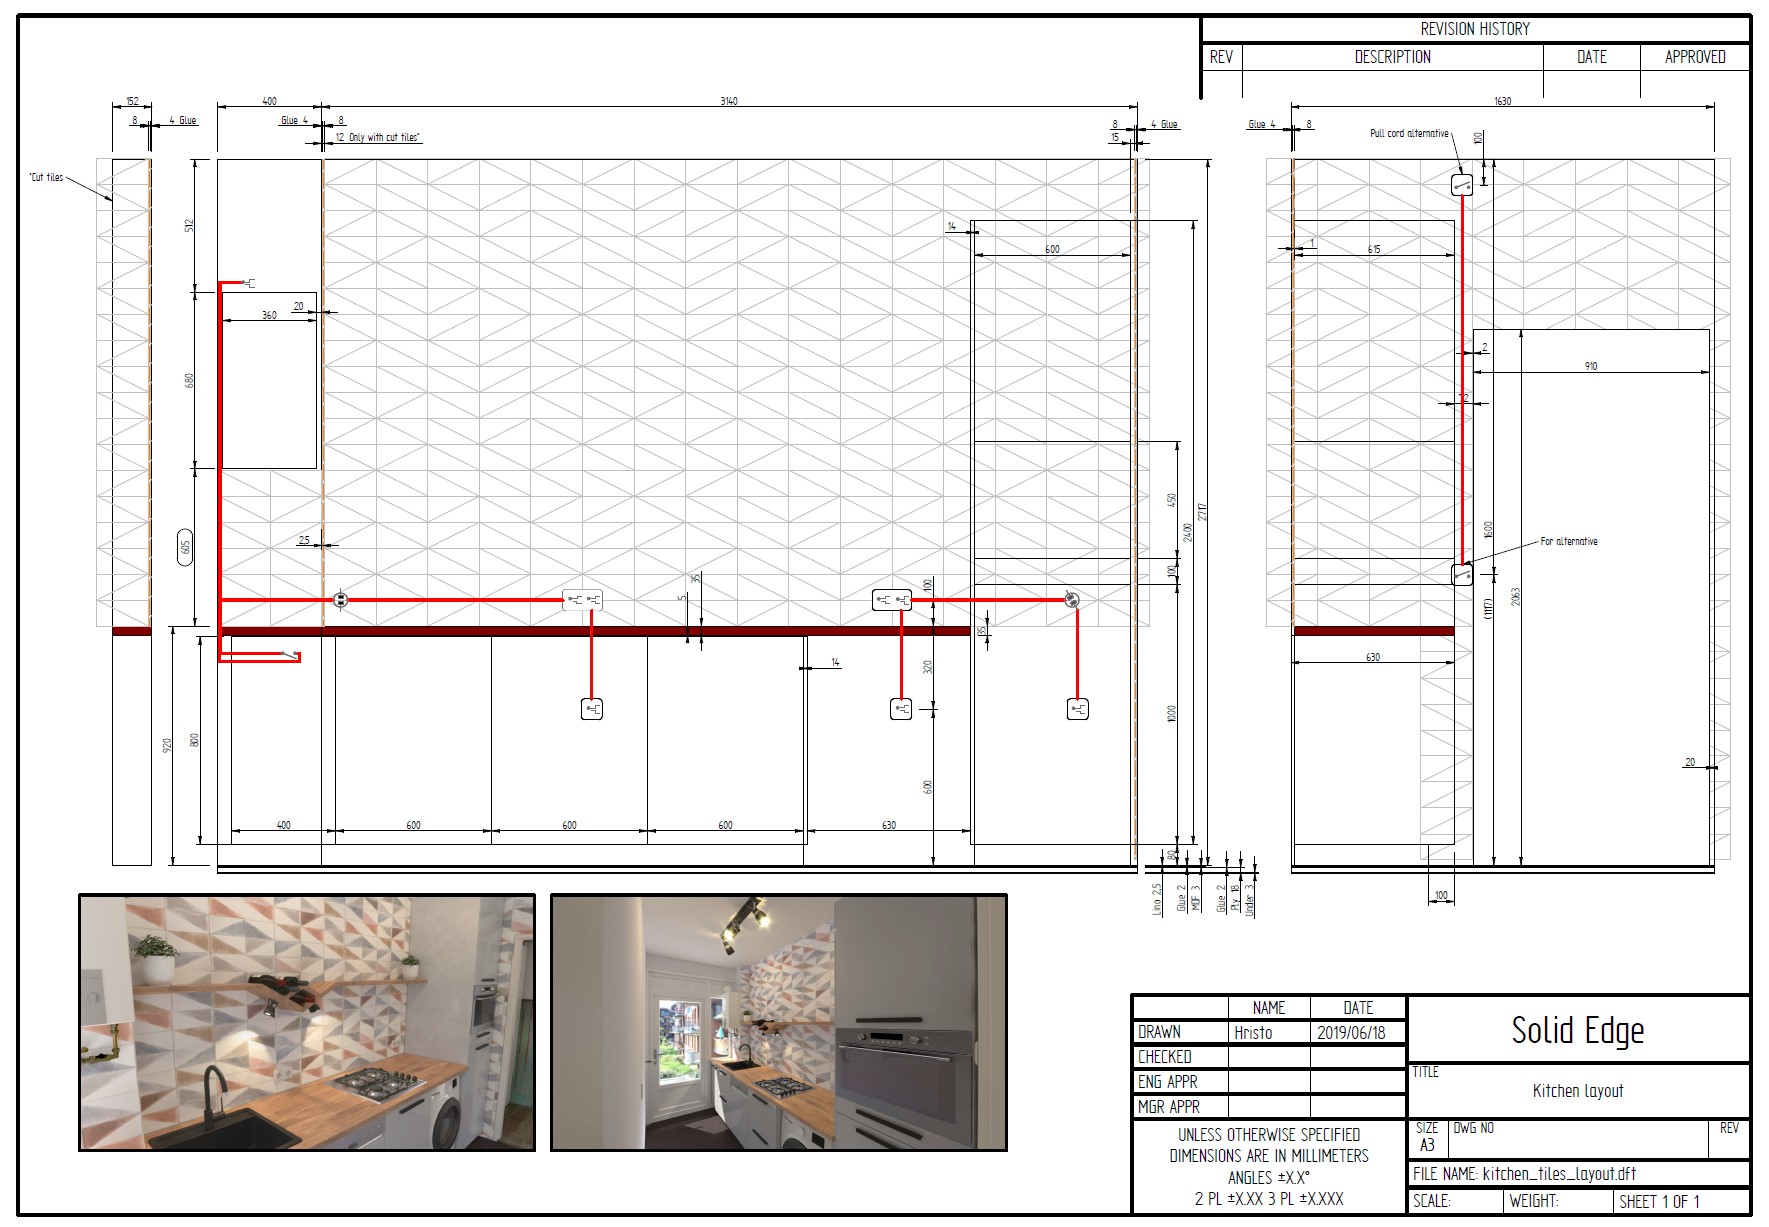
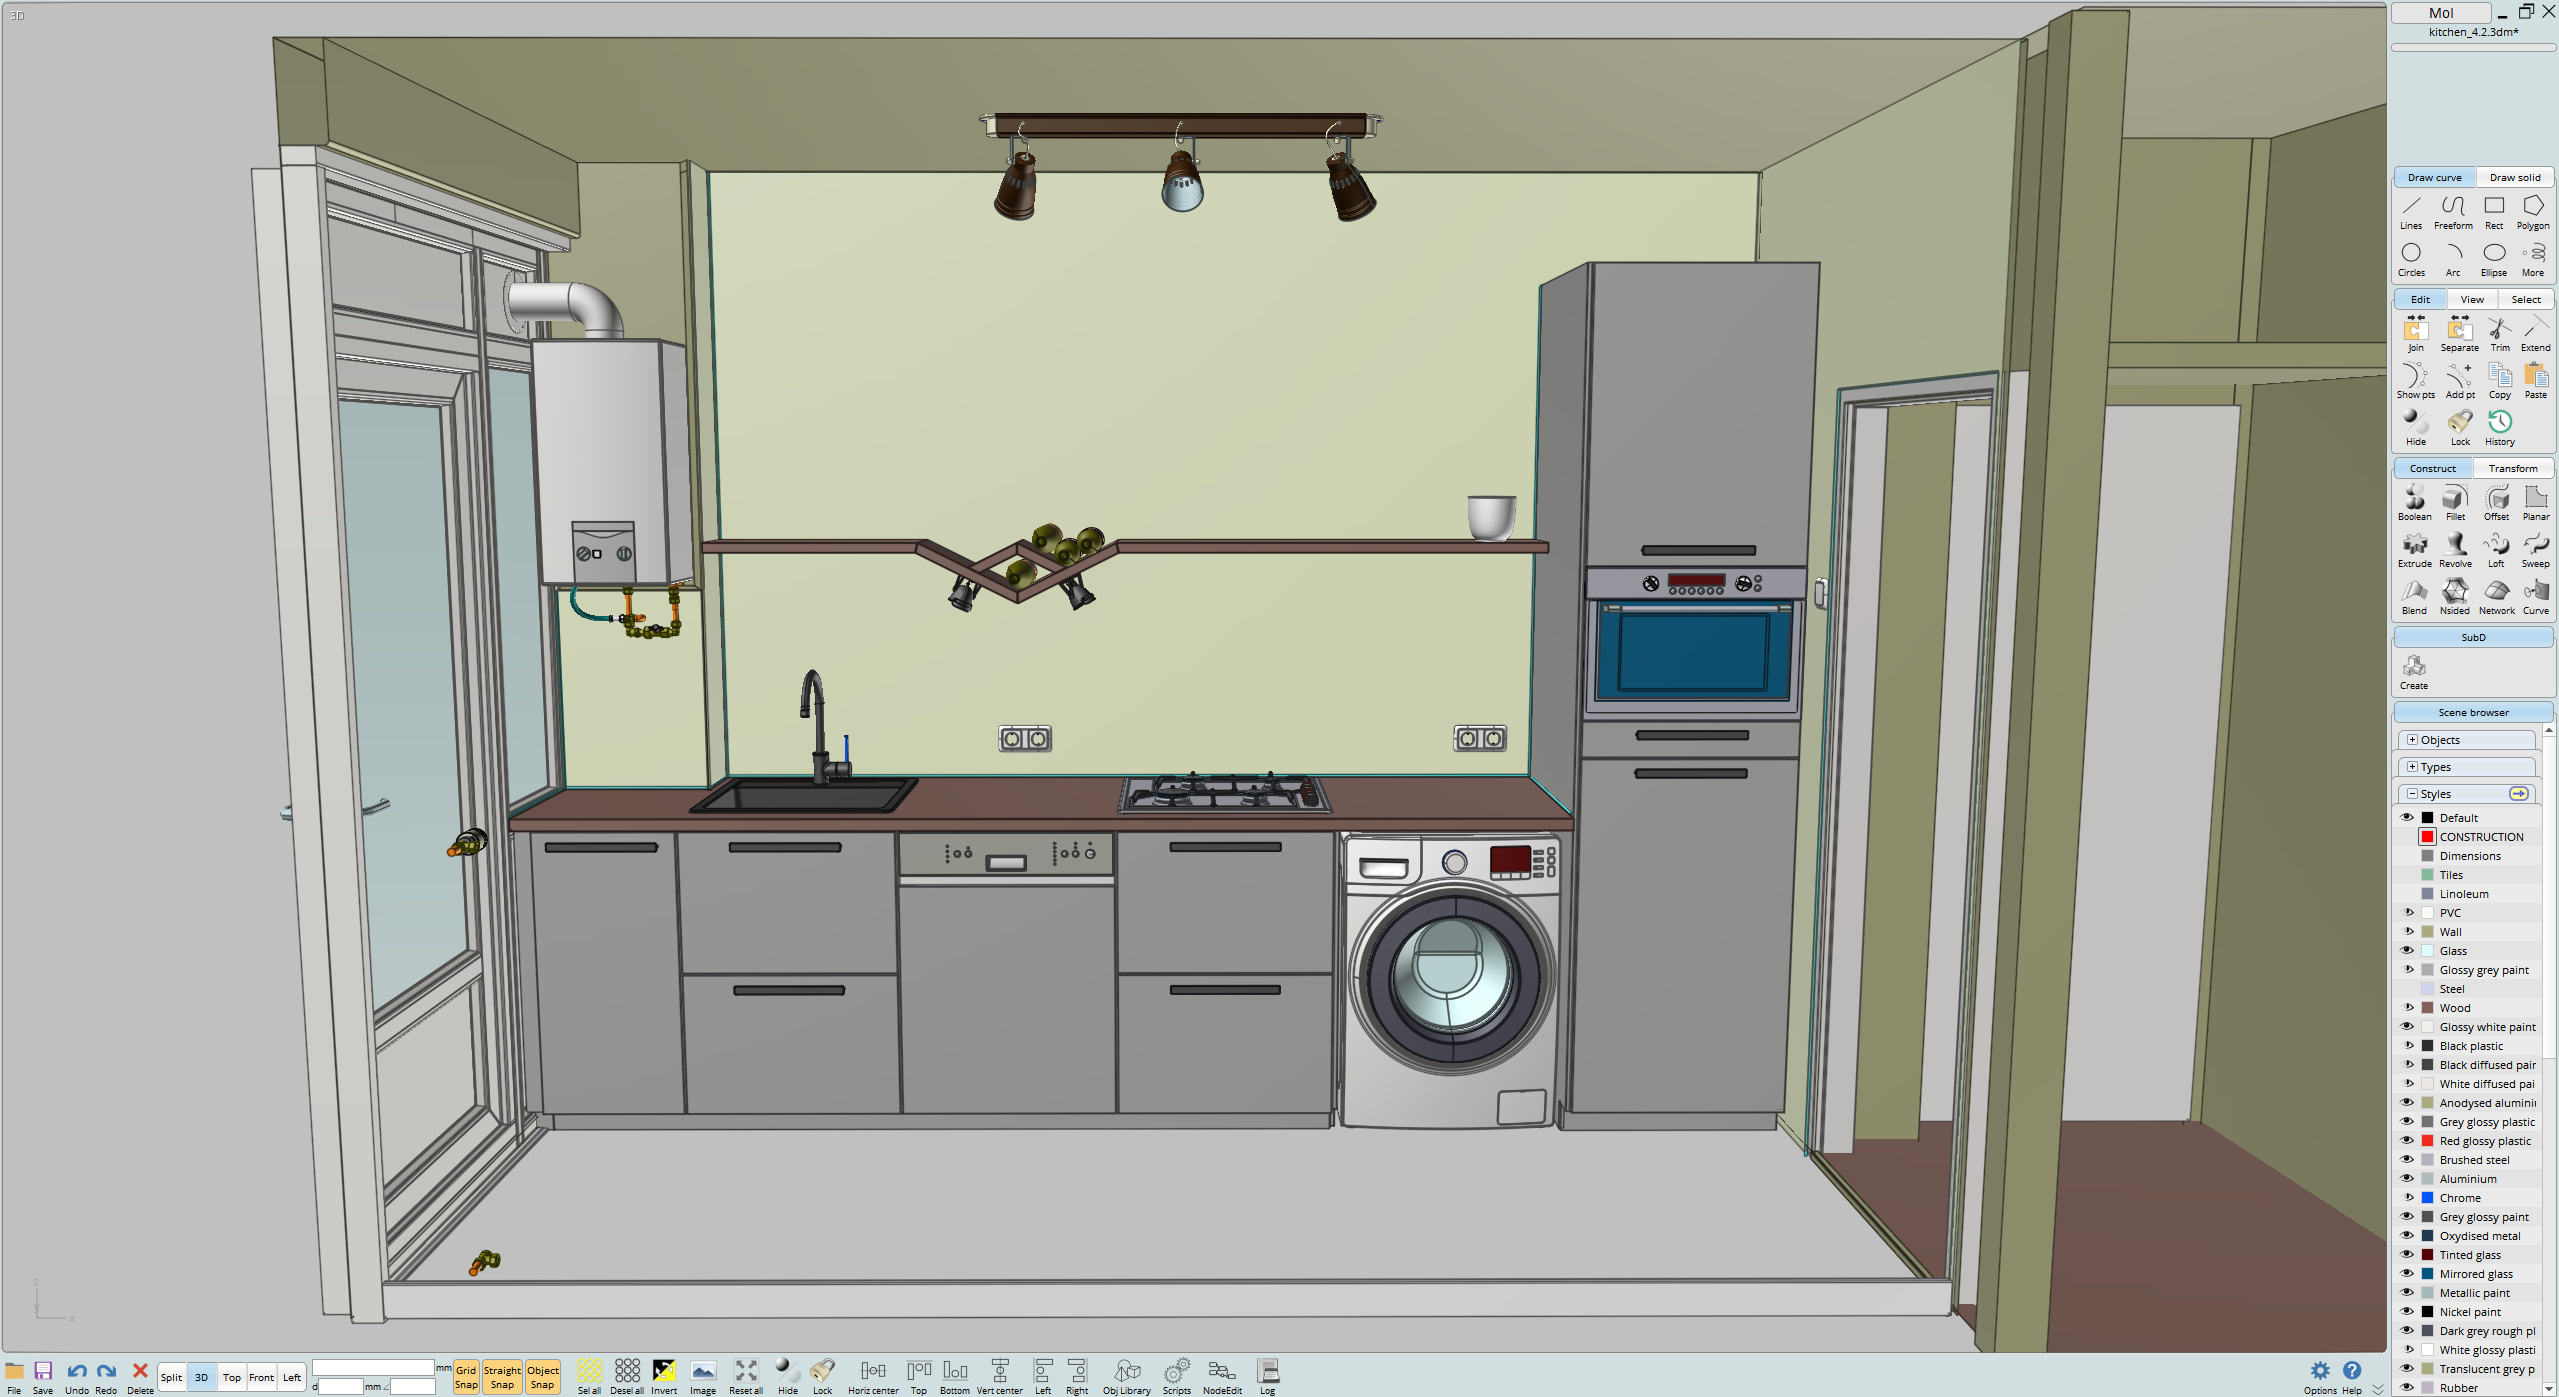
All of that I modelled in MoI3D aiming for precision. Most models are not even +/- 1 mm off real size.
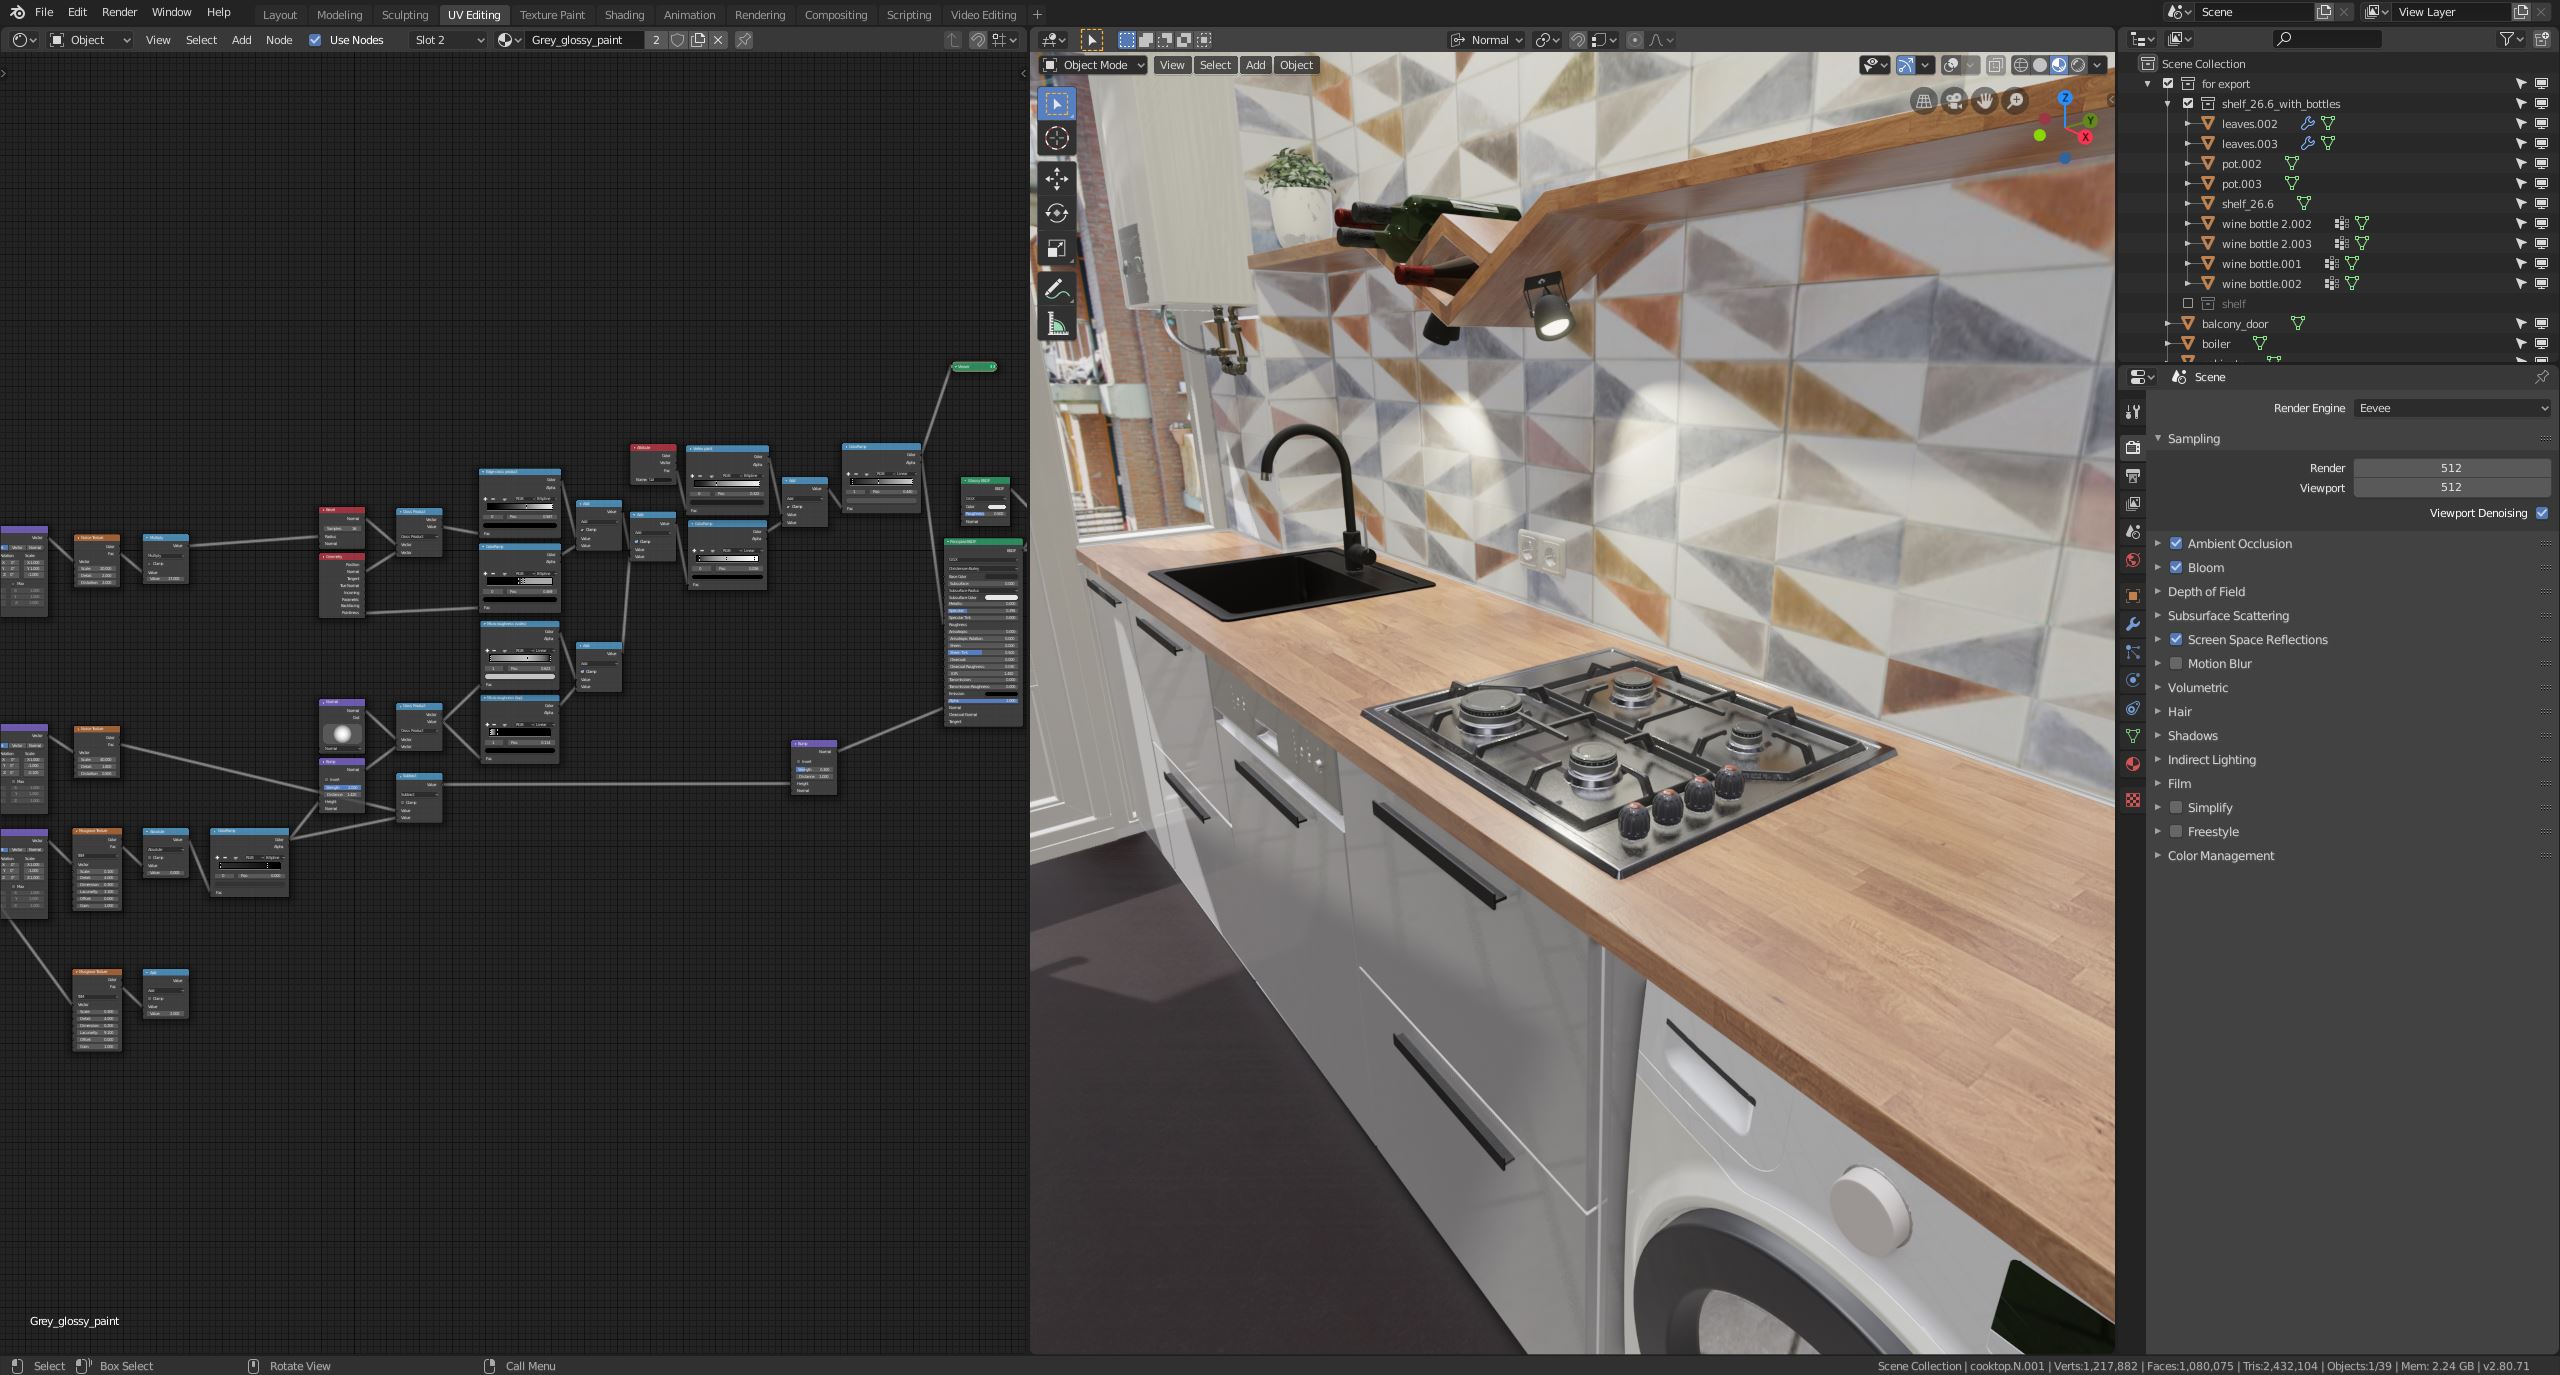
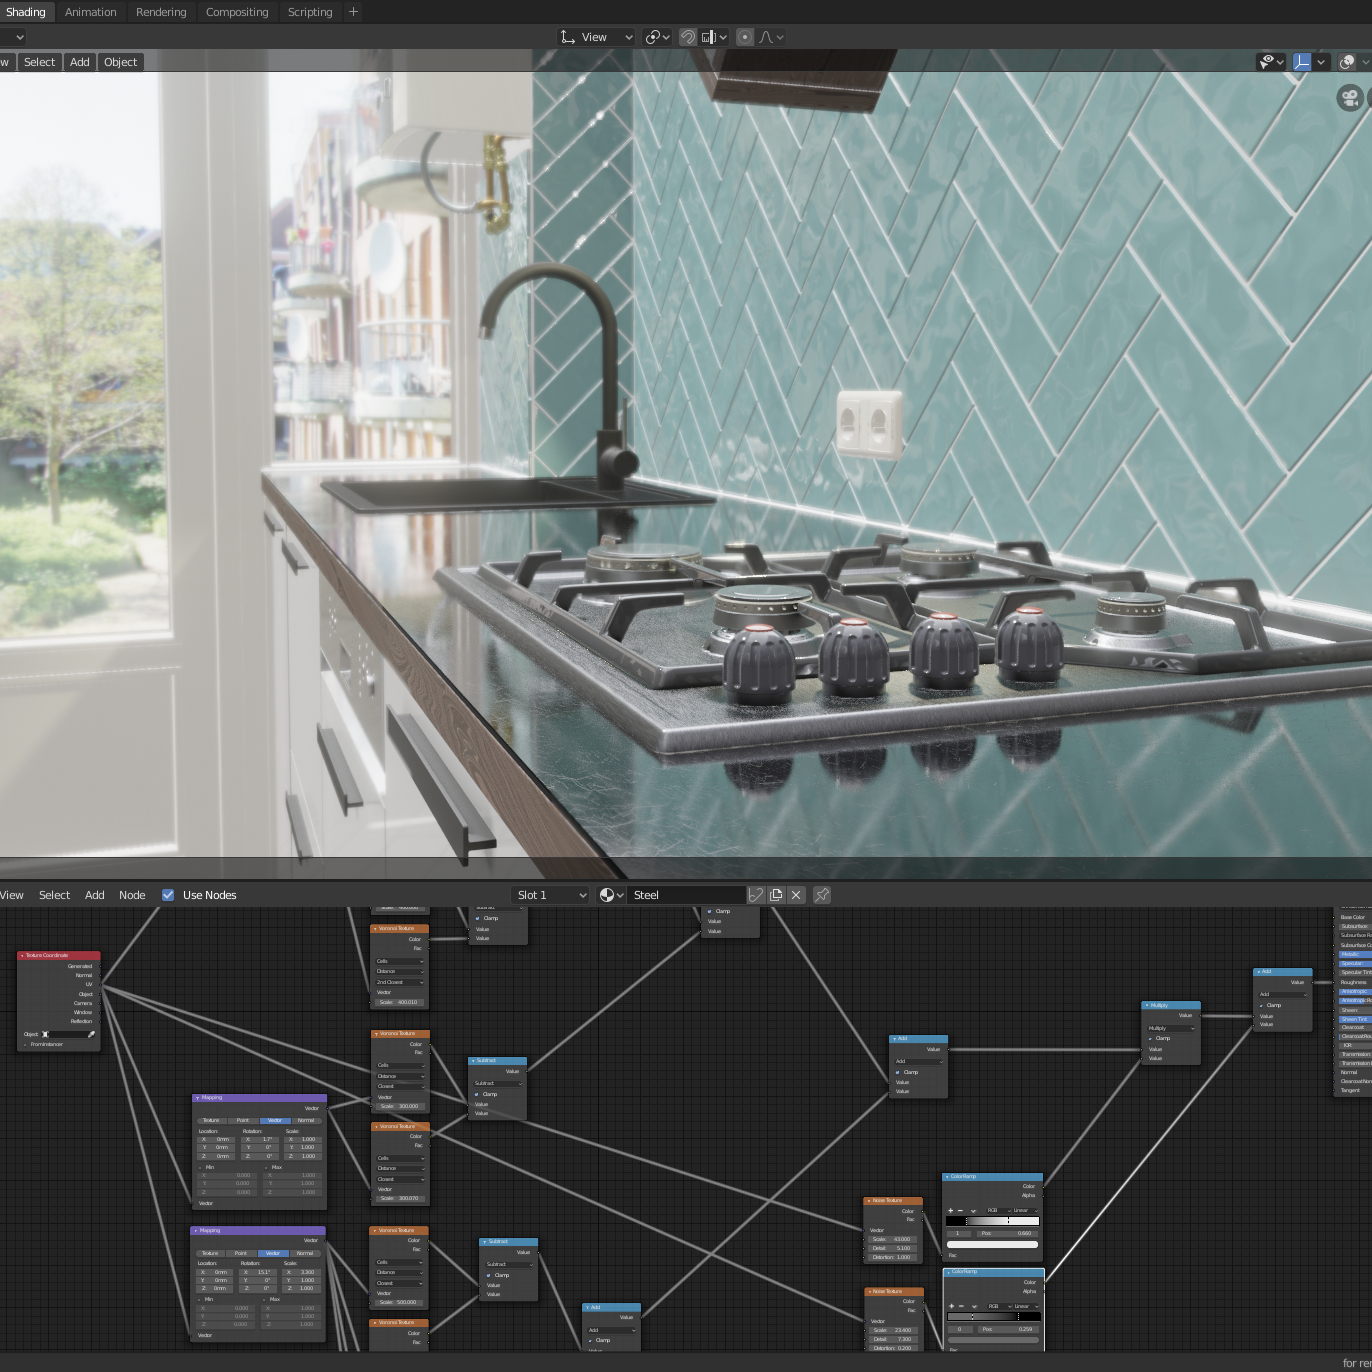
All that solid model precision comes in handy for actually building the kitchen, but going from solid models to final renders presents the challenge of retopologizing a ton of geometry and then UVing. One of my goals is to be UV independent here. That requires procedural shaders.
Eevee and Cycles
Blender 2.8 is outstanding and beautiful.
Shading with Eevee and Cycles is very satisfying because it's
interactive thanks to Eevee and while Eevee is not as stable,
yet, Cycles is as robust as it gets and in my experience even
more so than Renderman for Houdini albeit with fewer features.
Let's dive a bit deeper into each and remember that this is
just my take on each and my preference.
Octane Render
Octane is supposed to be the fastest of
the raytracers I use, but at the end of the day, a scene with
50 materials and multiple lights becomes almost impossible to
render on the single GTX1060 I've got. I love octane for
simpler scenes. Larger node trees, however, tend to be quite
cumbersome. Noise from multiple light sources tends not to
resolve as well as in Cycles and in Renderman and on top there
is no on the fly denoising such as Renderman's and Eevees. One
of my favourite features is the render passes - they are many
and extremely simple to use and very useful for debugging and
diagnostics. For example, Roughness filter or Raw diffuse
filter is great for evaluating masks while searching for the
right look or the right balance between mixed
textures/materials.
Renderman 22.5 for Houdini
Shading and rendering using Renderman feels like a
privilege. The Pixar material library is a good start but in
my experience, to take that to the next step requires a bit
more technical knowledge compared to the other renderers I
use. There are many advanced features which enable insane
depth of control. For example, the dirt node, which is AO, in
essence, can have a normal bias through which the AO
distribution can be modulated.